Skip to content
Statamic Peak

The Running Stitch

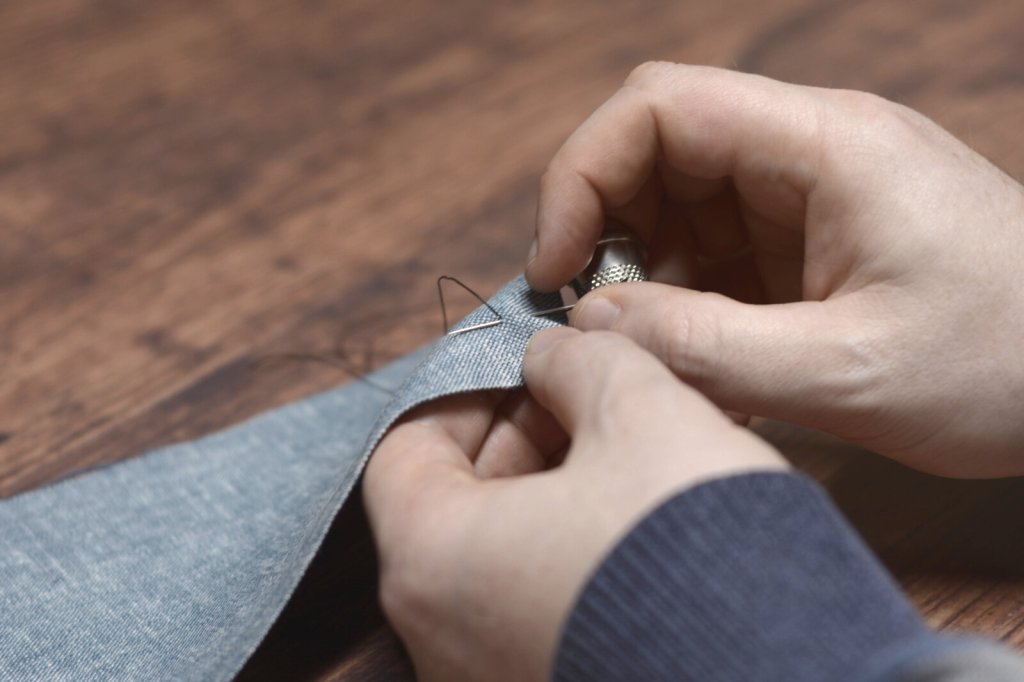
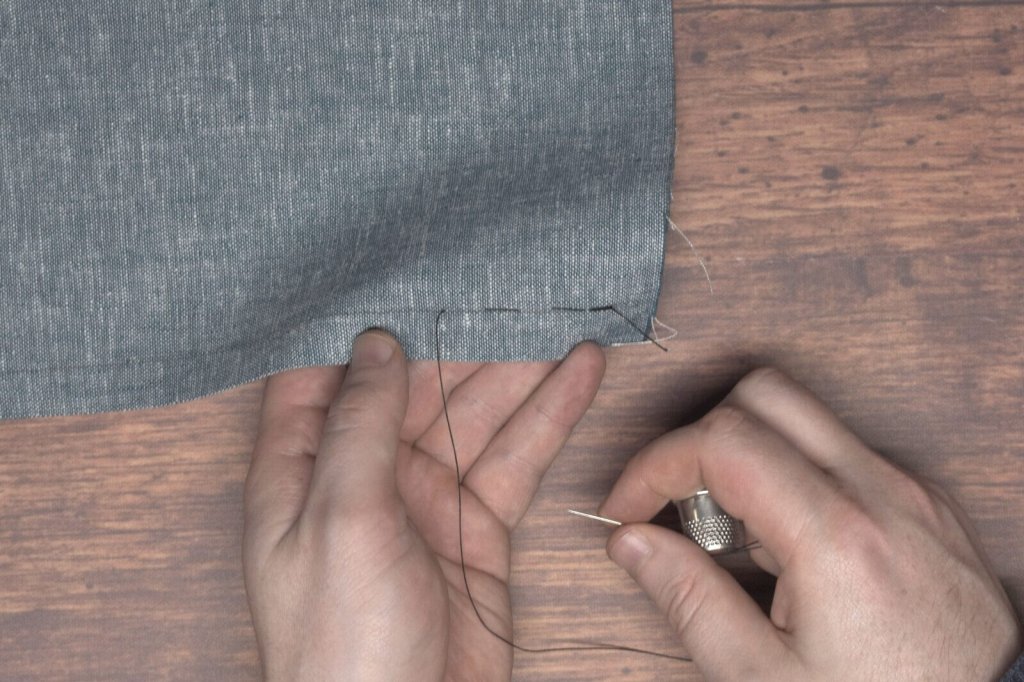
The running stitch is the most basic of stitches and forms the basis for a number of other stitches. Surprisingly, it’s not actually used all that much in tailoring, as it is a very weak stitch that will easily break under a little tension. The main uses within the tailoring world are for basting (covered later on), as well as in decorative top stitching.

Sewing a seam using the running stitch.

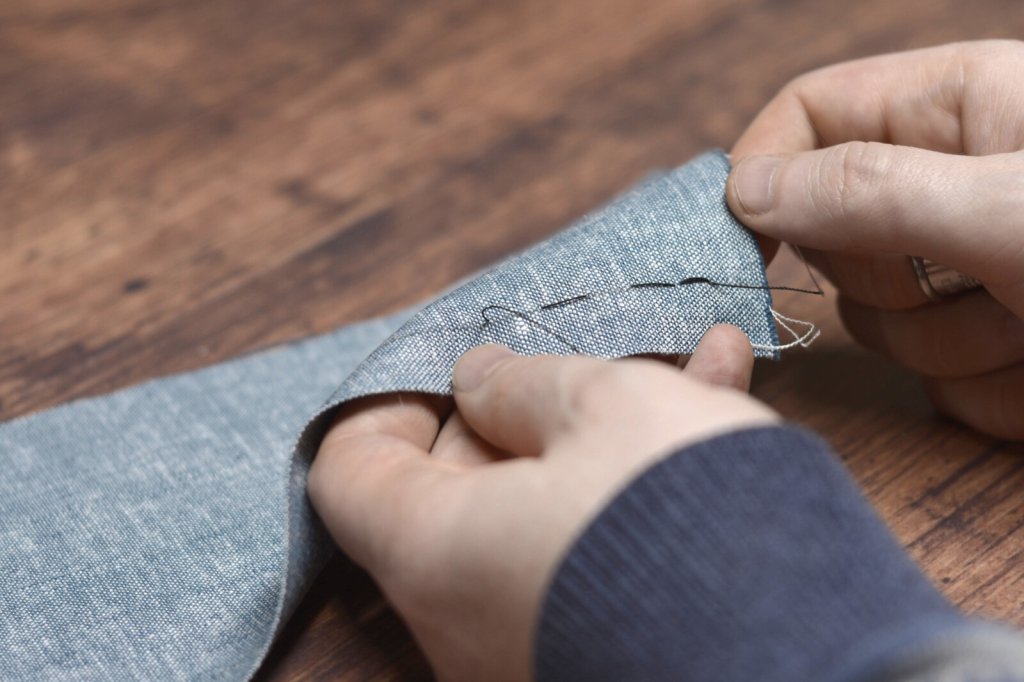
Nevertheless, it’s an important stitch to master so that one may progress to the other stitches. When you’re starting, the most important thing is to keep an even and straight stitch, with the length being whatever you’re most comfortable with. The smaller stitches will come with time and practice.

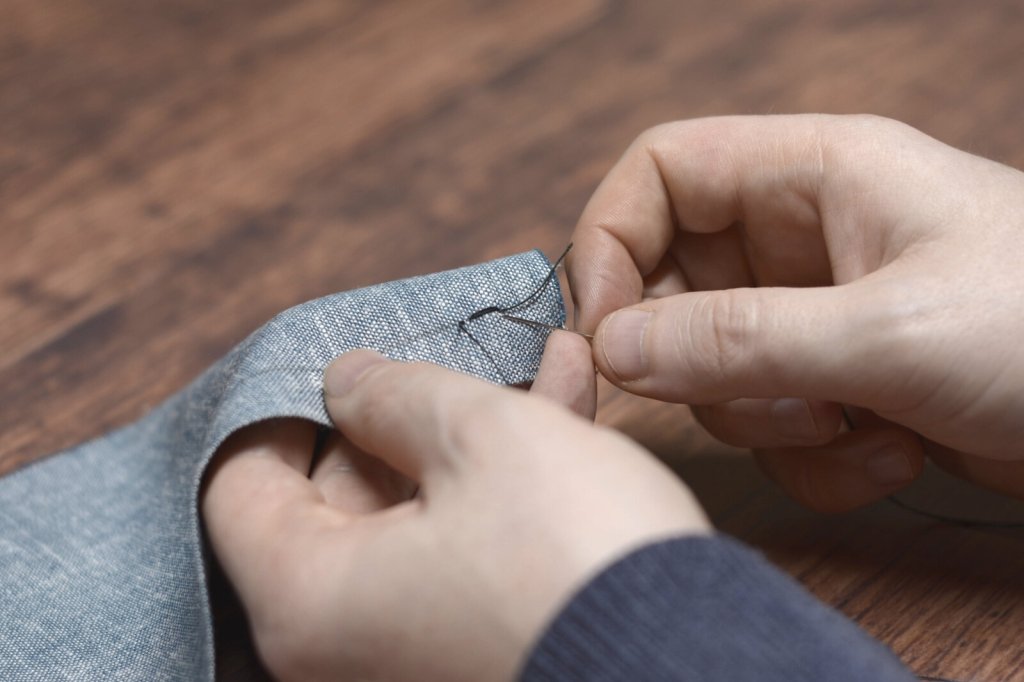
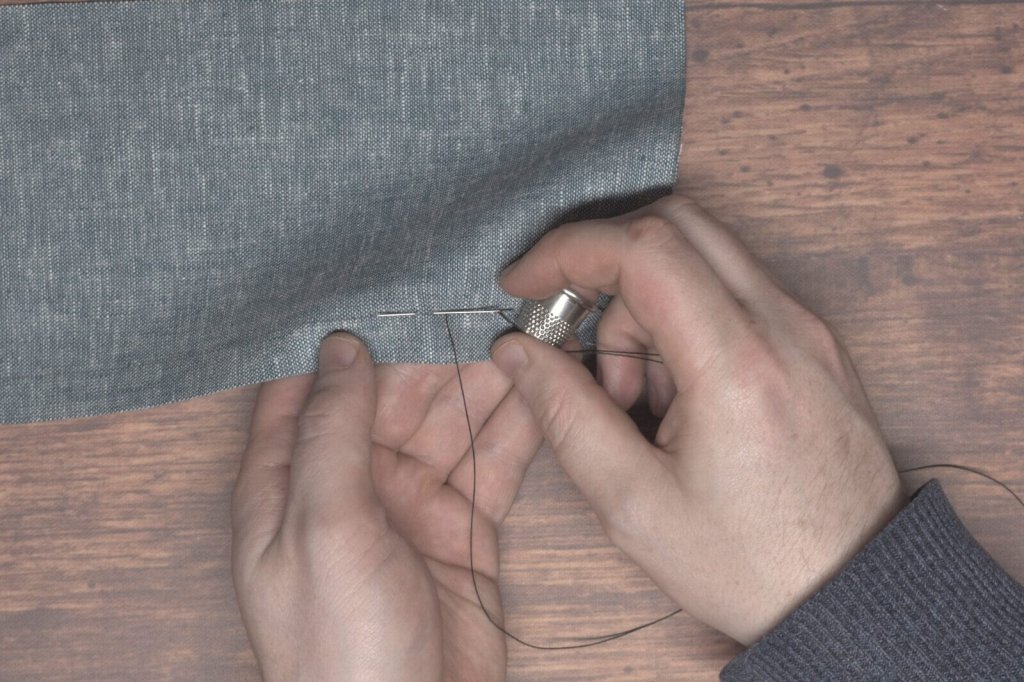
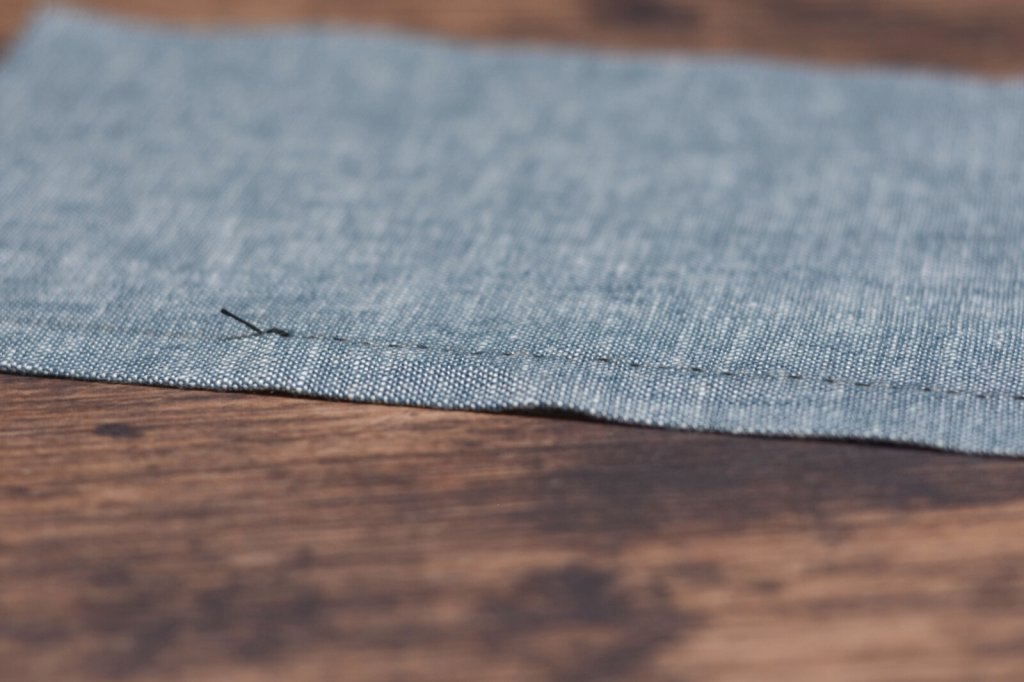
Since we’re on the subject of stitch length, it’s easy to become a ‘stitch counter’ and try to replicate the exact number of stitches per inch used on an original garment, for example. However, we don’t have access to the same fabrics as they did, and I prefer to differ the length according to what the fabric I’m actually using can handle. So for this linen blend I’m using for these demonstrations, I can get quite a small stitch thanks to the thinness of the layers. If I’m sewing through layers of thick wool broadcloth, the stitches will a bit bigger and may take some effort to get through all the layers. Experience will help you make these decisions almost second nature, especially if you can practice diligently and with different fabrics.

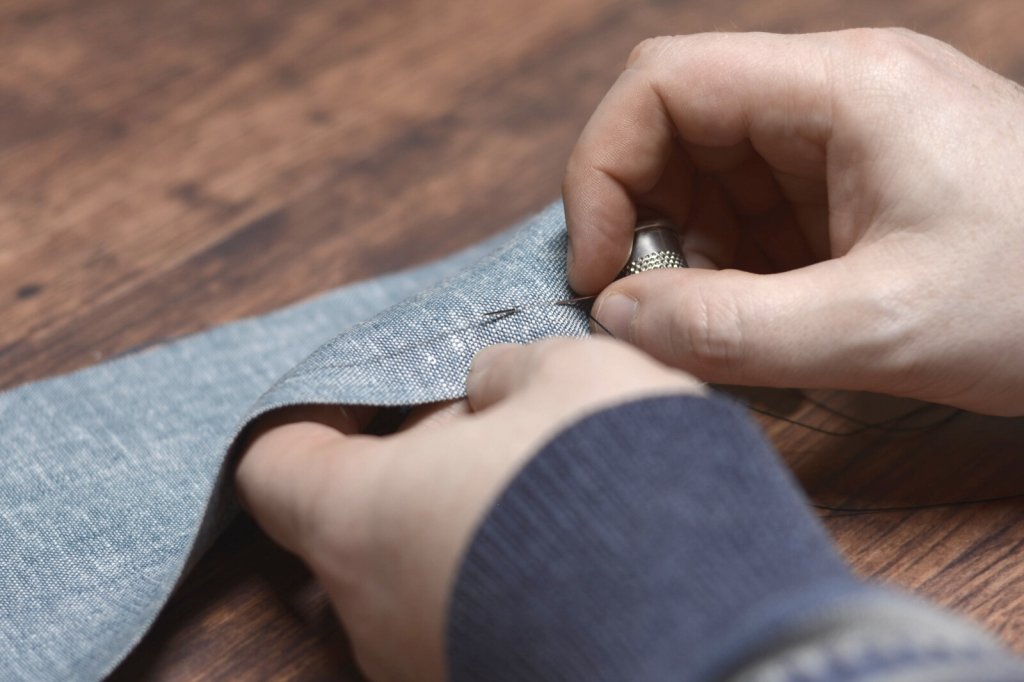
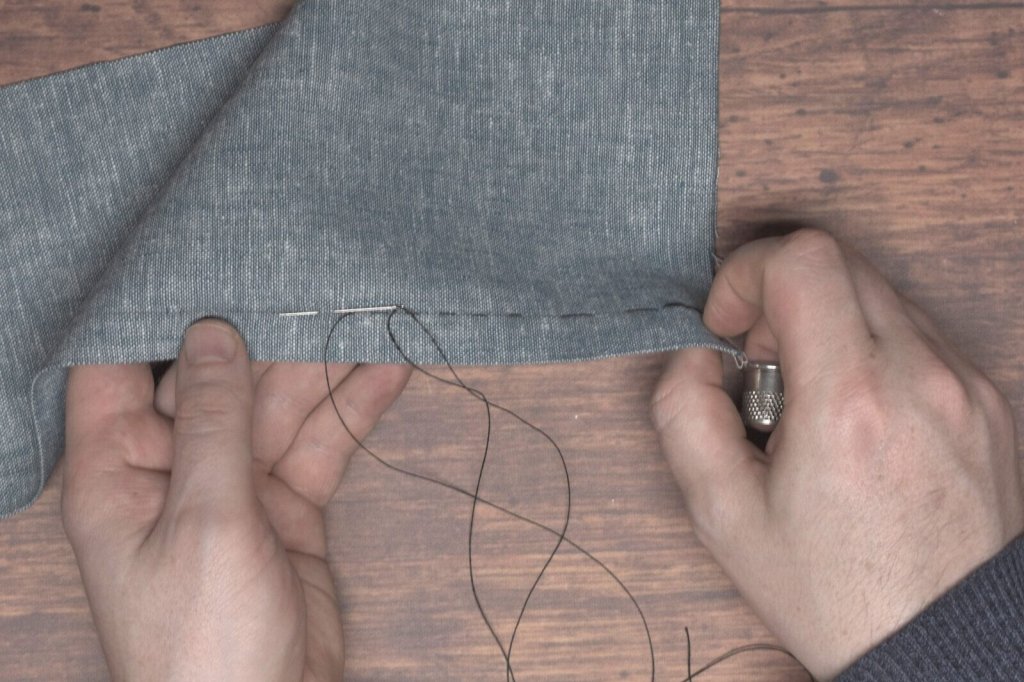
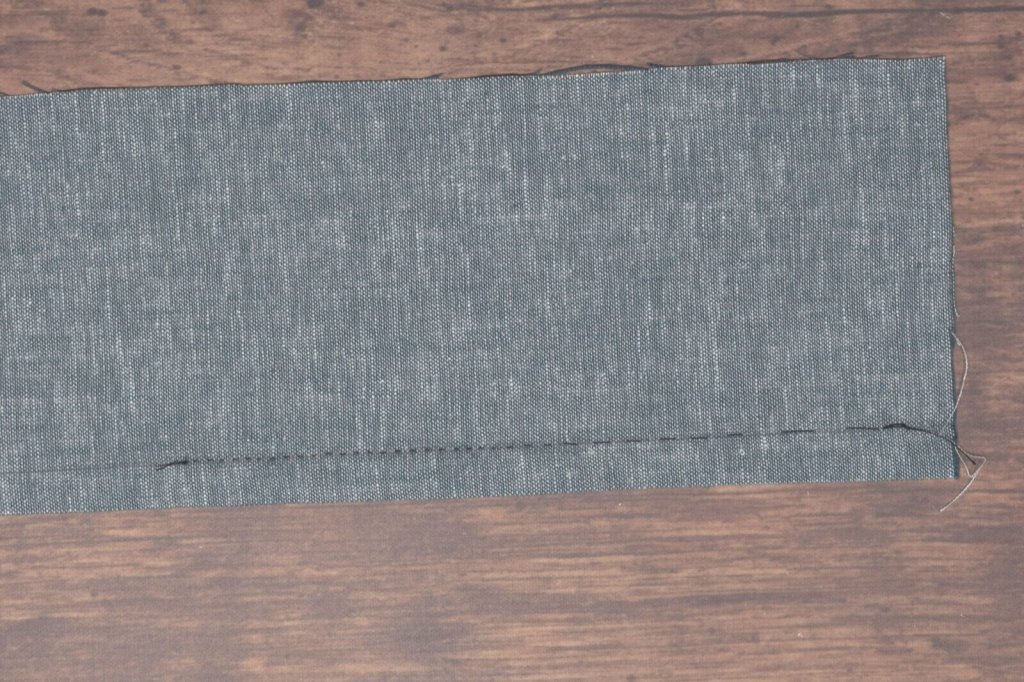
I suggest marking out your seam lines in chalk or pencil at first to aid you in accuracy. In the example I’ve just marked out the one seam line but you should mark multiple seams across the fabric for extra practice, as shown previously.

To begin the running stitch, make a couple of stitches ‘in place’, or right on top of each other. The needle should enter and exit at pretty much the same place each time. These stitches serve to lock the end of the seam in place. You could also use a knot here, or a combination of the two, whichever you prefer.

Beginning the running stitch.
Start with a few stitches in place.

After making the two stitches in place. I could go in for a third stitch if I wanted extra security but two is generally sufficient.

A few stitches in place to secure the thread.

To make your first stitch, pass the needle into the fabric about 1/8″ to 1/4″ away from the end of the stitches in place, and pass the needle back to the top of the fabric keeping the distance the same. The entire stitch should be made in one smooth motion coming from the wrist rocking back and forth; the wrist giving the strength behind the stitch while the fingers giving the accuracy and fine control.

Take evenly-sized stitches.

Here’s what my stitches look like after two have been made. I’m keeping them on the large side so you can see more clearly what I’m doing, but just keep a spacing that works for you.

The first couple of running stitches.

Another little detail that’s easy to miss is how I’m keeping tension on the fabric with the pinkie and ring finger of my left hand. I’ve got the fabric locked between them while simultaneously grasping the fabric near my current stitch between my thumb and index / middle finger. By keeping the fabric under tension, it makes it a lot easier to sew and pull the stitches themselves to the right tension – tight enough to be fully engaged without pulling on the fabric. After I’ve sewn enough of a particular seam, I’ll sometimes use my right hand to hold the fabric down on the table to create tension. I’ve also heard of some who prefer to pin the fabric to their leg or weigh it down on the table. You’ll have to figure out which method you prefer!

Keep tension on the fabric as you sew.

As you practice, you’ll naturally begin to make smaller stitches as shown here. Don’t try to force the size, just try to keep the stitches as even as possible as you work out your preferred stitch size.

Take careful, even stitches.

You can see how in a sense, you are actually weaving the two layers of fabric together, and why certain hand stitches can easily be stronger than a machine sewn seam.

Progress of the running stitch.

One of the main advantages of the running stitch is its speed. As you get more comfortable, you can begin to take multiple stitches as once. Two or three at once is good to start, more than that and the needle can get bogged down from the tension. Just rock the needle back and forth with the wrist, pulling the thread taught after all of the stitches have been made.

Take two or three stitches at a time for greater speed.

Finally, end the seam with another two or three stitches in place. Here you can see my finished seam line with smaller-sized stitches. Continue on with sewing more seams if you wish, or open up this seam and see how it looks!

The completed seam using a running stitch.