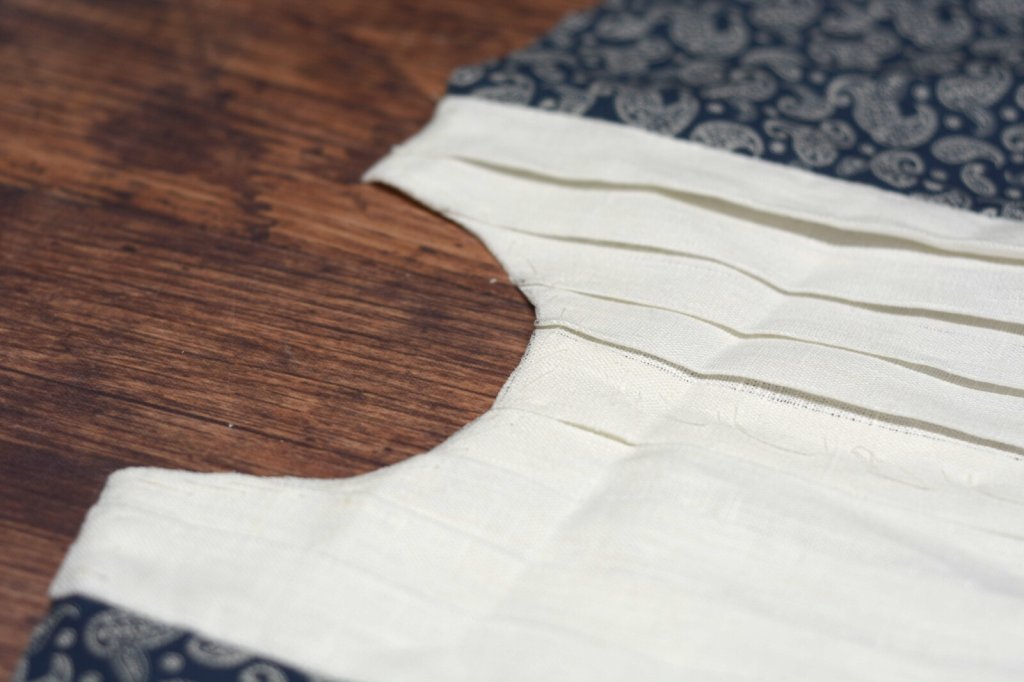
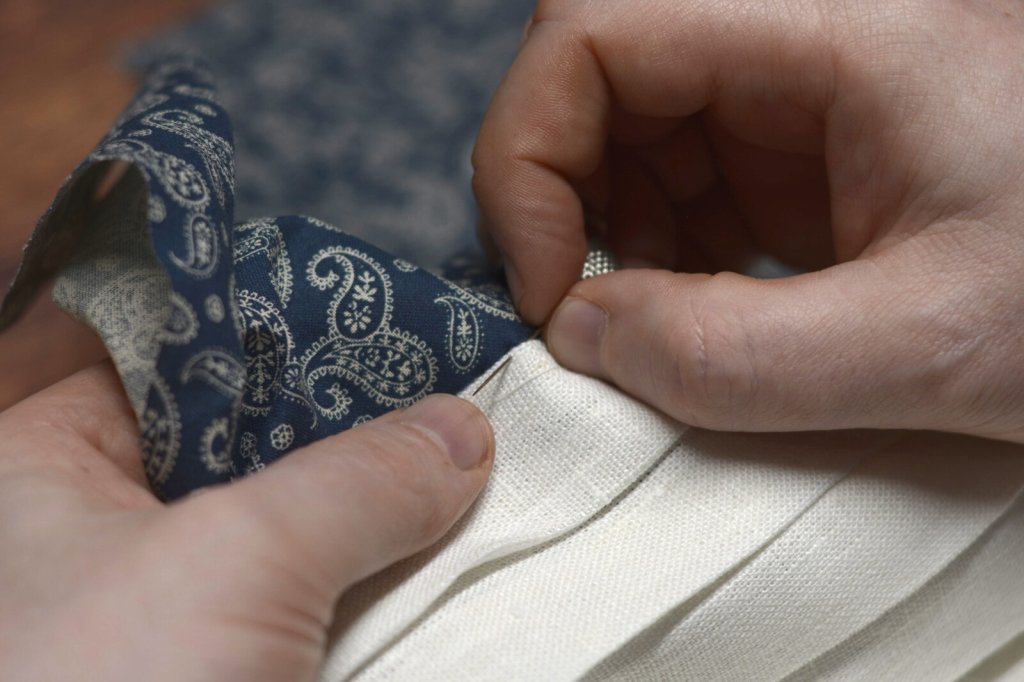
With the pleats done, it's time to attach them to the shirt front. The long sides are pinned and then basted securely.
The long edges at the sides are then felled carefully to the shirt front.
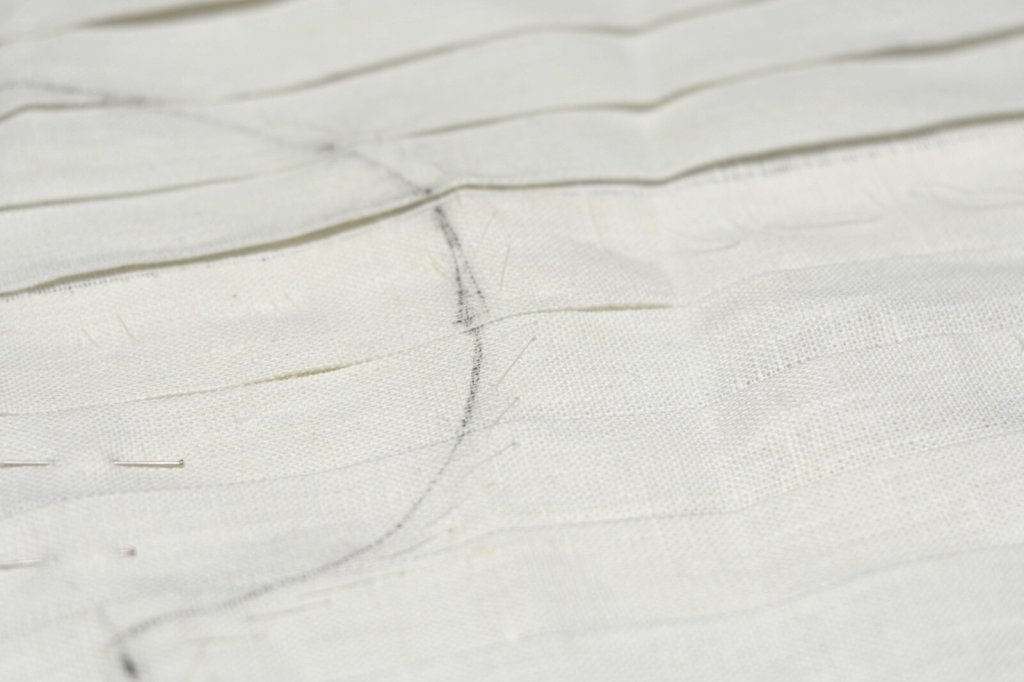
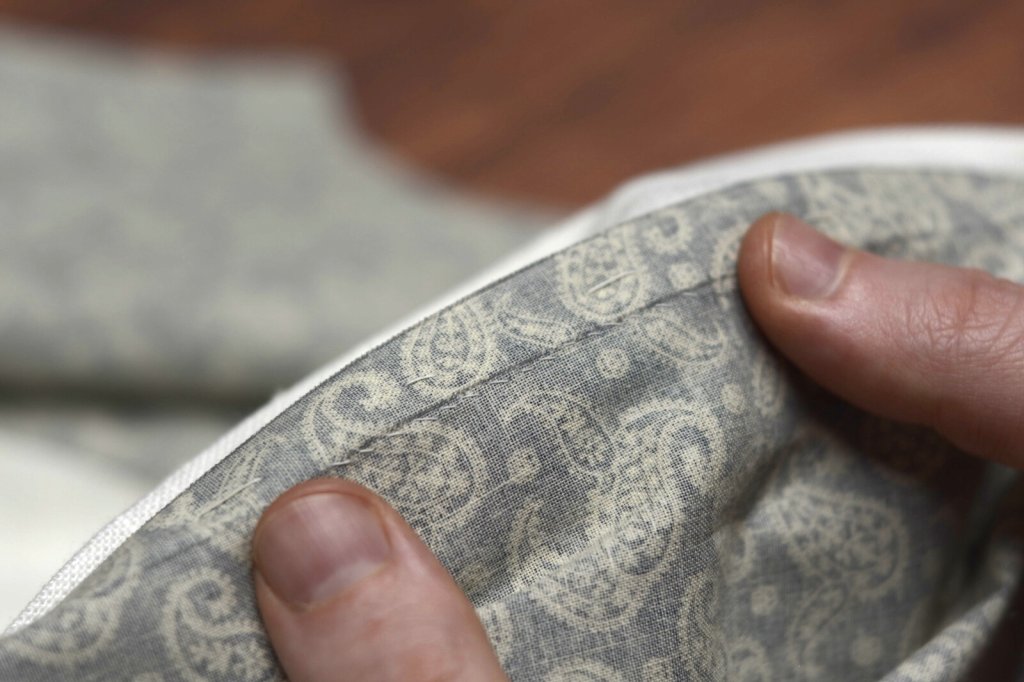
Here you can see the felling stitches from the wrong side. Even though they're not seen, I try to keep them as neat as possible.
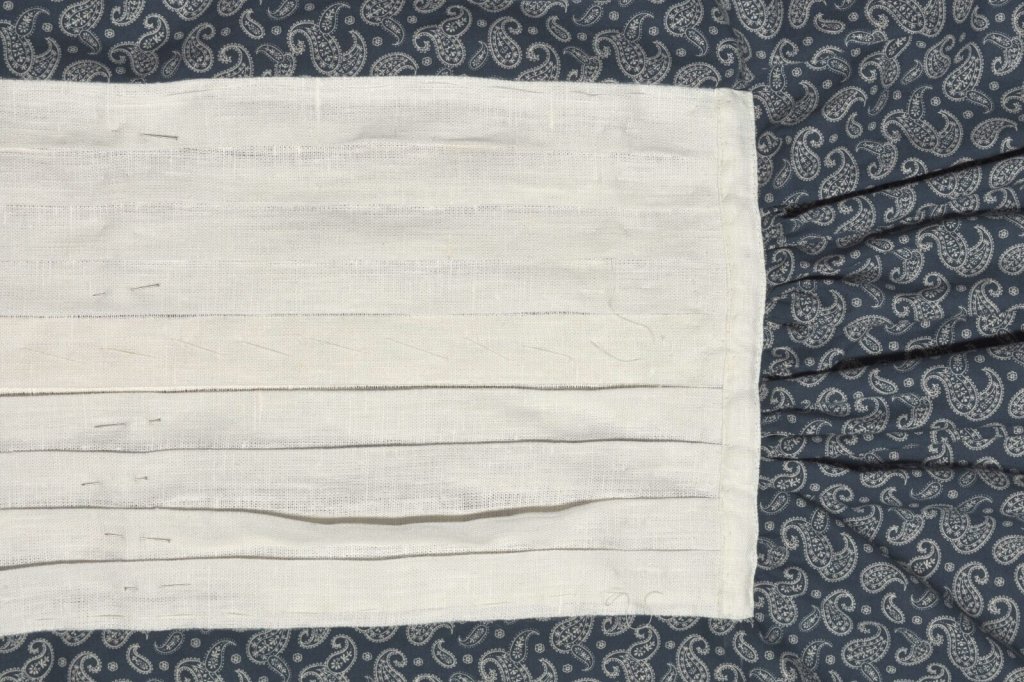
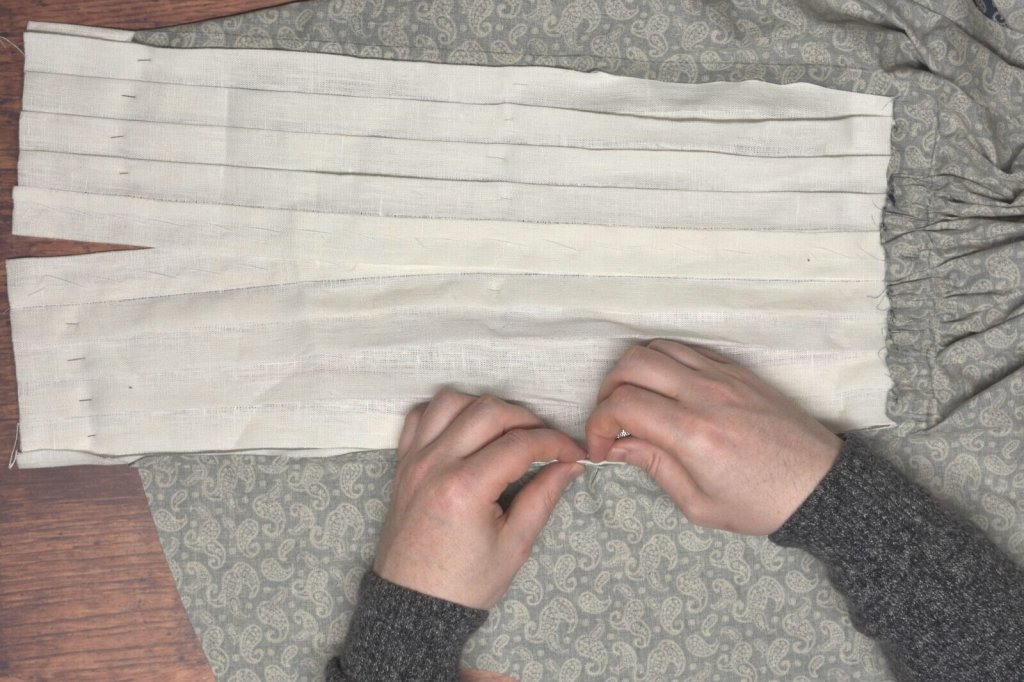
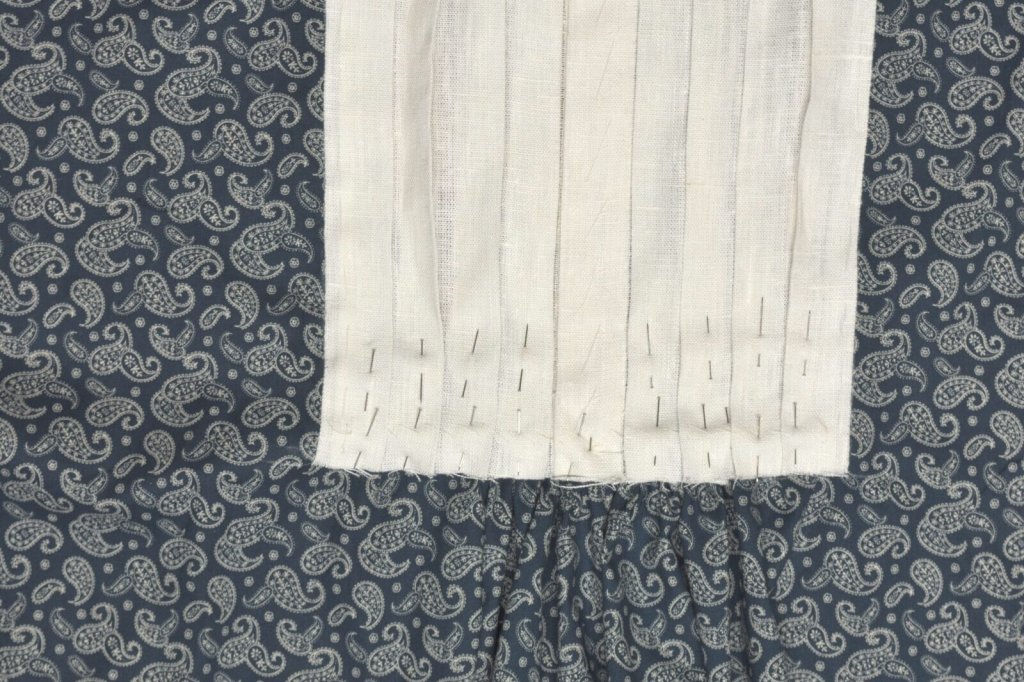
Turning to the bottom of the pleats, several rows of gathering stitches are run across the width of the pleats.
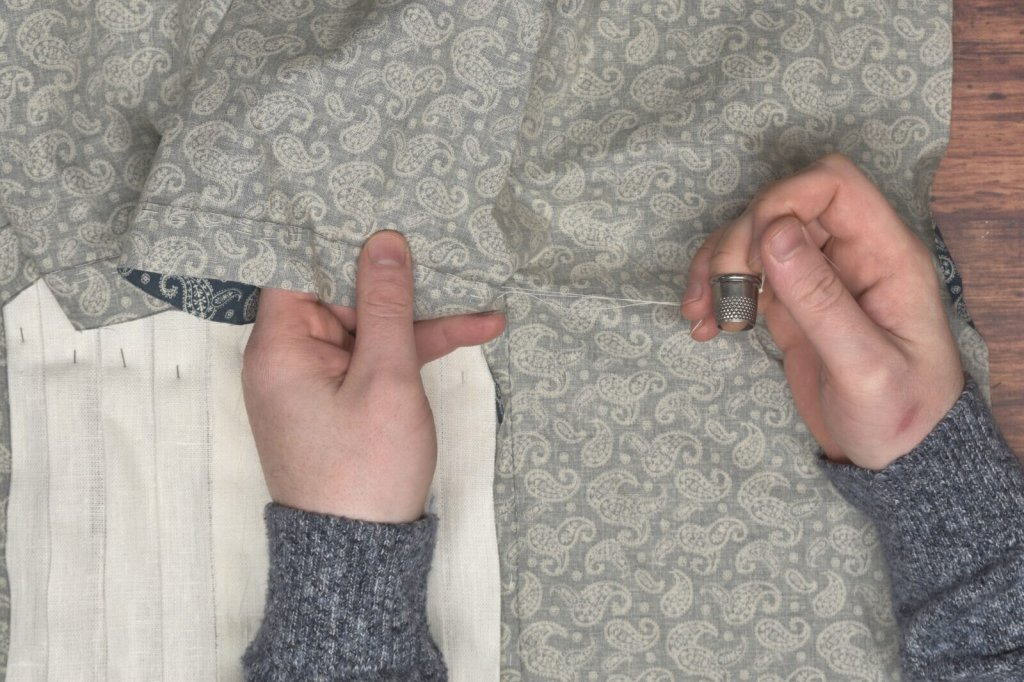
The threads are carefully pulled, gathering the excess fabric into small pleats.
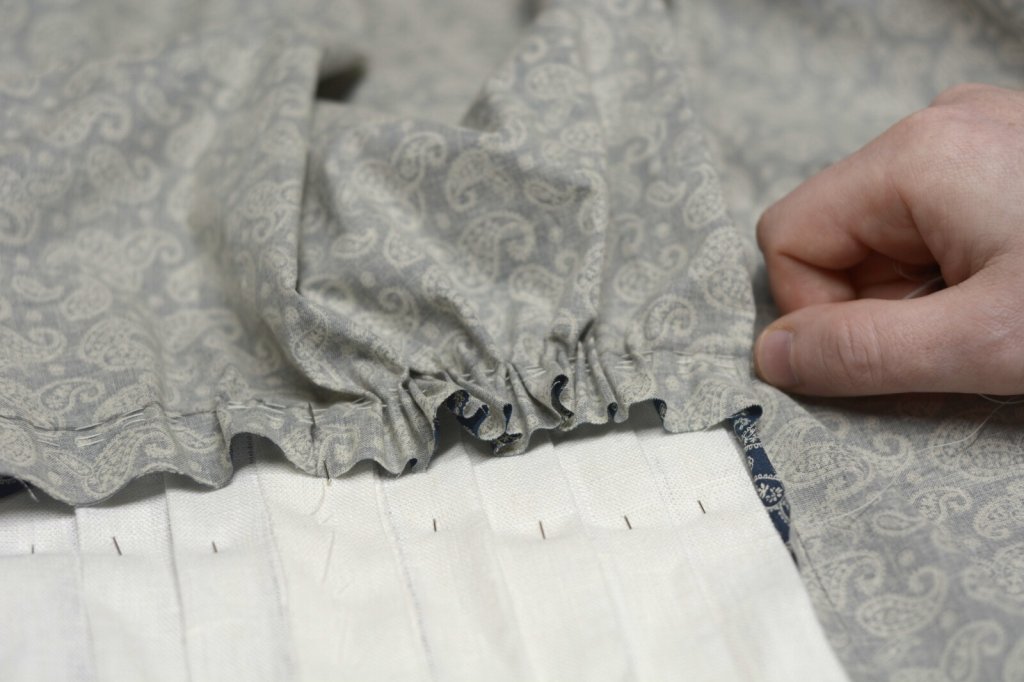
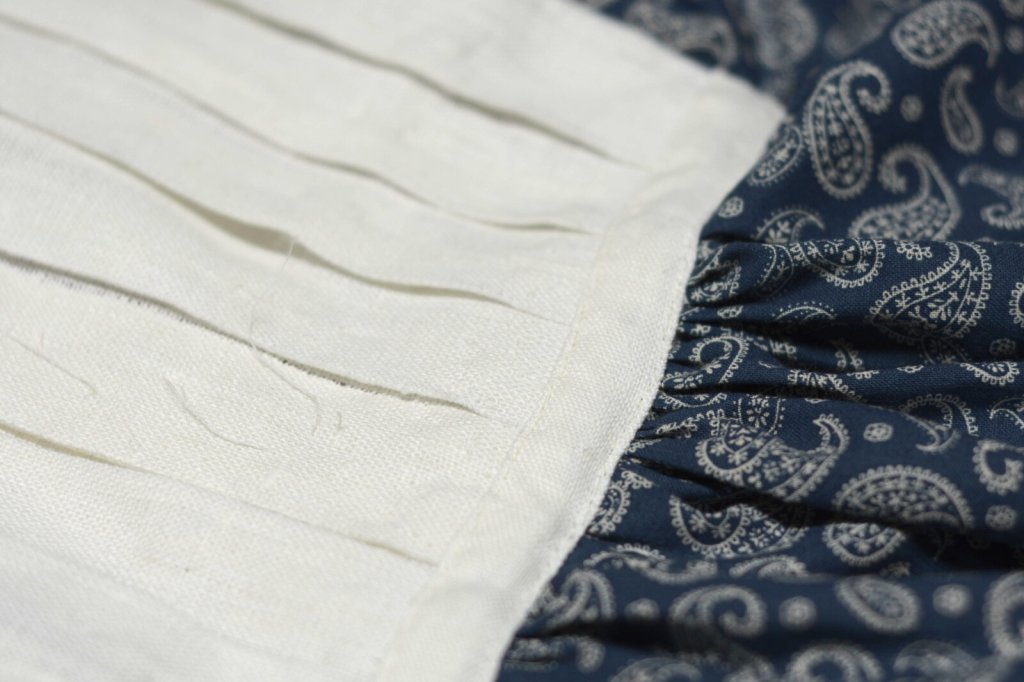
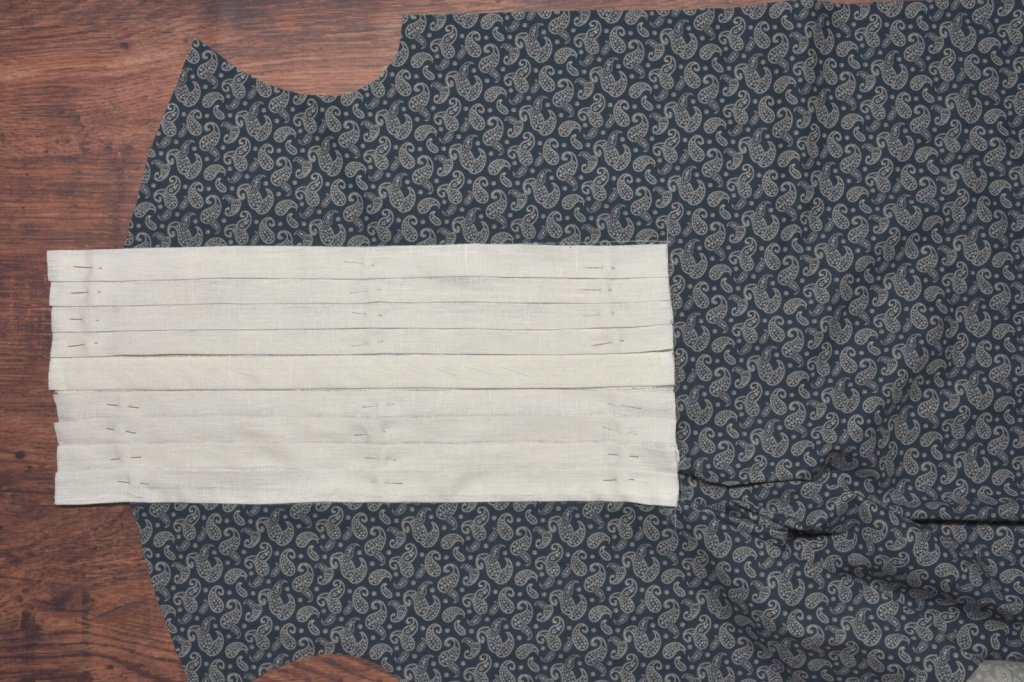
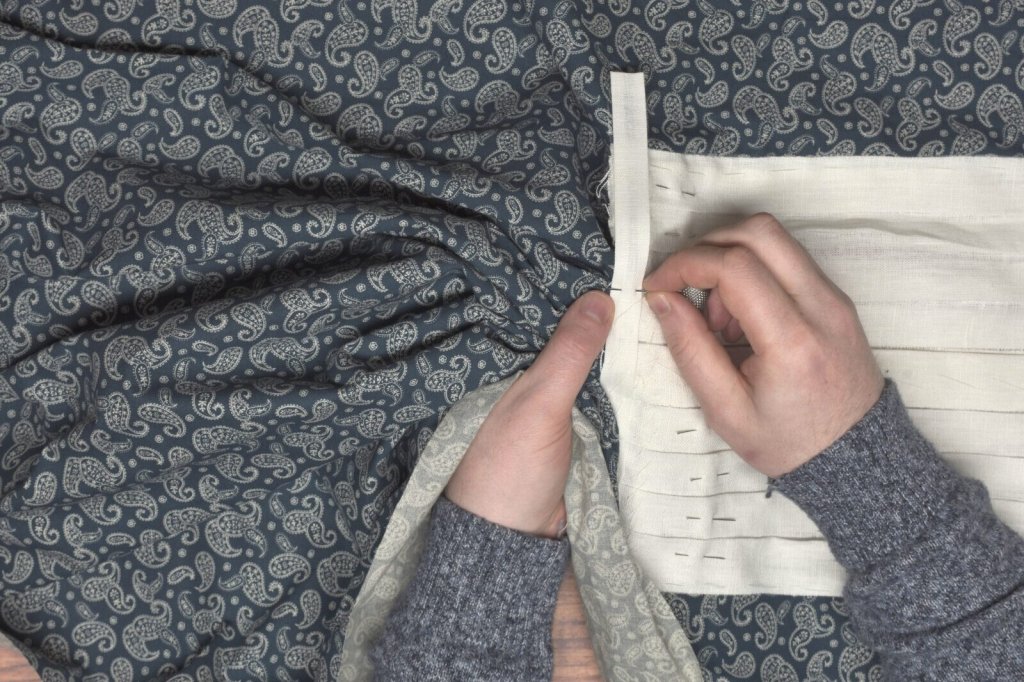
The bottom of the pleated section is then pinned and basted to the shirt, aligning the gathers or pleats neatly underneath.
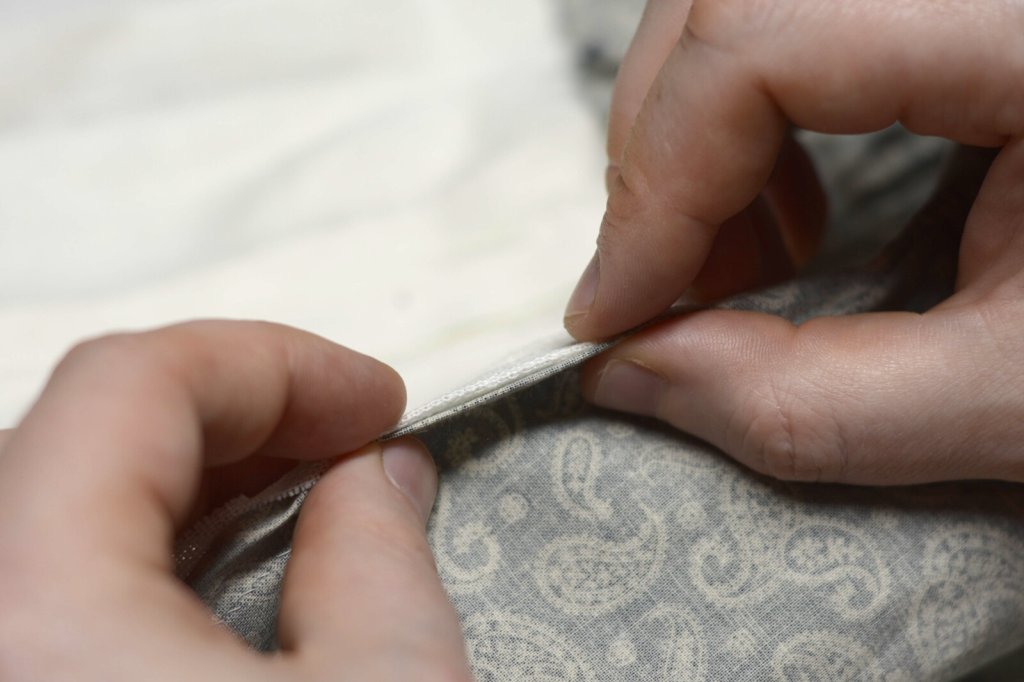
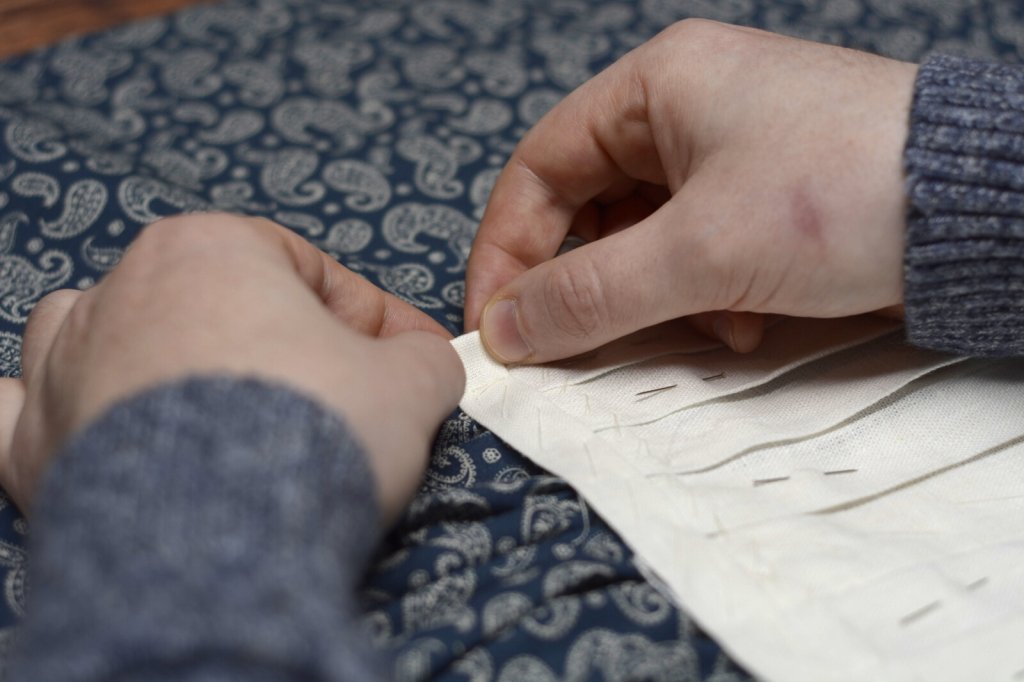
To finish off the raw edges, a strip of linen is placed over the bottom edge of the linen pleats and is basted firmly into position.
The ends of the linen strip are trimmed and turned under as well.
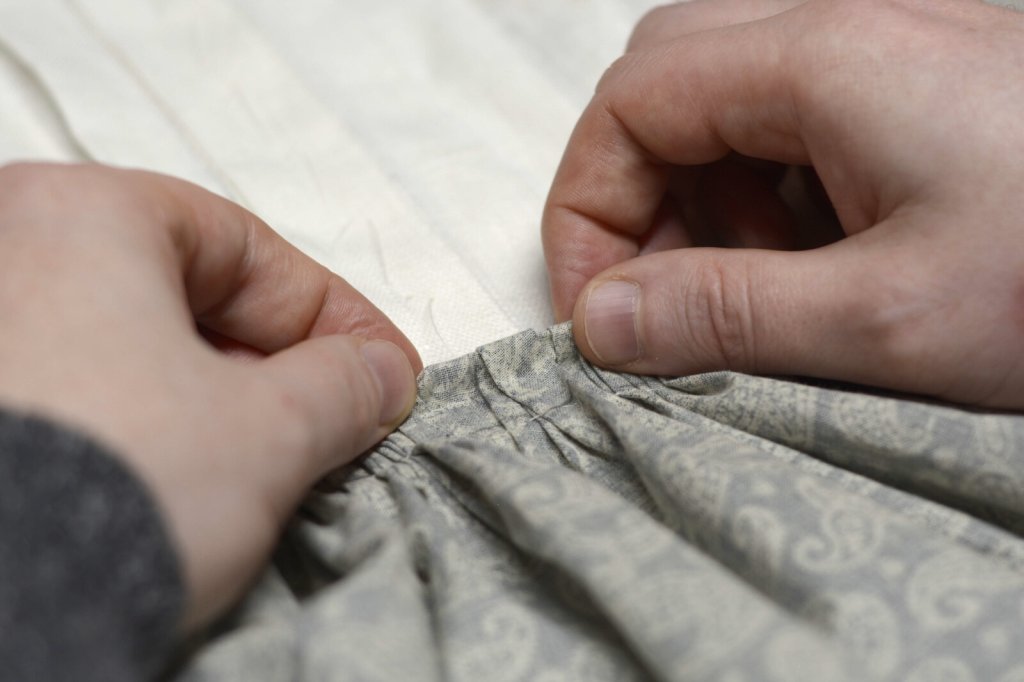
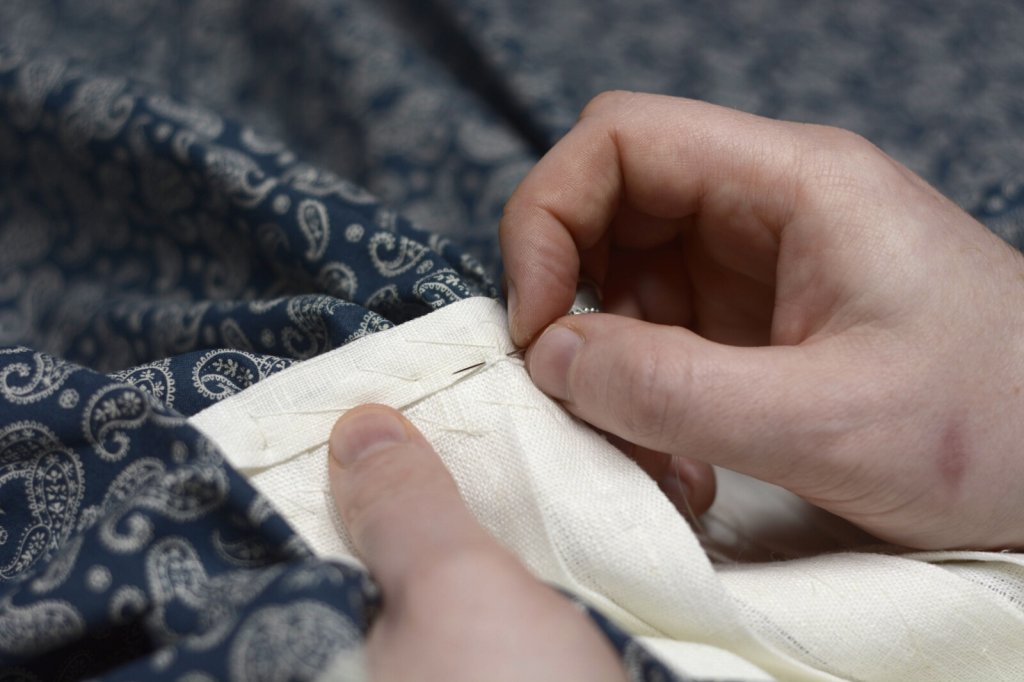
The linen strip is sewed to the shirt using a small back stitch or half back stitch.
Here's the bottom edge complete.