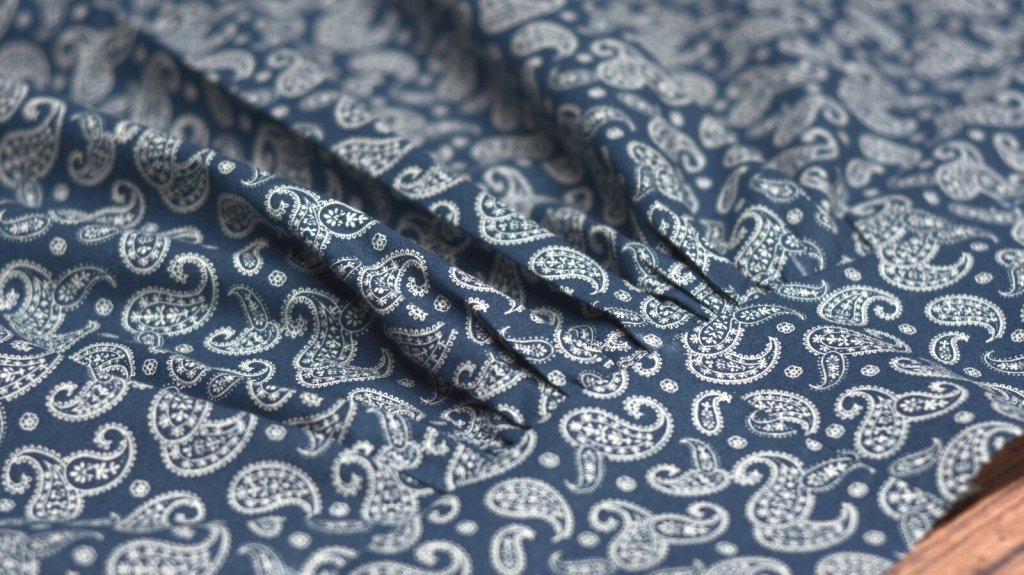
Continuing on with the shirt construction, I started putting the body of the shirt together by gathering the back into the yoke. This makes the shirt very roomy, yet the yoke gives a slightly better fit and more durability around the shoulders.
Attaching the Shirt Collar
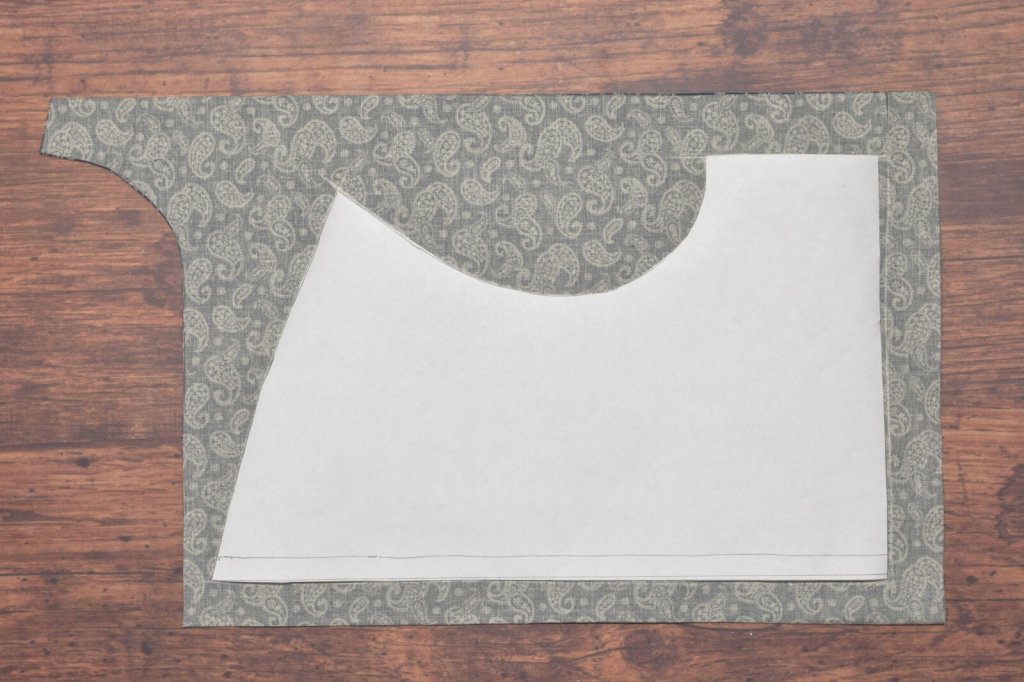
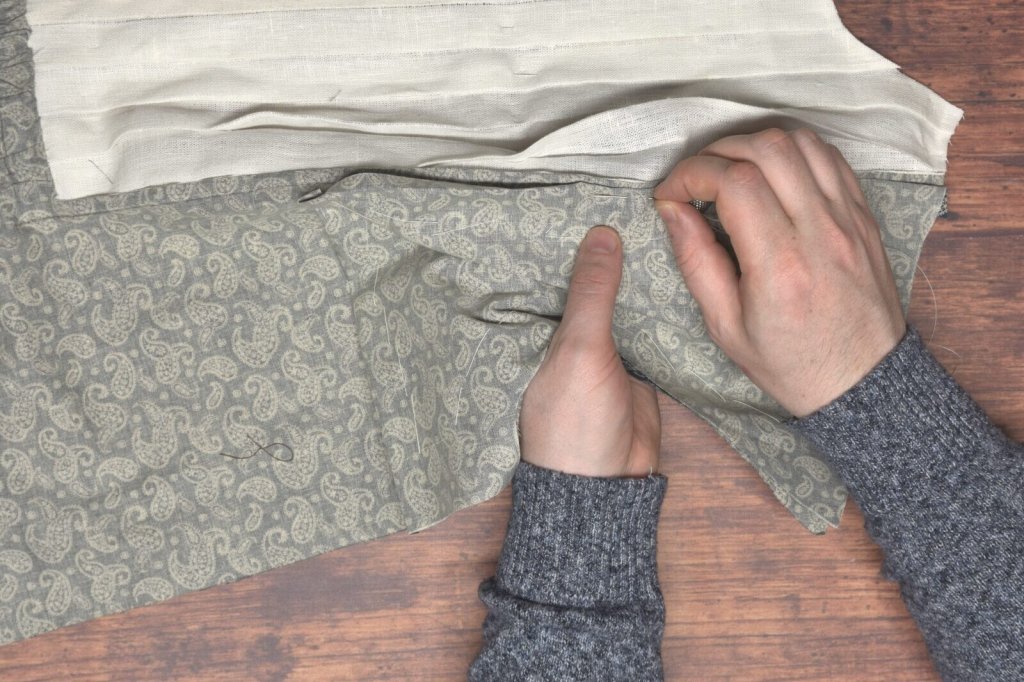
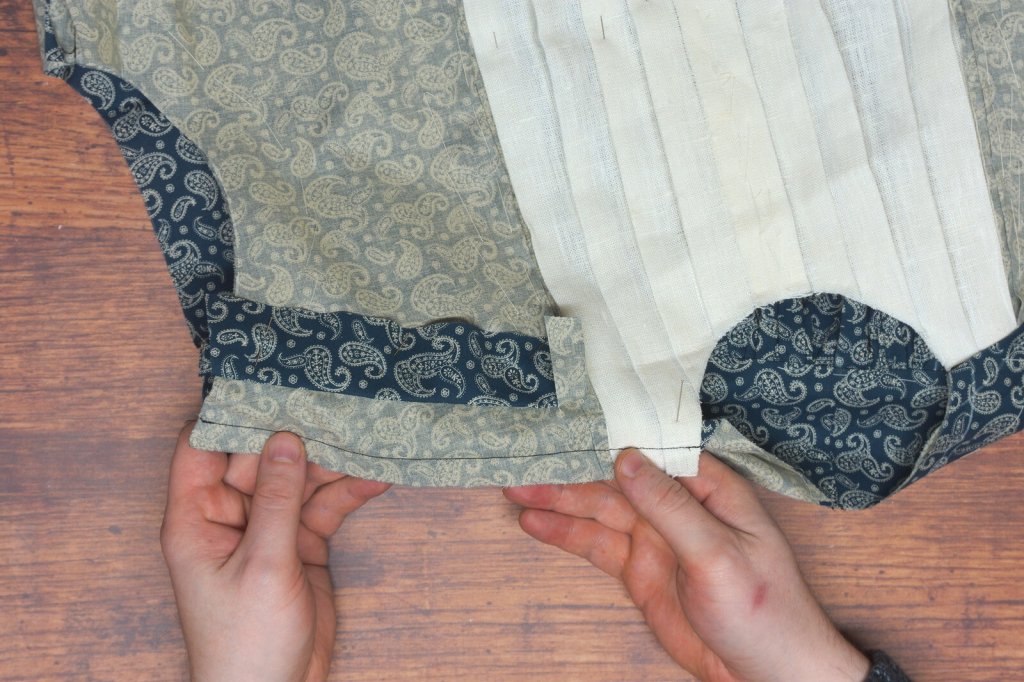
Before joining the back and front together, I find it the best time to install the lining, while the pieces are still flat. Here's a photo of how I cut the pattern.
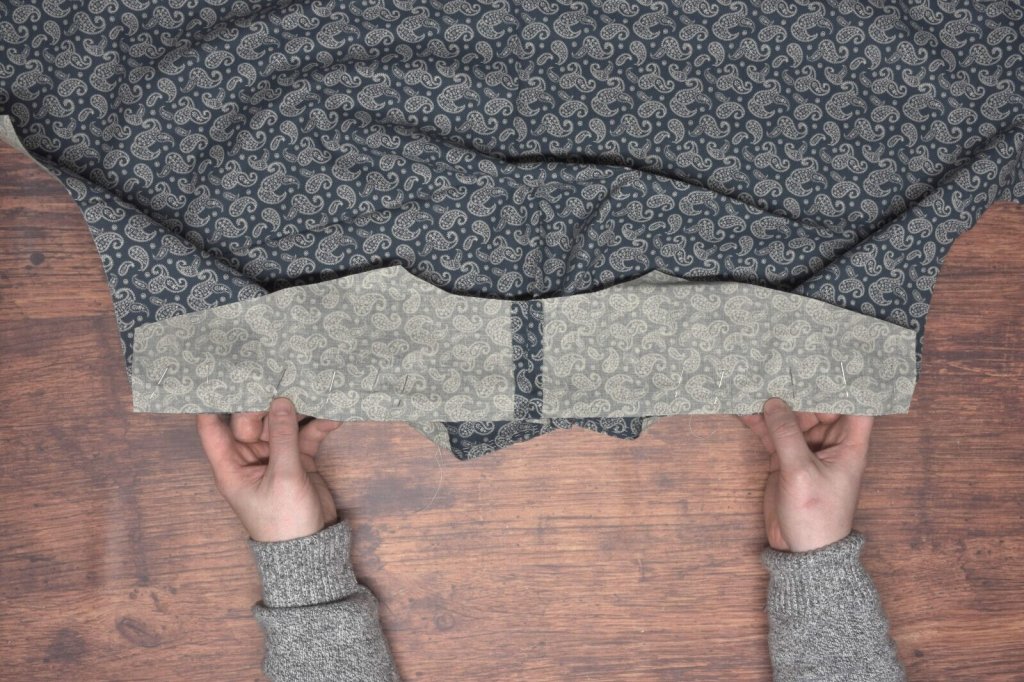
The front linings are then basted into position, the raw edges folded under for felling later (though I suppose they could be felled now as well). The lining for the yoke is installed in a similar manner.
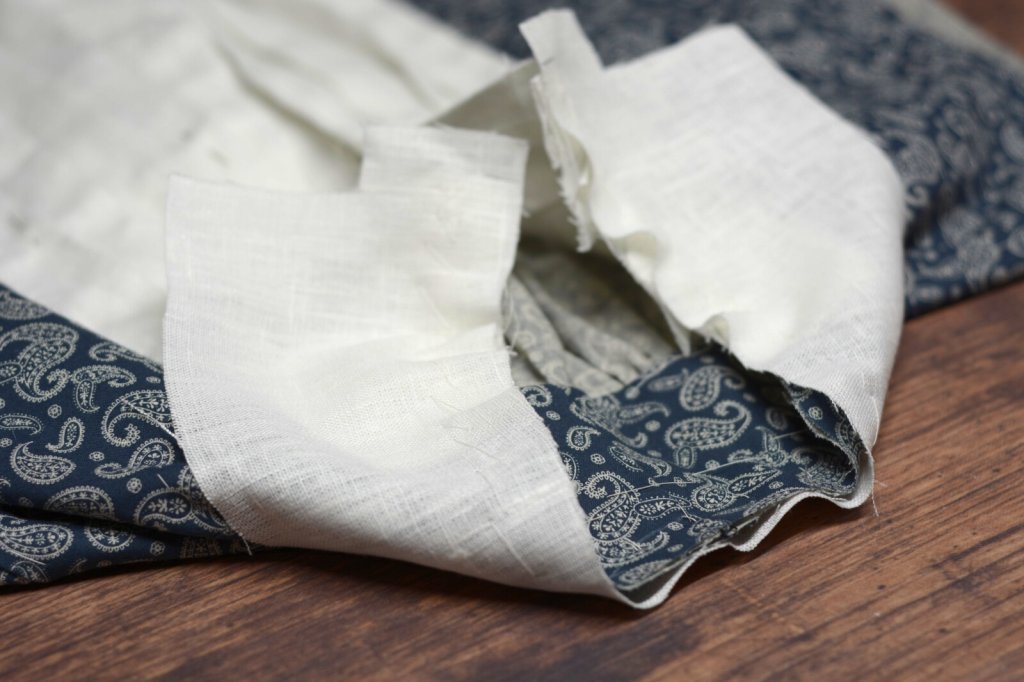
I then joined the shoulder and side seams.
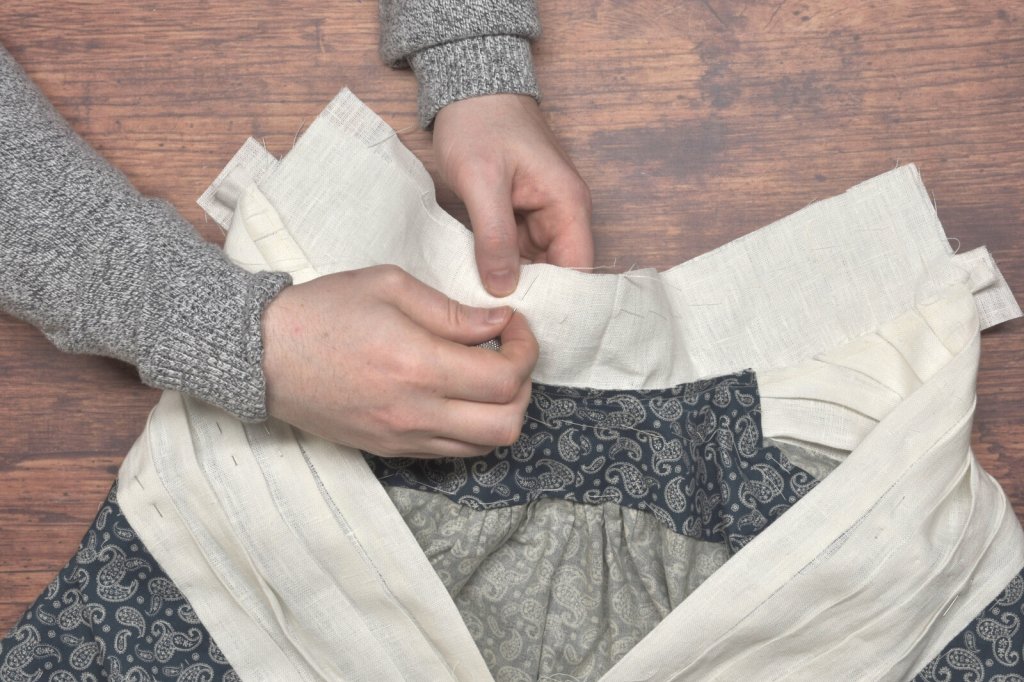
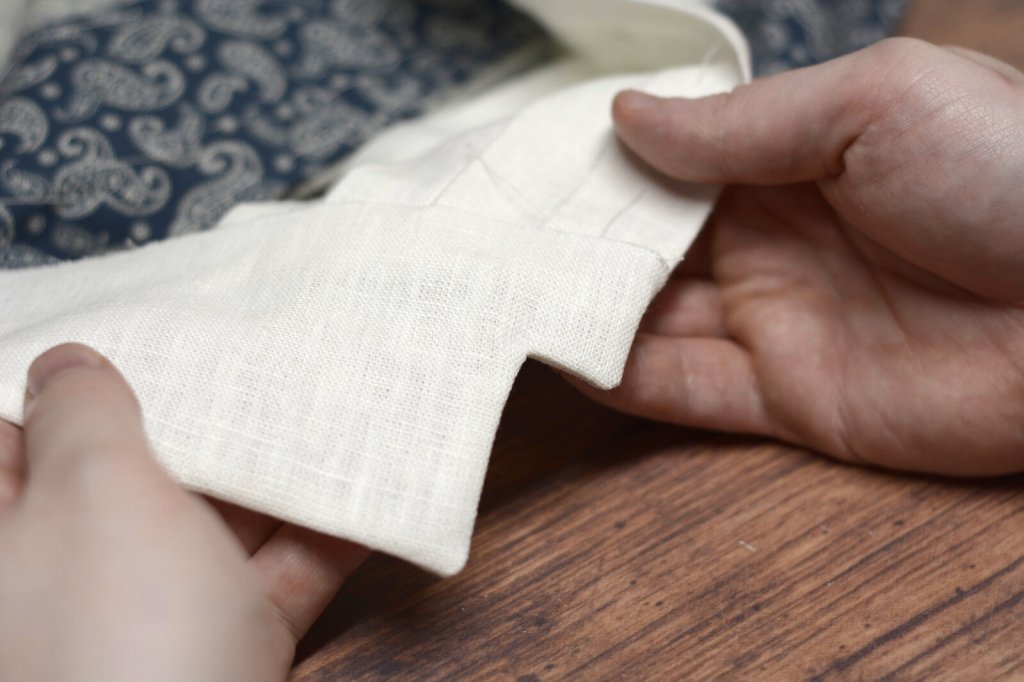
The side and shoulder seams being sewn stabilizes the body enough to attach the collar, which I prefer to do before attaching the sleeves. Here, the under collar (or outer collar?) has been basted, ready to be sewn.
The inner collar is then basted and sewn to the outer collar.
After sewing the collar together (I marked the seams for clarity in the photos), the seam allowances are trimmed to make turning easier.
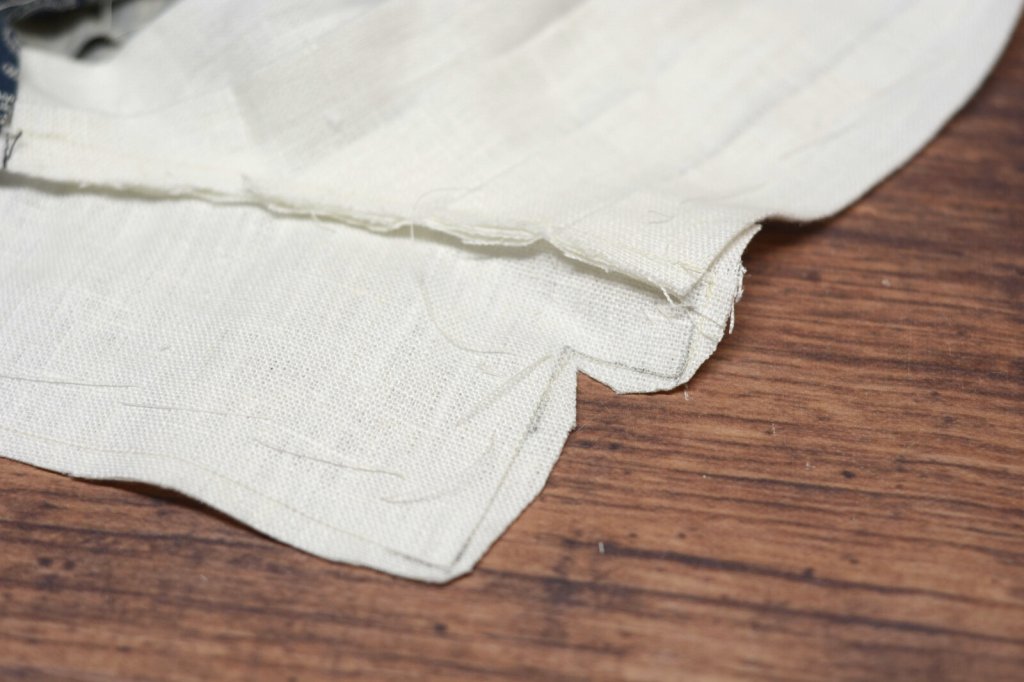
The preparation takes a while, but the results are worth the extra time and care.
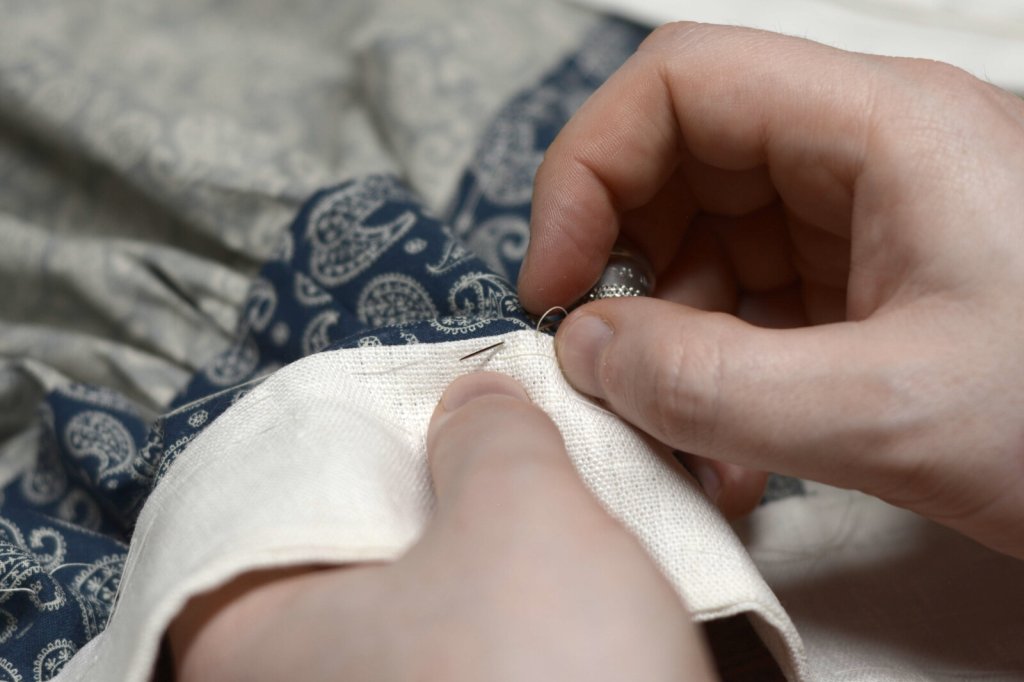
Finally, the raw edge of the collar is turned under at the neck and felled with small stitches. The collar is then top stitched to hold everything in place permanently.