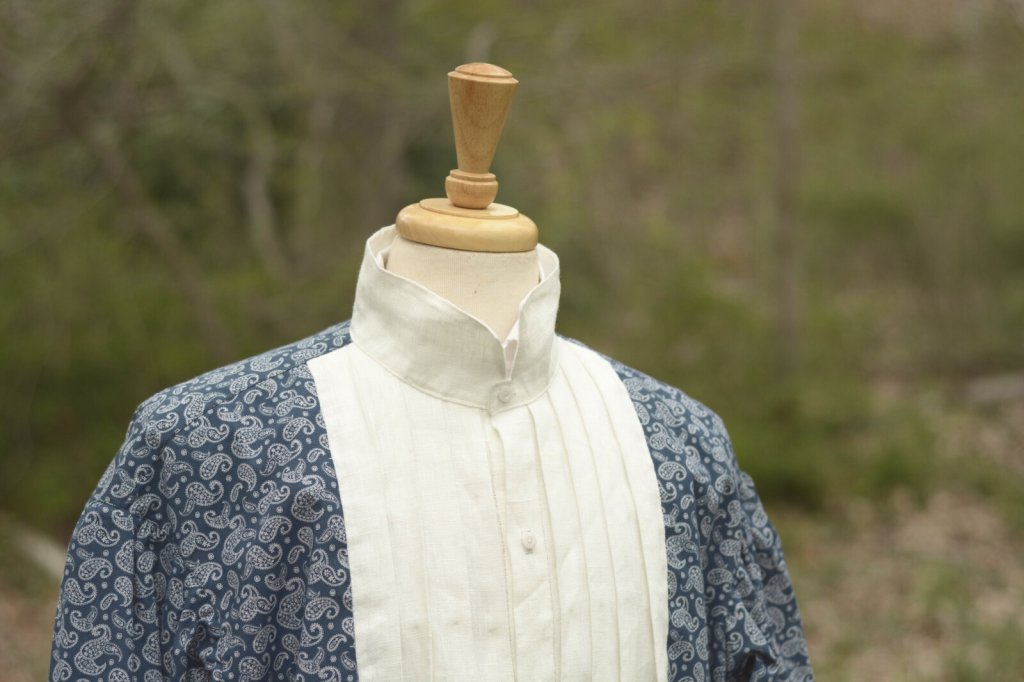
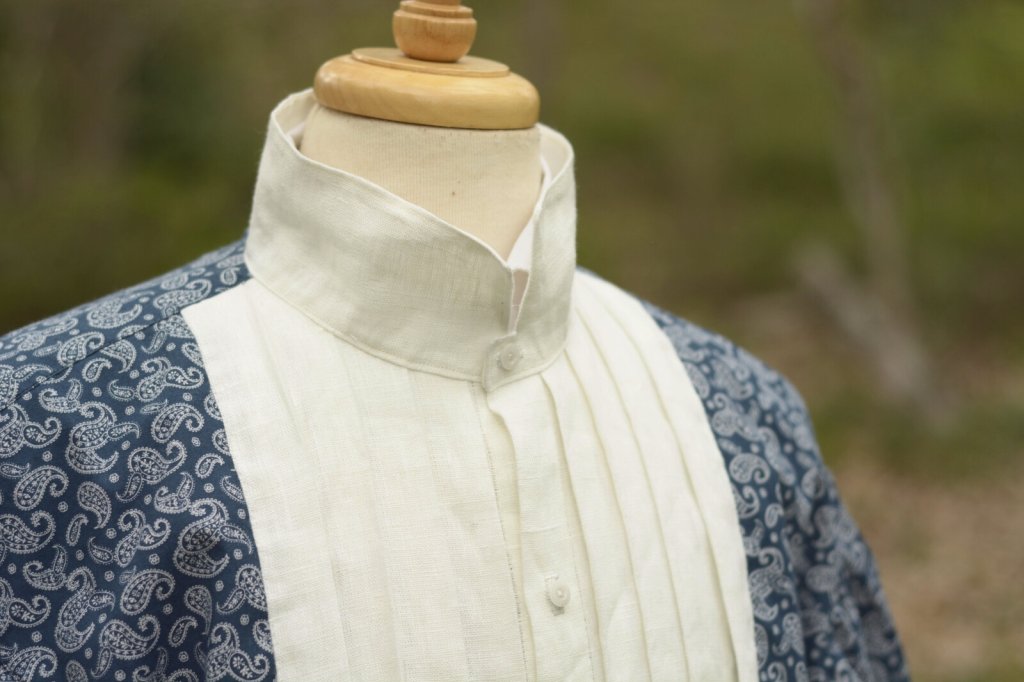
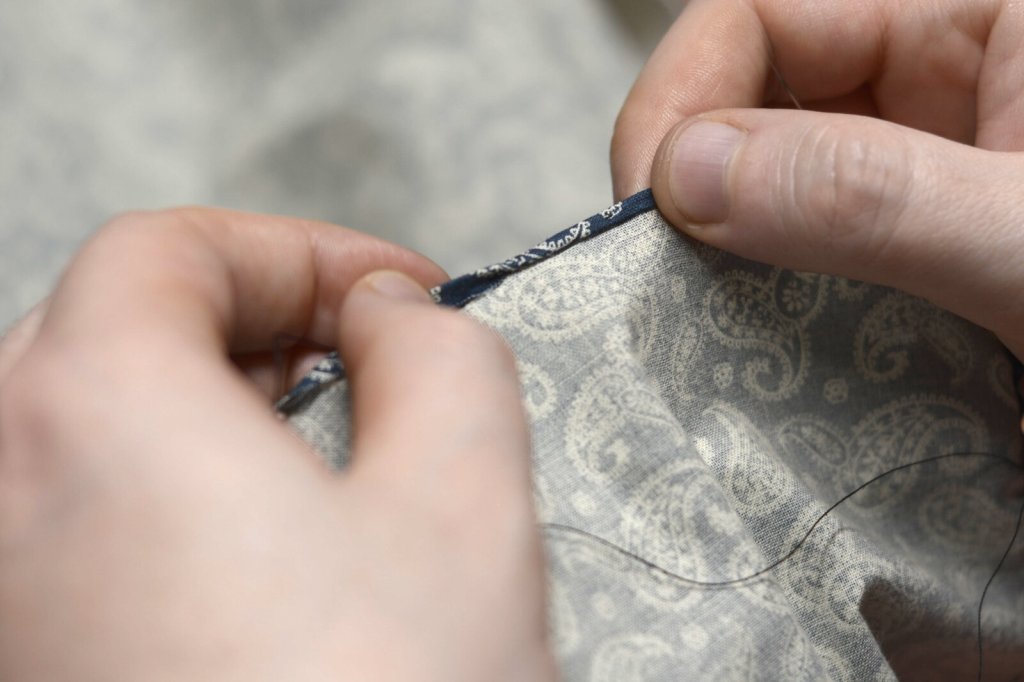
I finally finished up the pleated-front shirt project. First off was hemming the shirt with a rolled hem, entirely by hand. This is a fun little stitch that seems a little intimidating at first due to the narrow allowance, but really isn't all that hard once you get used to it.
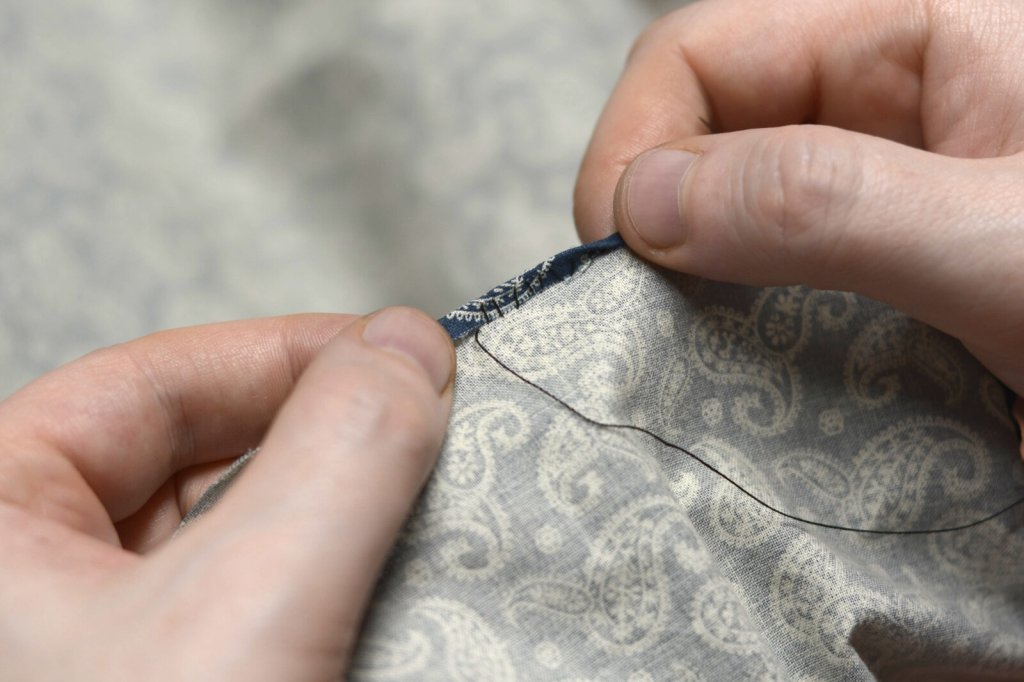
The final hem width is just slightly more than 1/16".
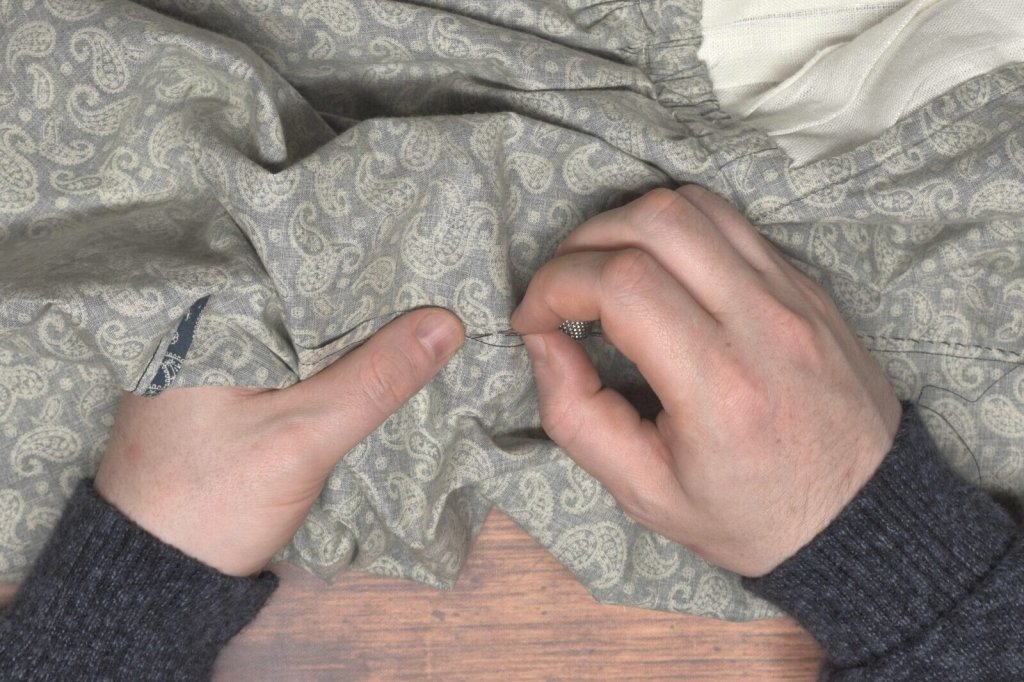
The side seams were also trimmed to 1/8" and felled to strengthen the seam and keep the edges from fraying.
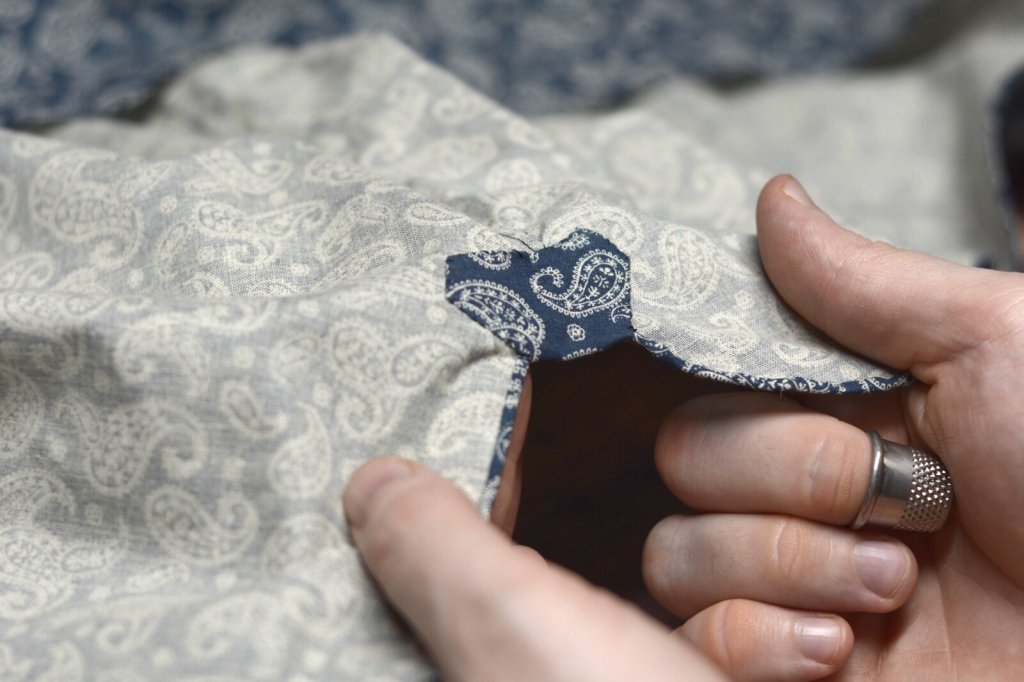
And to finish up the shirt body, a small gusset is inserted at the bottom of the side seam to tie it in with the hem and greatly strengthen the area.
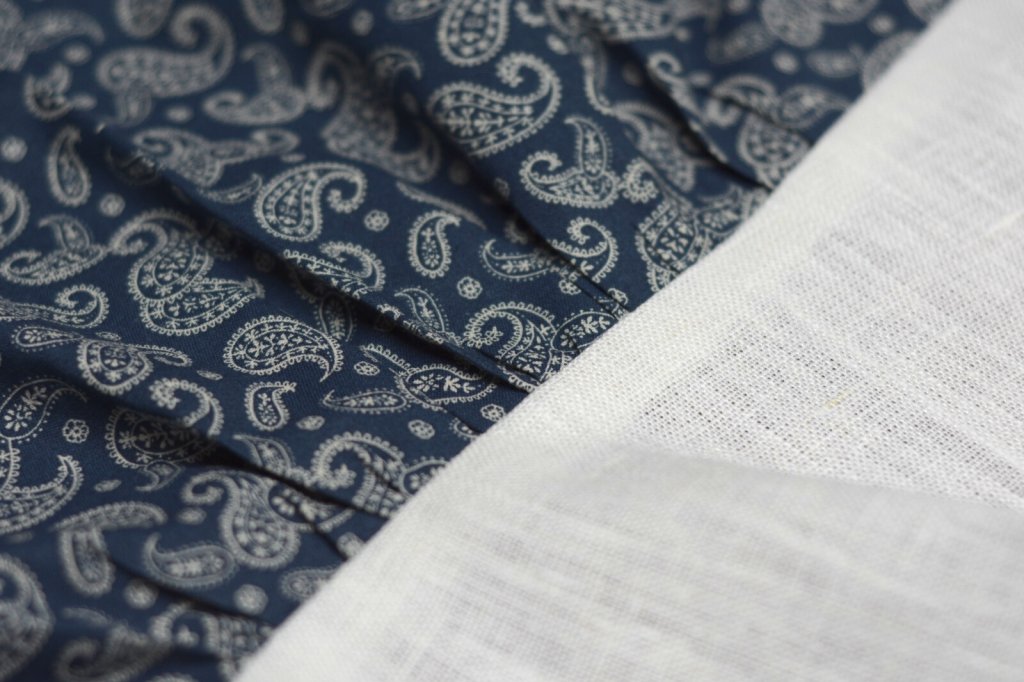
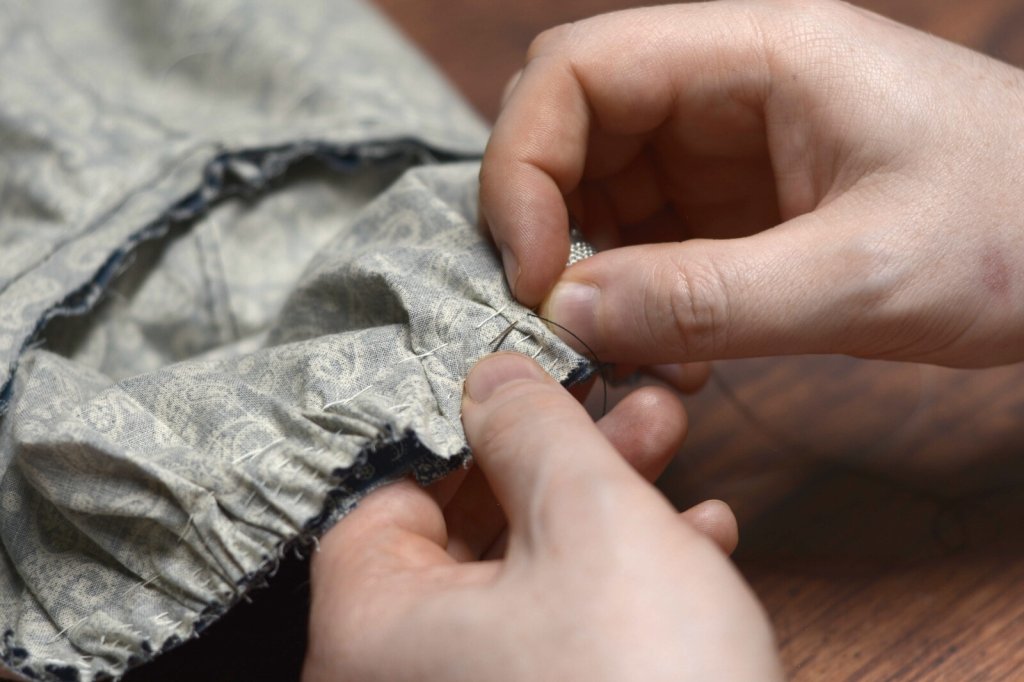
Next we move on to the sleeves and cuffs. The cuffs are very similar to the collar so I'll only show a few details here. Here the sleeve is gathered and sewn on to the outer cuff.
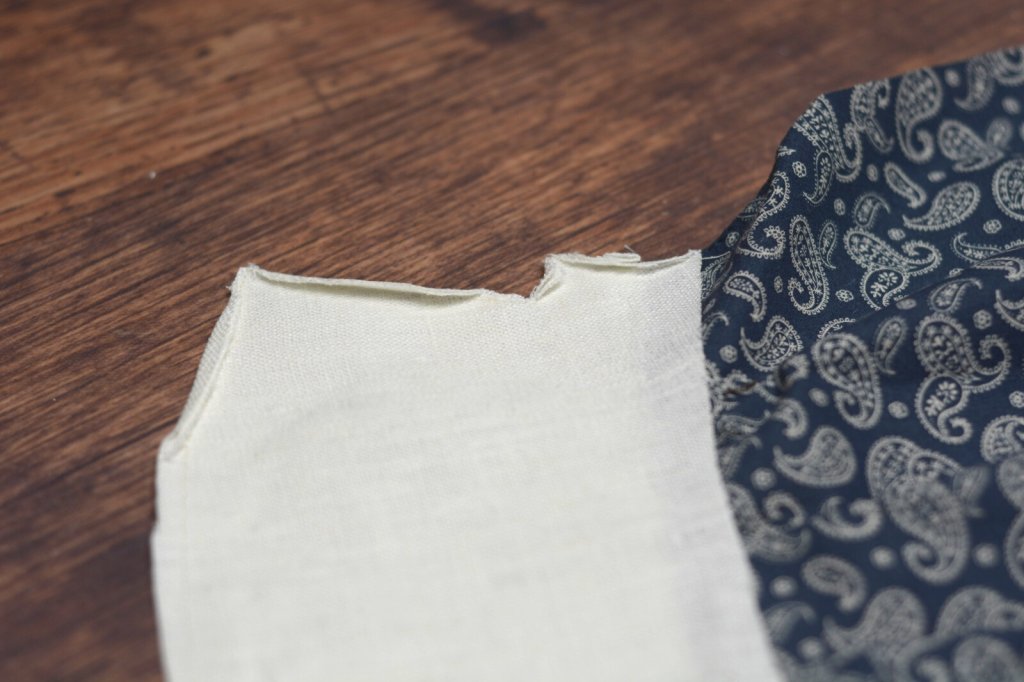
The inner cuff is attach, the seam allowances clipped, trimmed, and pressed over to facilitate turning right side out.
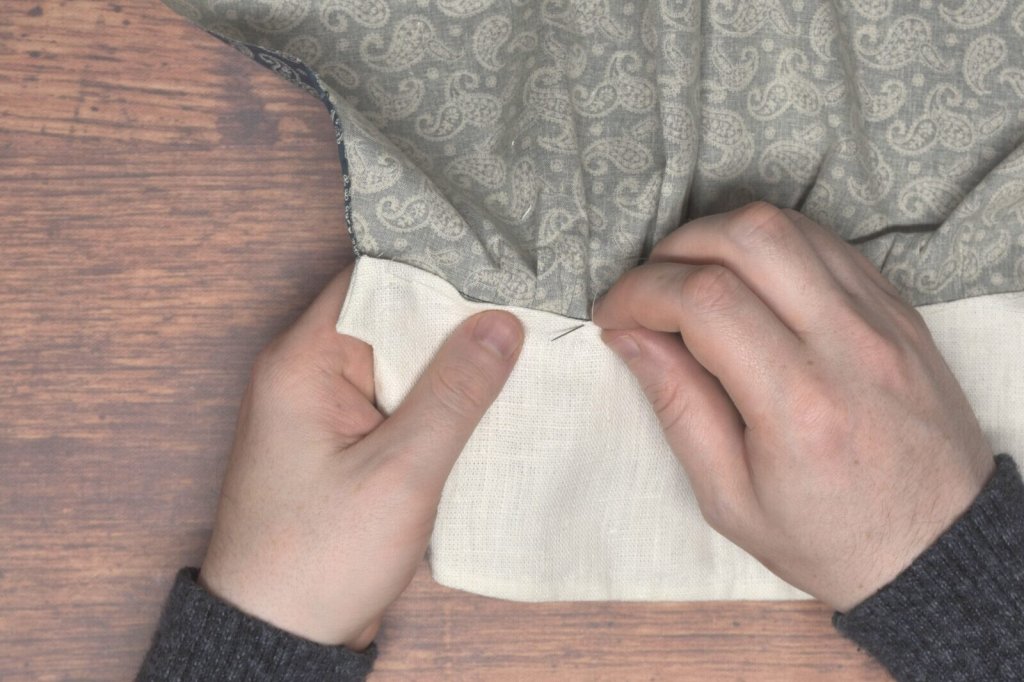
The inner cuff is then felled closed at the the bottom of the sleeve seam.
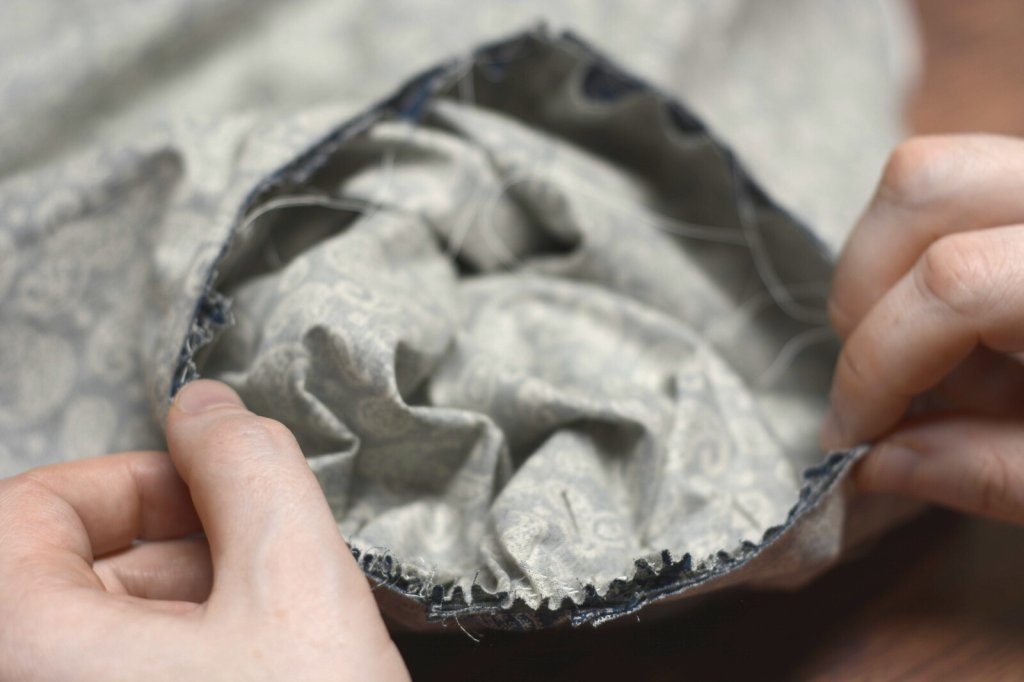
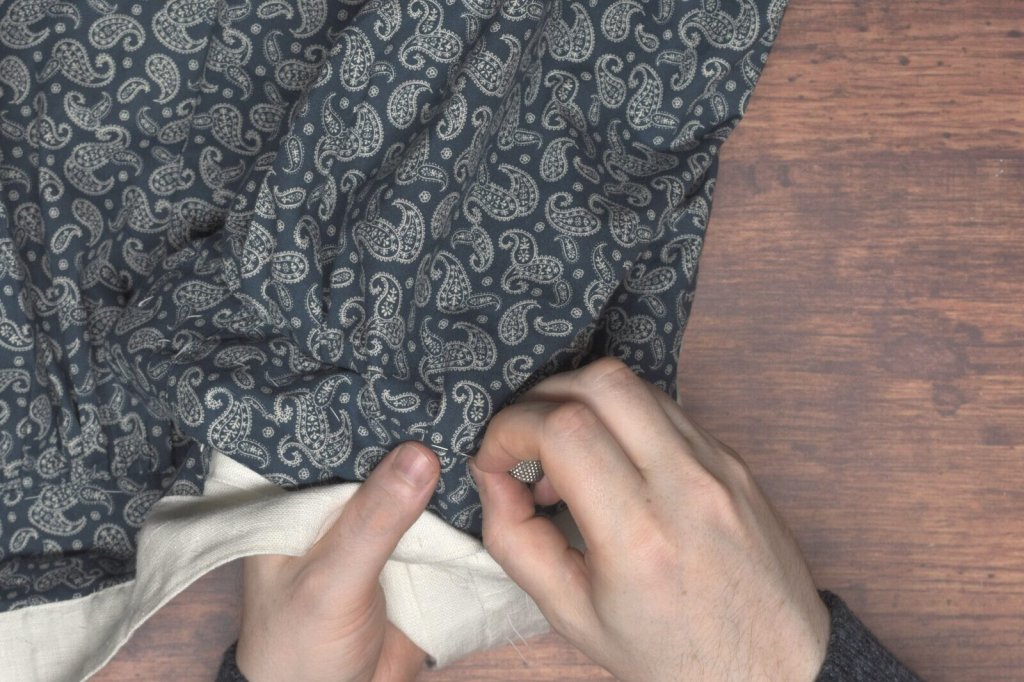
The sleeves are then set into the armscyes with a series of gathering stitches, some pinning, and basting to secure everything.
The armscye is then back stitched. I was hoping to get finer pleats, but it's a skill that definitely takes a lot of practice.
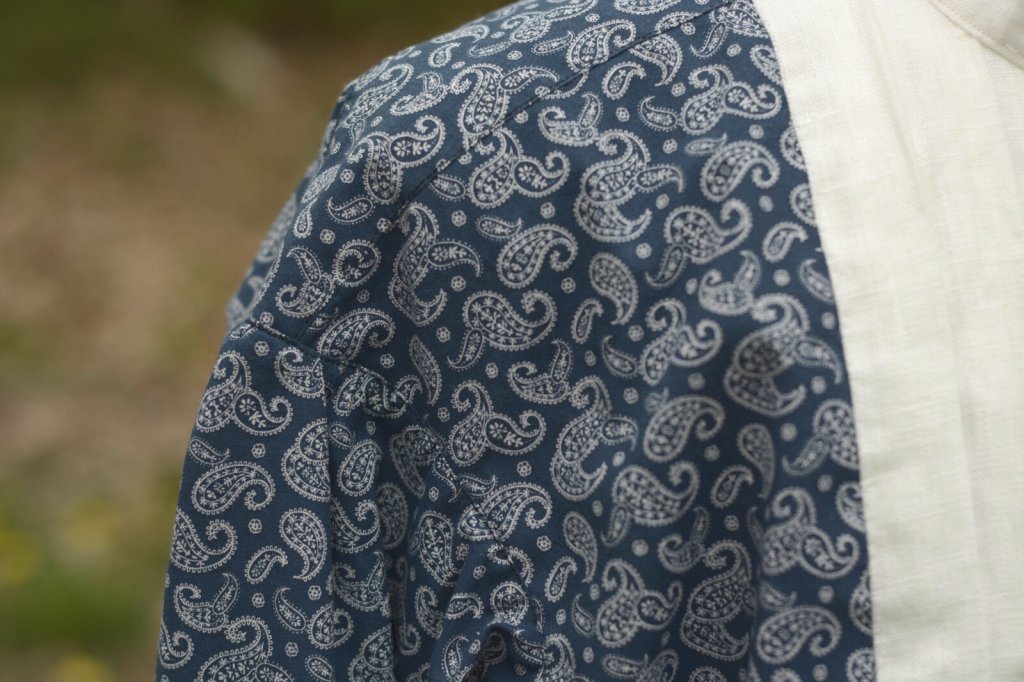
Finally, the sleeves were top stitched along the entire armscye.
You can see the top stitching a little better here. It helps secure and strengthen the armscye and prevent the seam allowance from moving around.
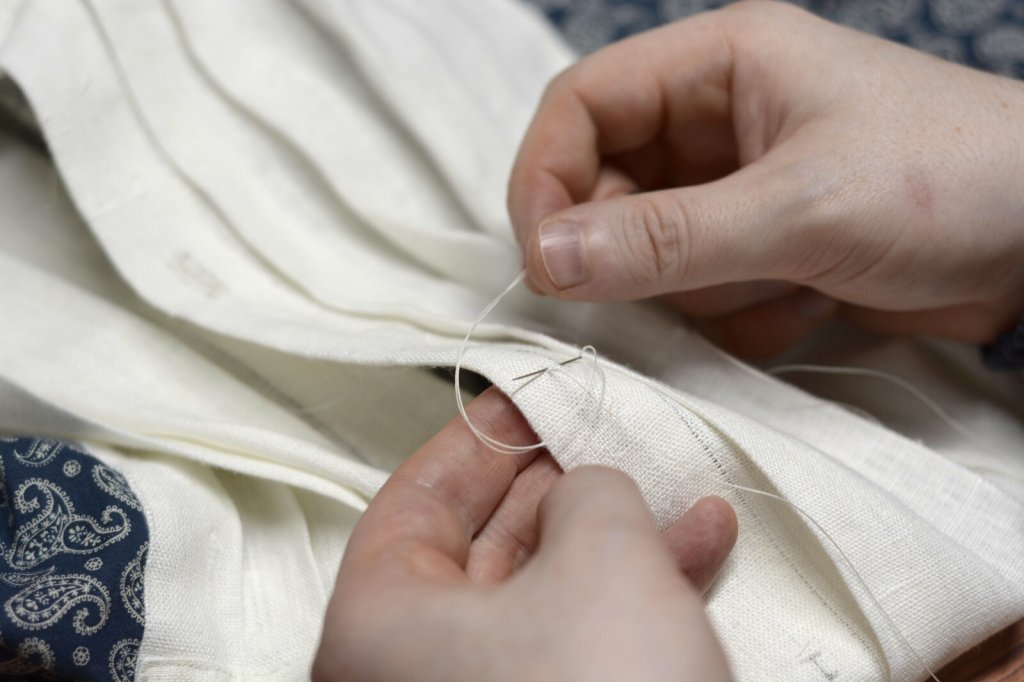
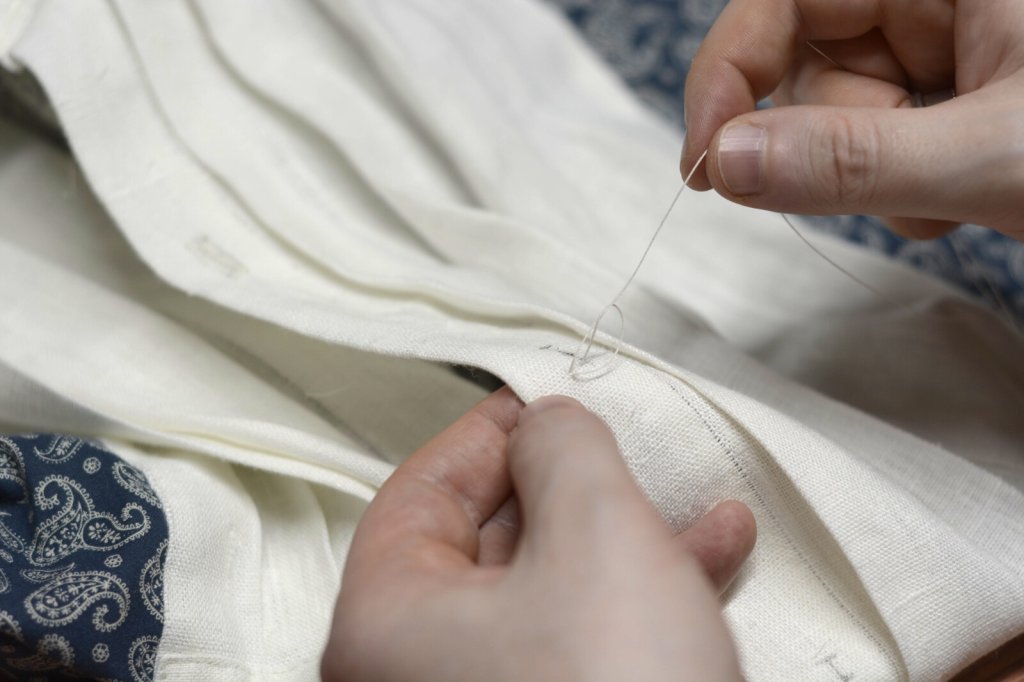
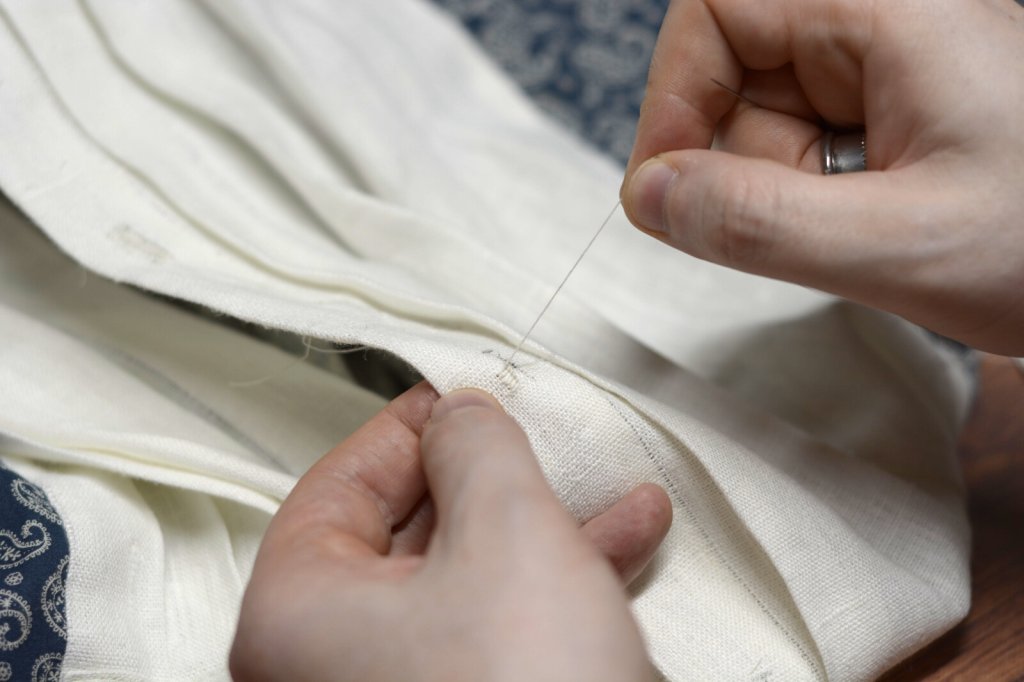
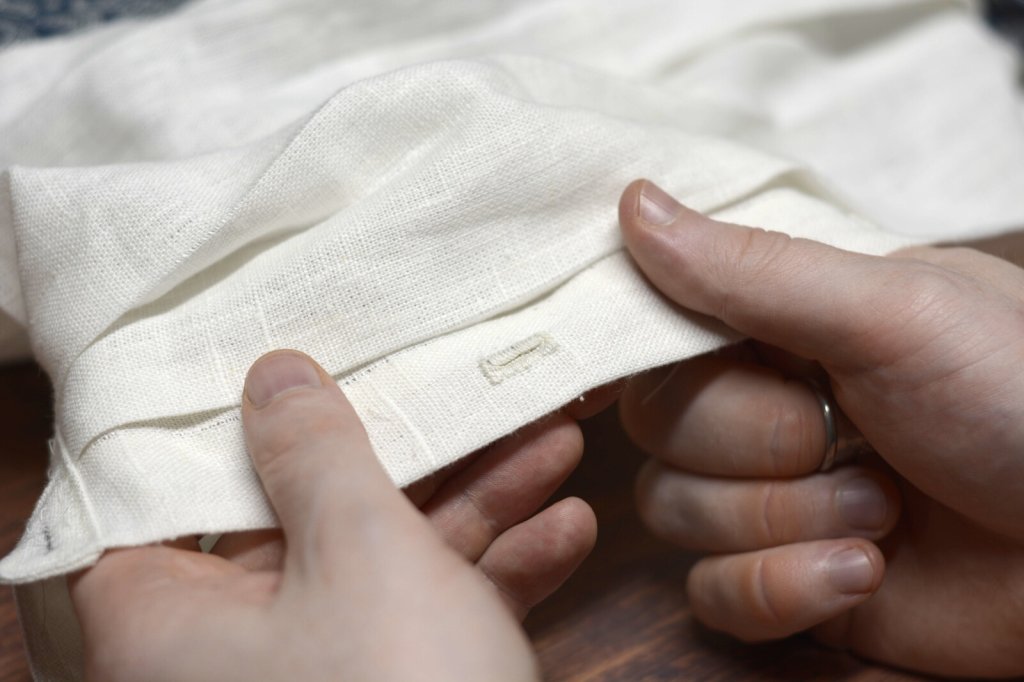
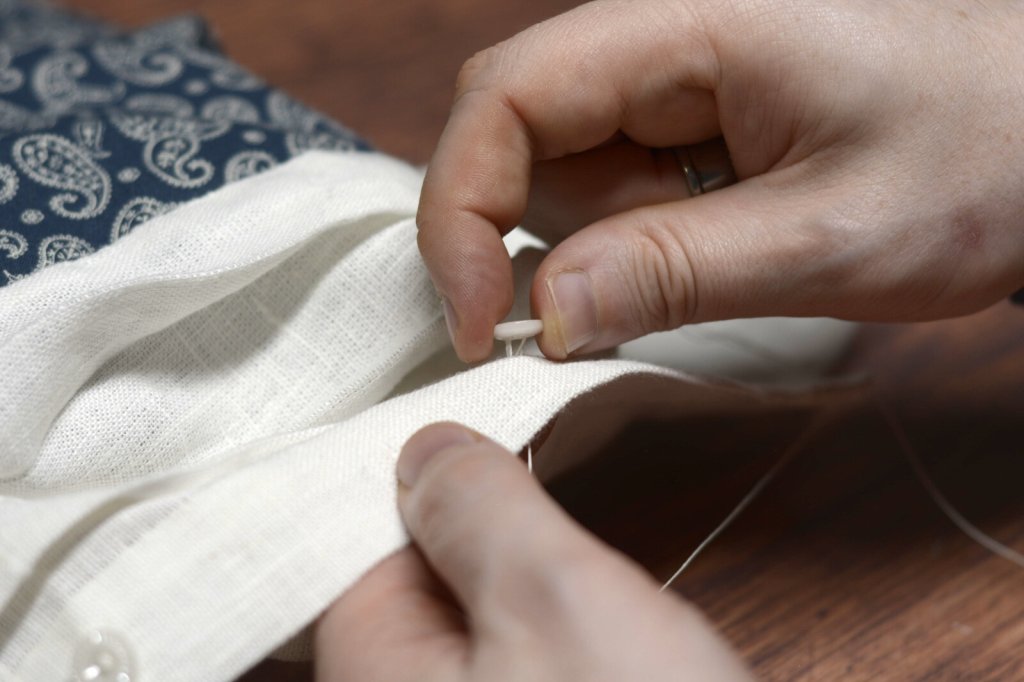
Next, the buttonholes! I cut them open with a chisel as I find it the easiest and cleanest method.
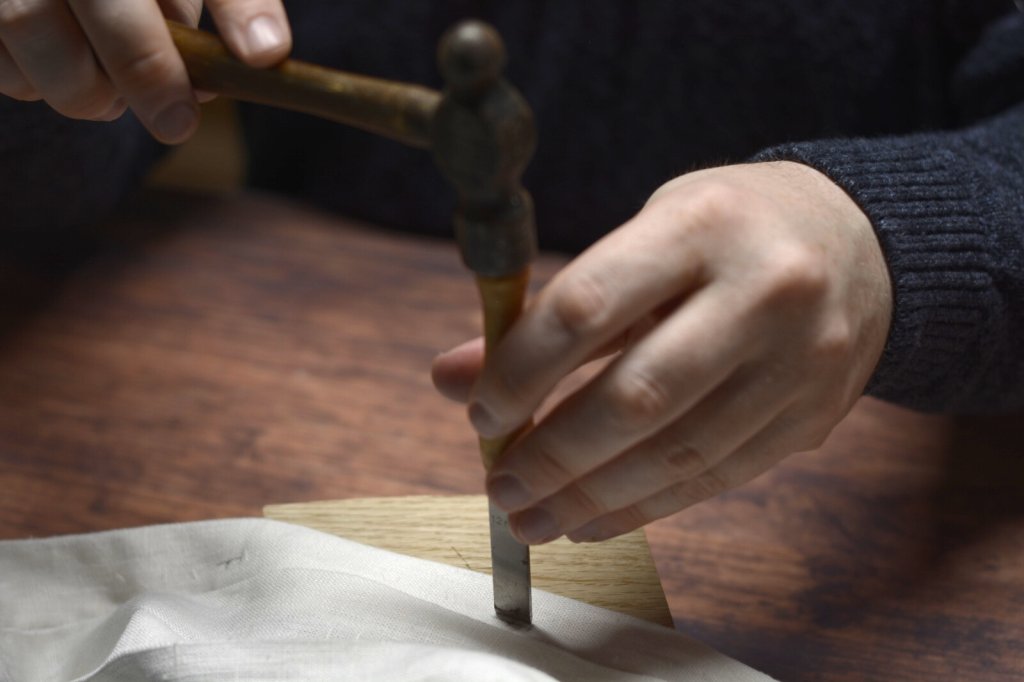
The buttonhole is then worked without gimp.