Recently, I embarked on a new project, copying an original linen paletot from the 1860s. Paletots are similar to a frock coat, though they lack a seam across the front waist, and could be cut anywhere from very fitted, to loosely fitted. I decided to make mine semi-fitted, with a shapely yet relaxed fit.
The first step was drafting the paletot, which I did using a draft from Devere’s Handbook of Practical Cutting on the Centre Point System, 1866.
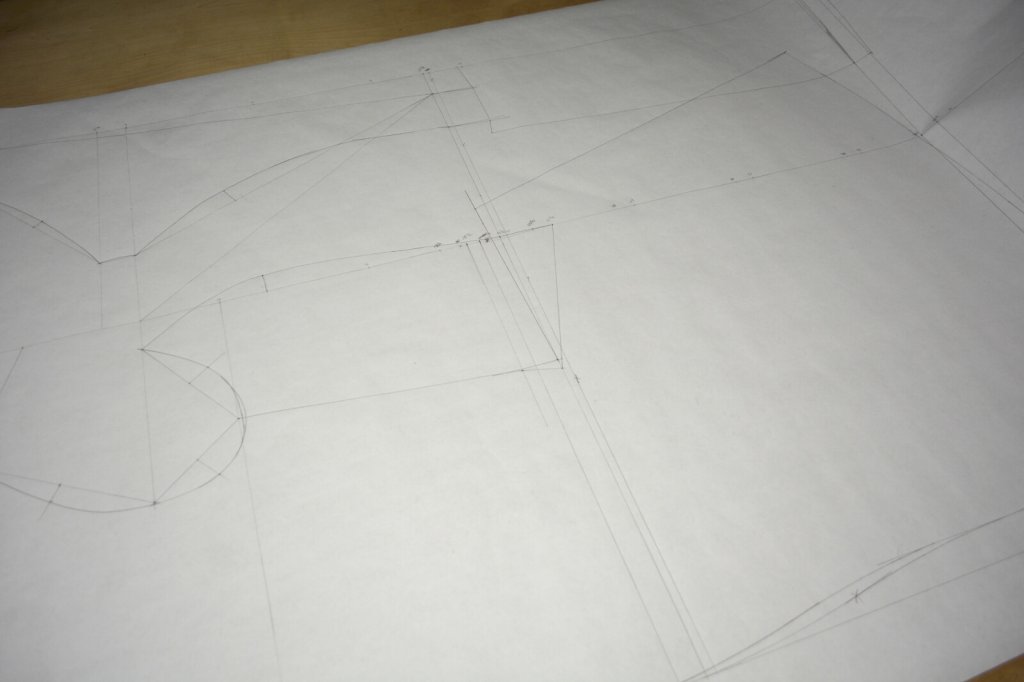
Drafting the paletot pattern.
The drafting was fairly straightforward. Here you can see the forepart and sidebody drafts. At the waist are various construction lines, I think I must have miscalculated and redrawn the waistline a few times. These lines are important for measuring purposes and come in use during the construction process to find the position of the bottom button, for example.
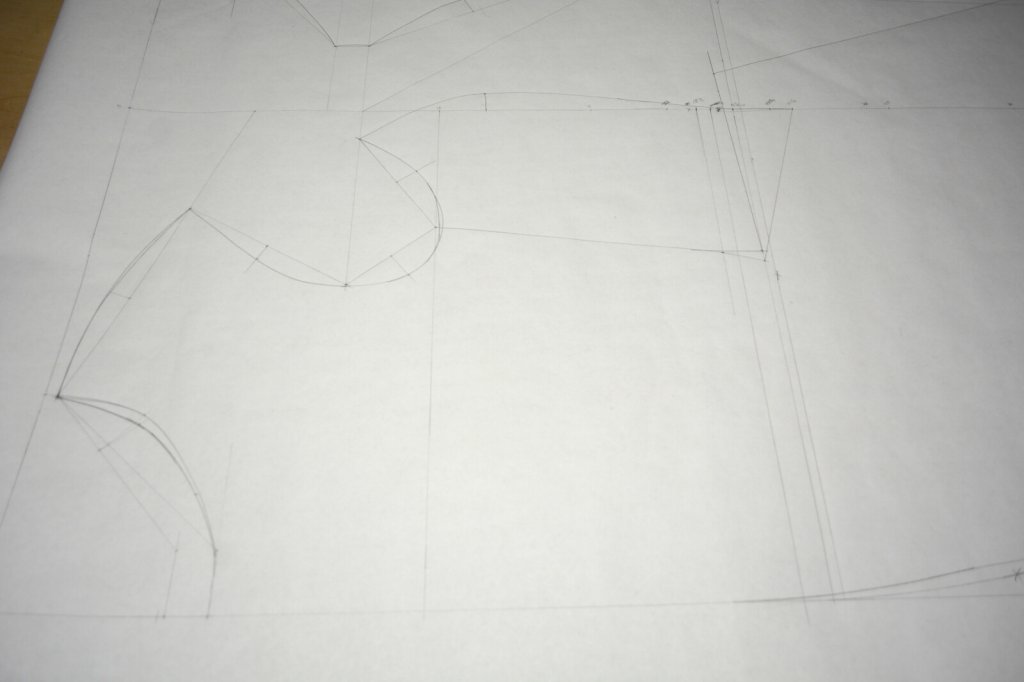
The forepart and sidebody patterns.
Seam allowances of 1/2 inch were added to all pieces, which were then cut out. Here I’m figuring out the roll line based on a sketch I did of the original coat. Since I was unable to measure the coat, I’m basically working with proportions and angles here.
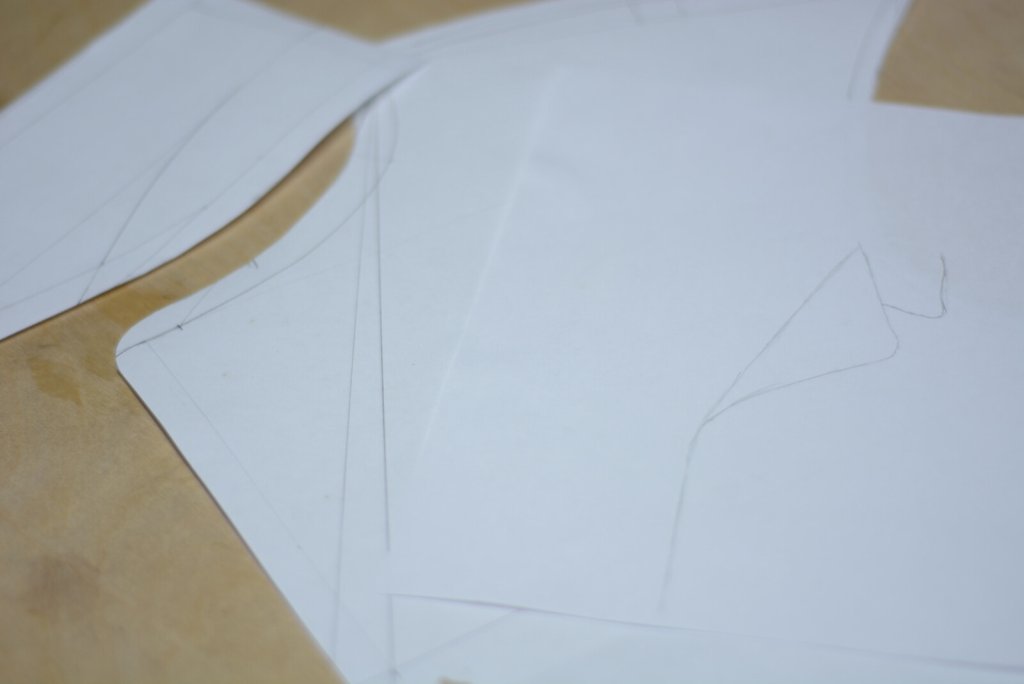
The roll line and lapel areas.
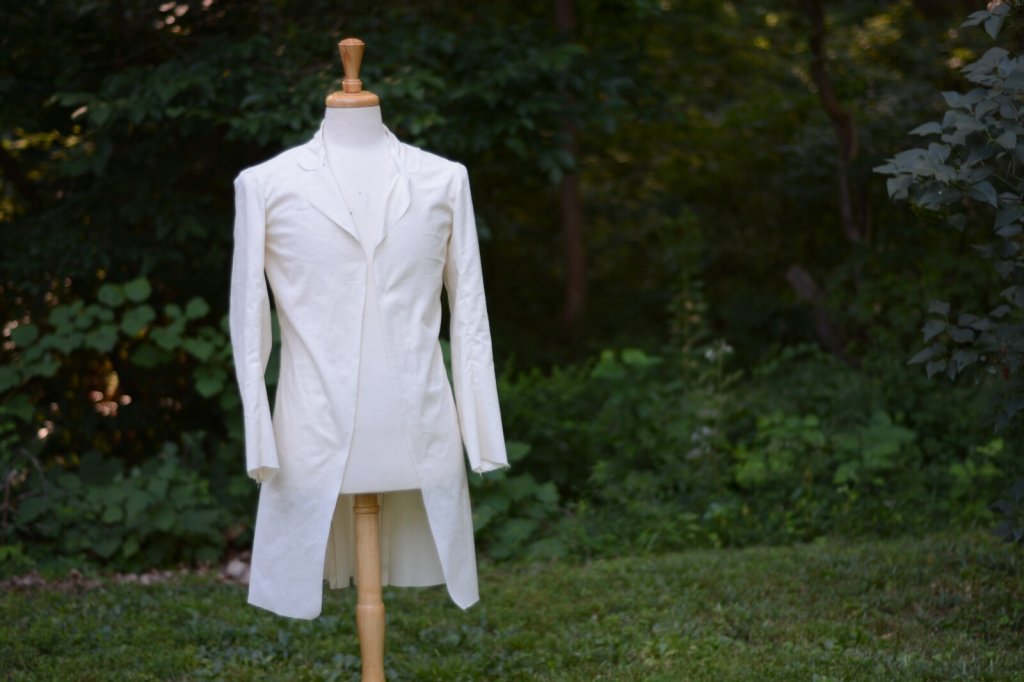
Next I made a toile for the client, including the sleeves and collar, since this was an unfamiliar pattern. From here I was able to make a few adjustments to make the fit just so.
The toile all ready for fitting.
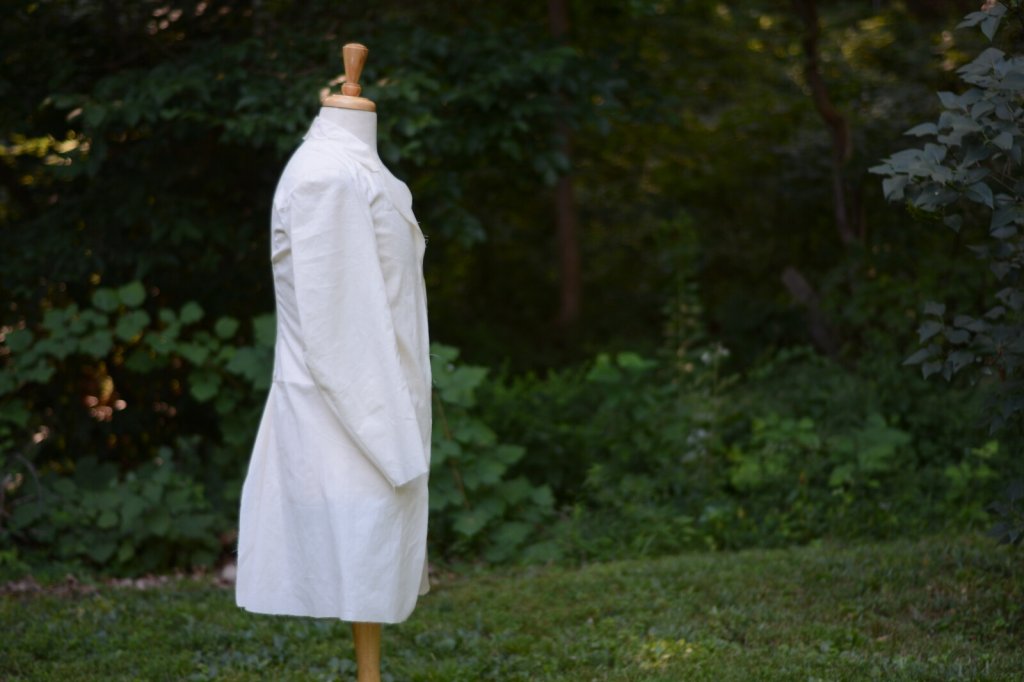
I love the shape of the profile view, especially around the hollow of the back.
Side view of the toile.
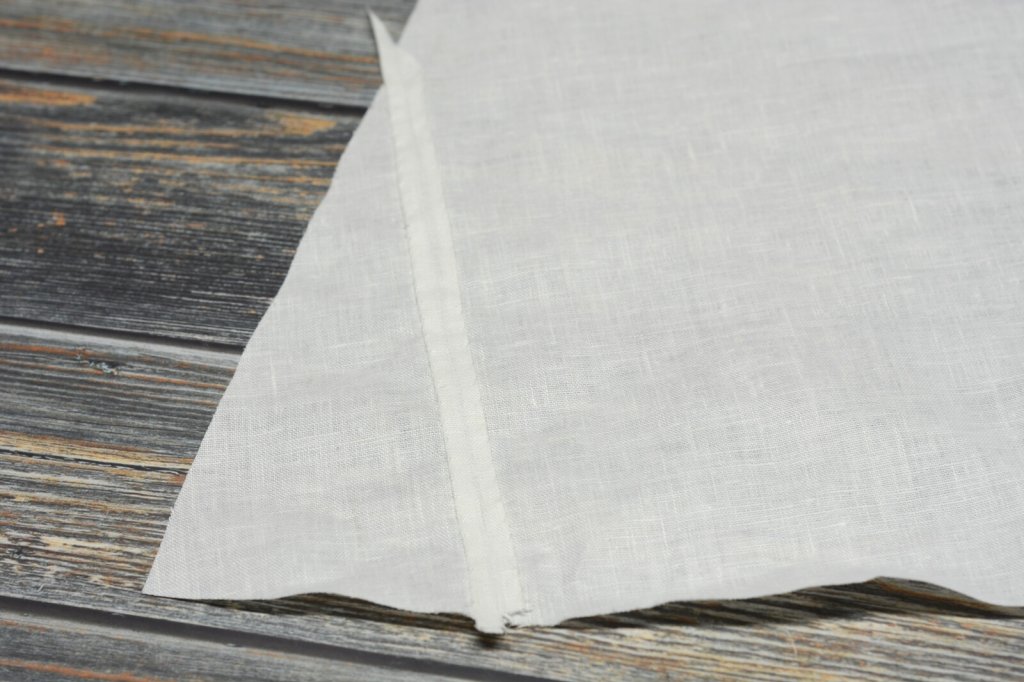
After finalizing the pattern and cutting out the coat in the actual linen fabric, I set about the construction process. The seams were quick to construct. First they were sewn, right sides together, and then the raw edges pressed under themselves and felled with a tiny stitch.
Piecing together the skirt.
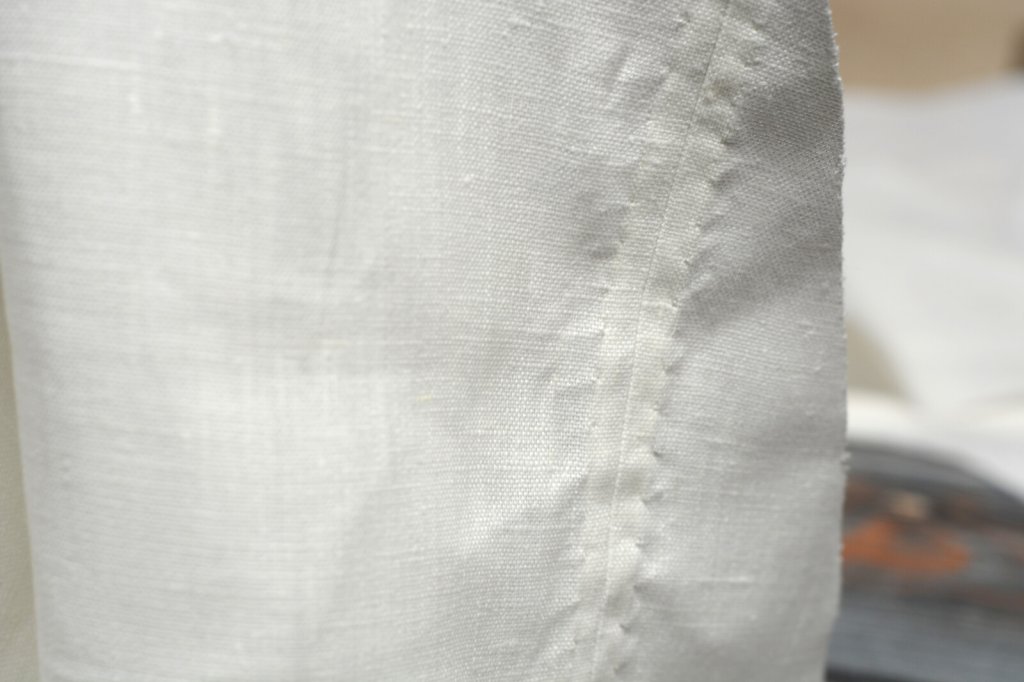
Here’s a close up of the inside of the seam.
The felled edges of the seam.
And the outside of the seam.
The seam from the right side.
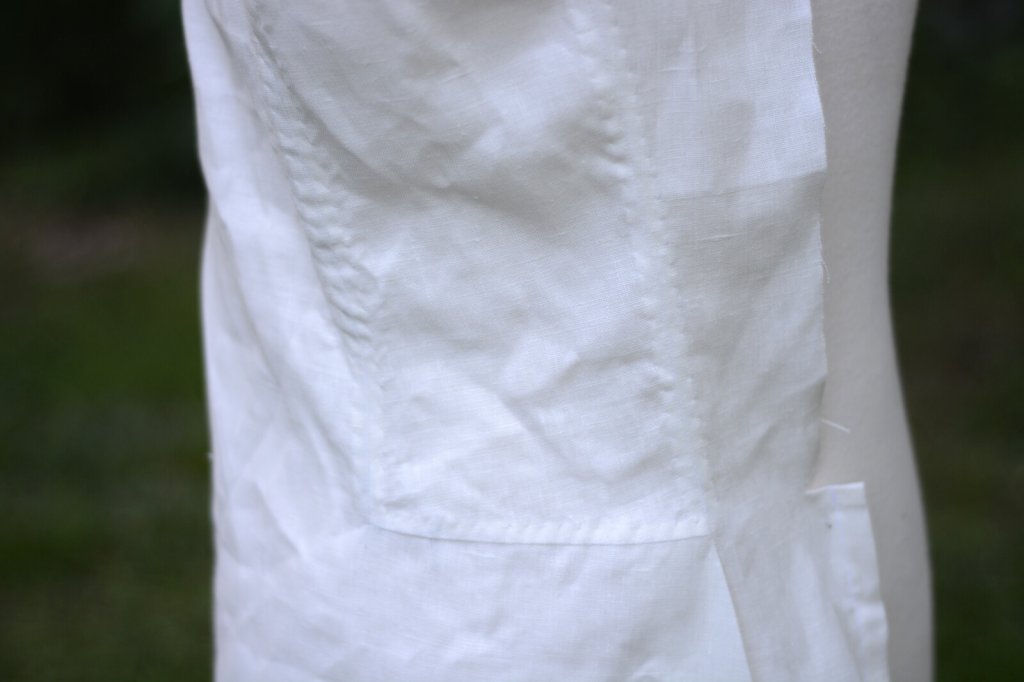
Here’s how the coat looked after sewing the side body to the forepart, and attaching the back body.
The completed sidebody.
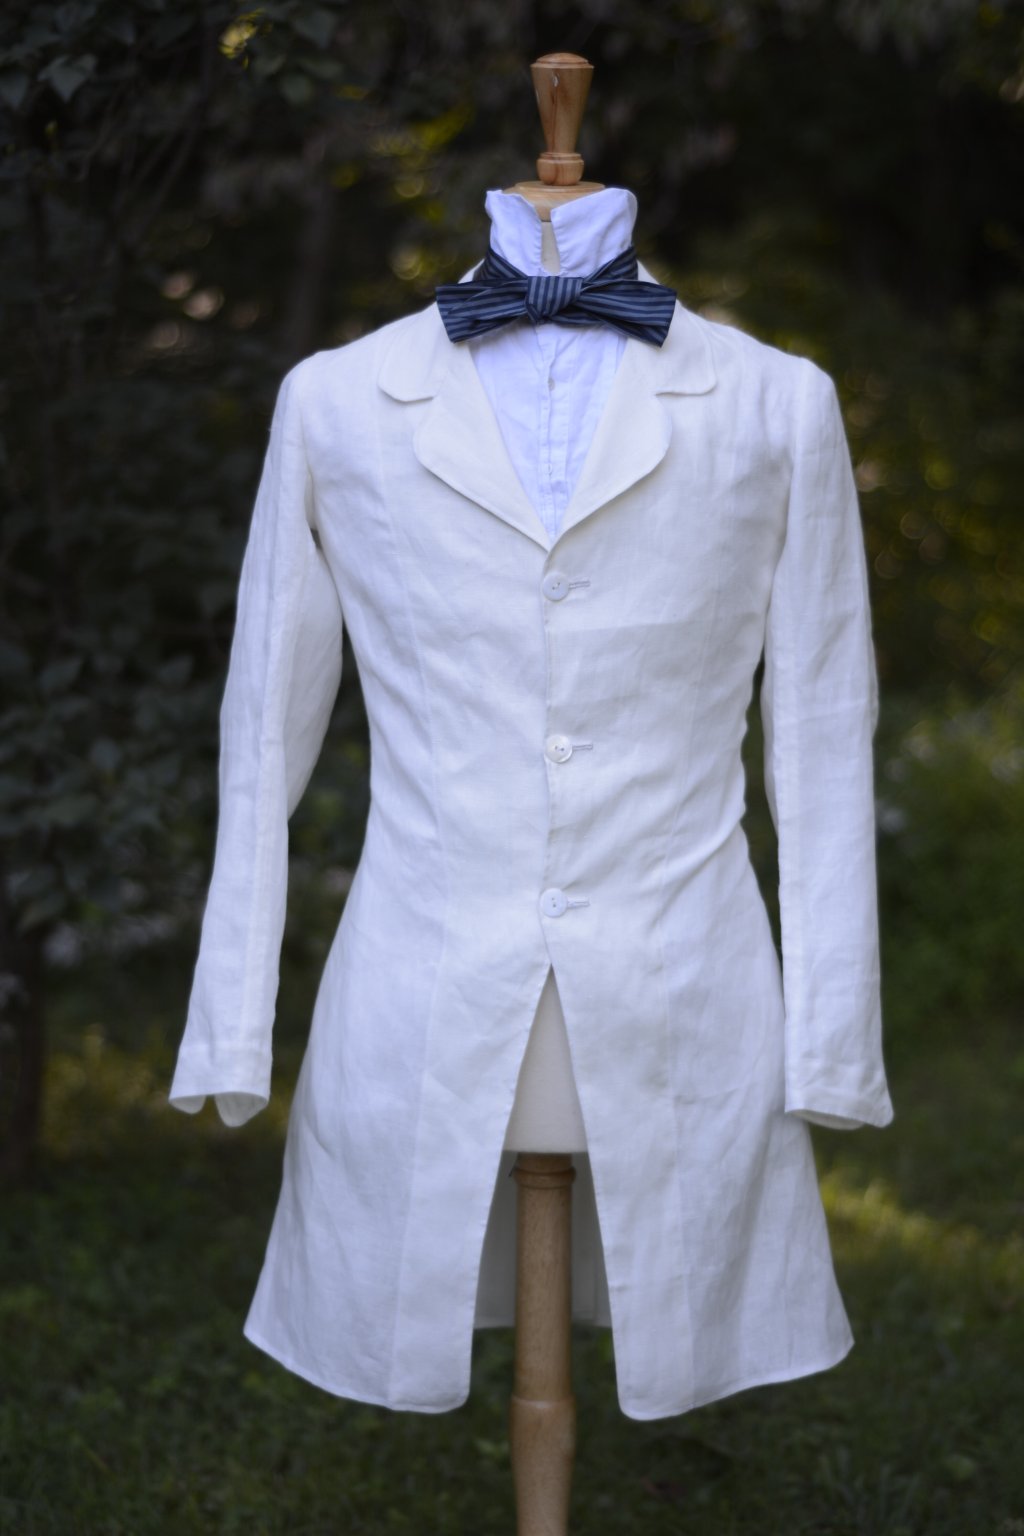
From here, facings were added, the coat halves were joined together, collar sewn, and sleeves attached, giving the completed coat. I really love how this turned out, the shape is just about perfect
The completed paletot from the front.
The sleeves are curved as per the style of the early 1860s.
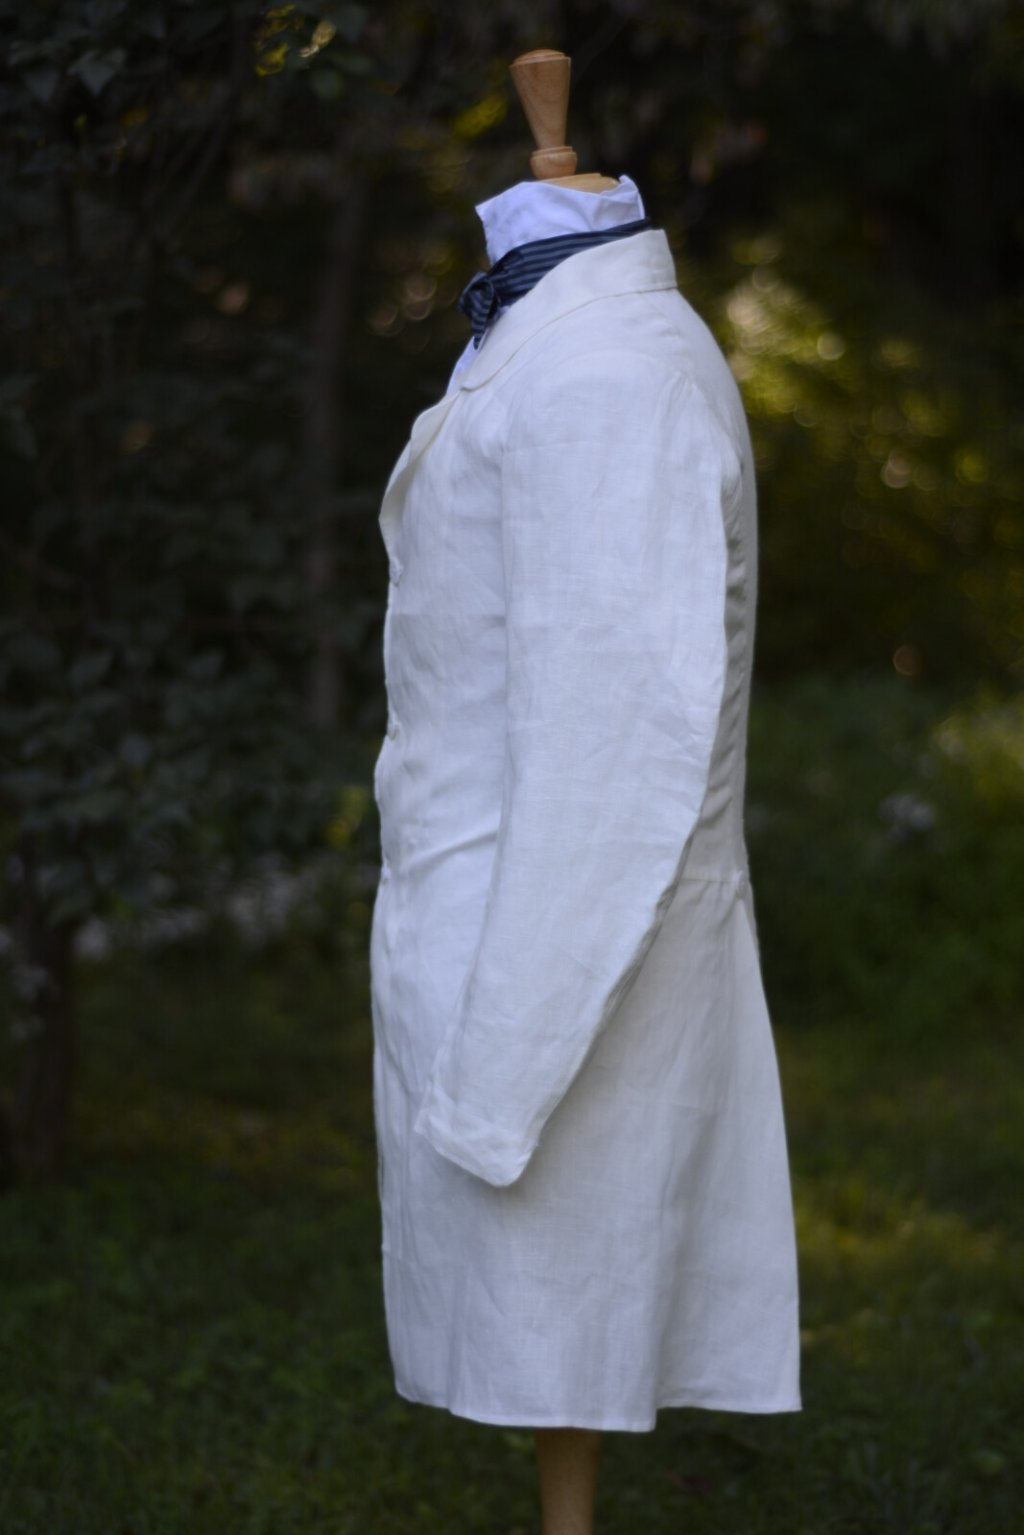
Side view of the paletot showing the sleeves.
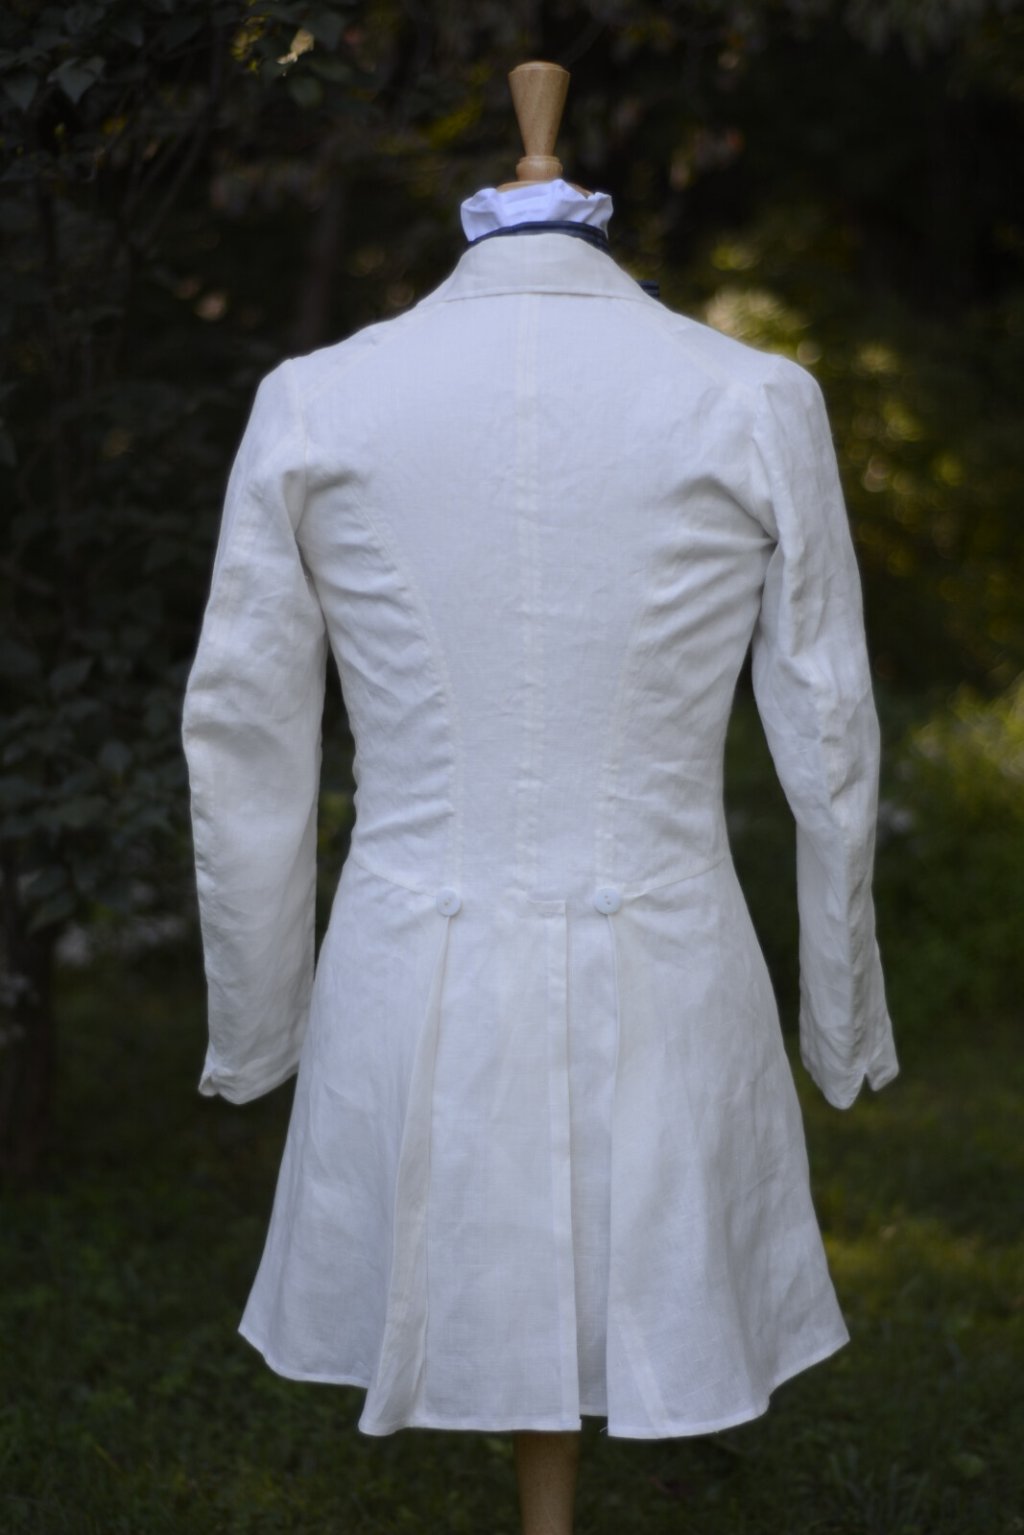
.And a view of the back showing how all of the pieces come together. I used mother-of-pearl buttons, and the two in the back serve a dual-purpose of being both fashionable and strengthening the intersection of the skirt, back, and sidebody.
Back of the paletot.
Here’s a video I made showing more of the construction details that went into making this beautiful coat.