Shirts and other similar garments of the mid-19th century were often hemmed with what is known as a rolled hem, a very narrow - 1/8" or even less - stitch that rolls the fabric back over itself. It can seem intimidating but once you learn how it works, it becomes second nature very quickly. In this short article, learn how to sew this stitch yourself.
Sewing a rolled hem.
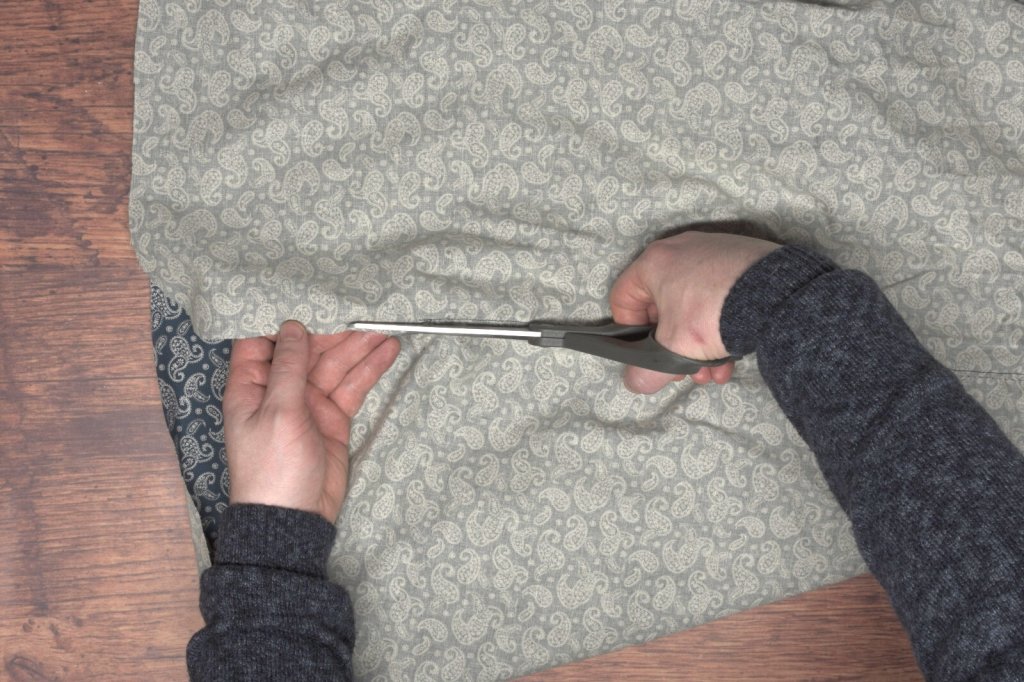
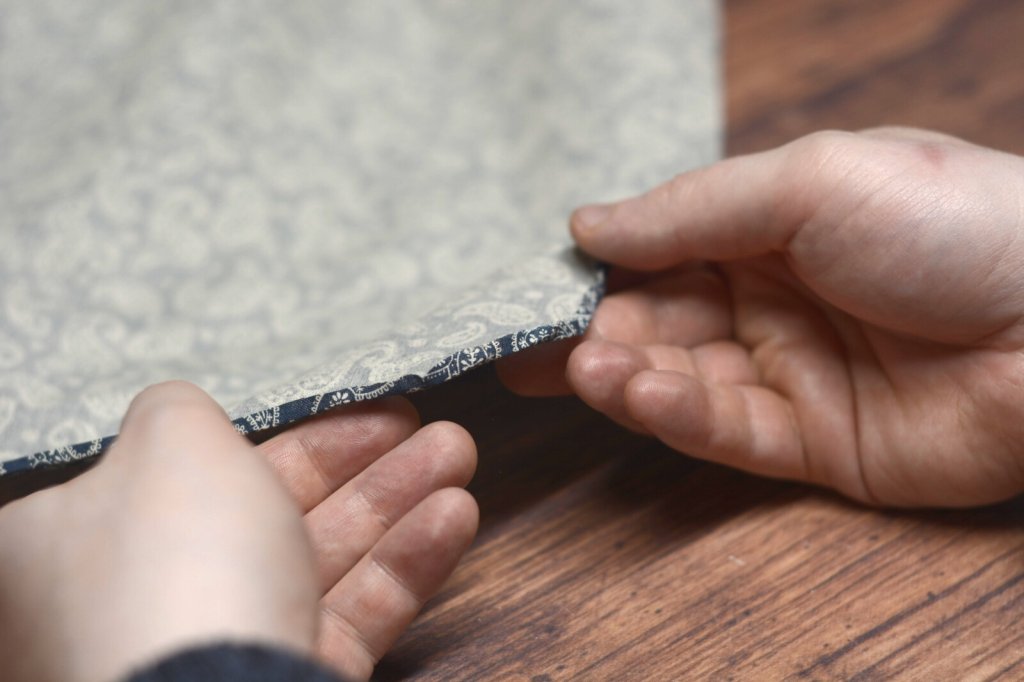
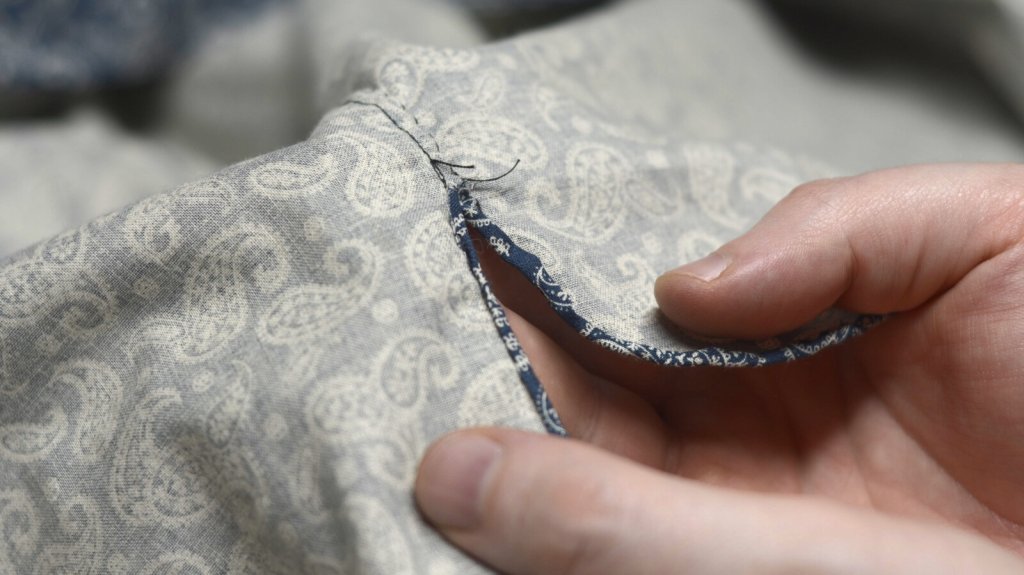
Begin by trimming the seam allowance at the hem to 1/8" if you haven't already cut it that way.
Trim the seam allowance to 1/8".
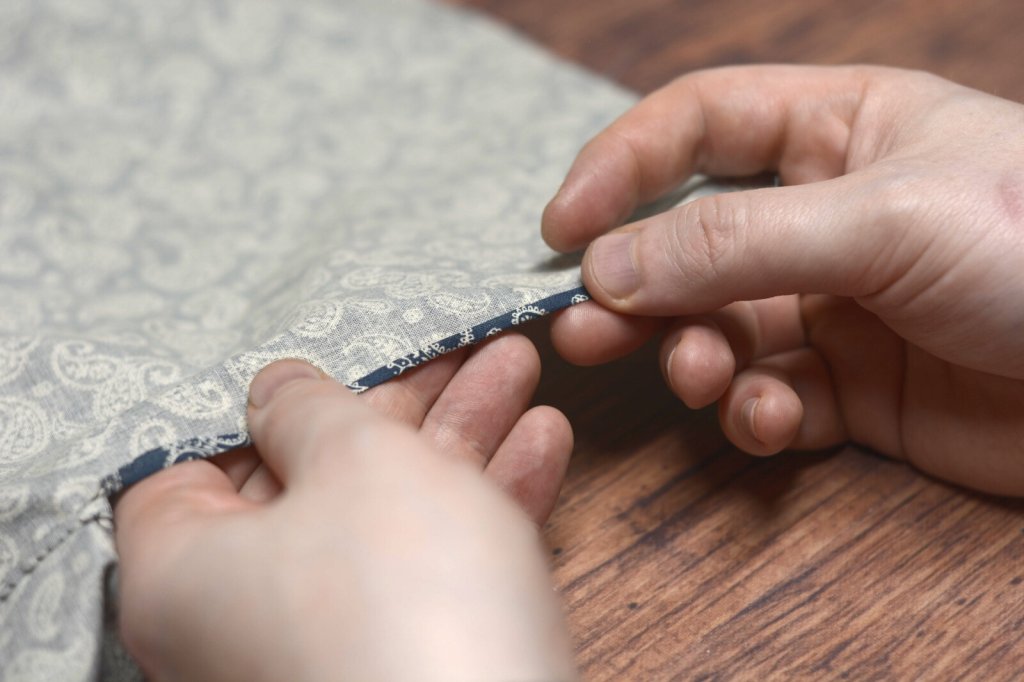
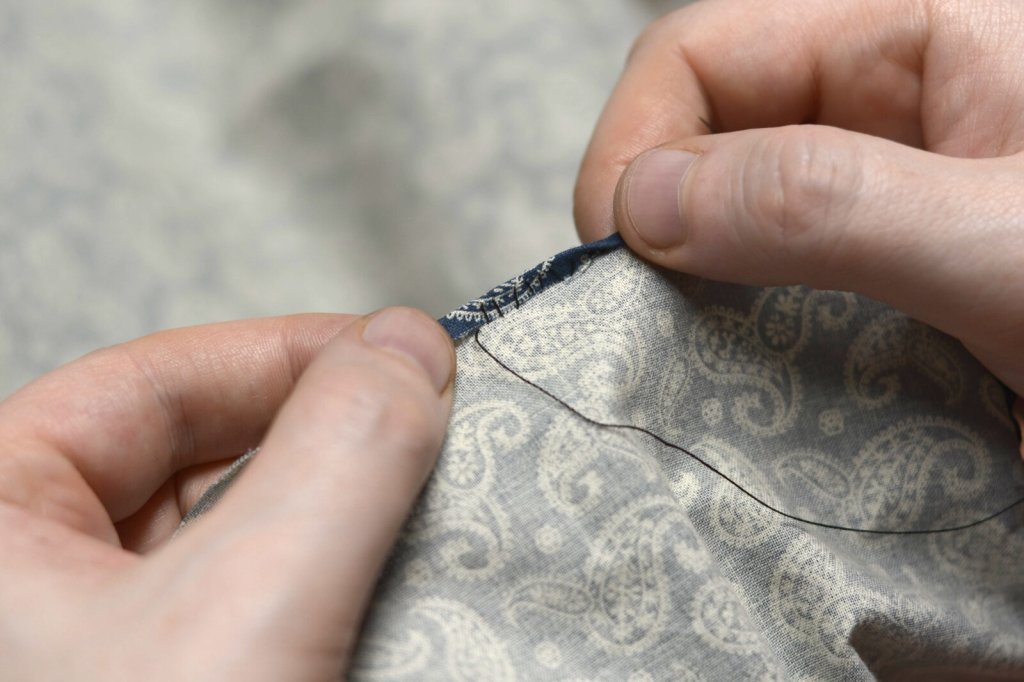
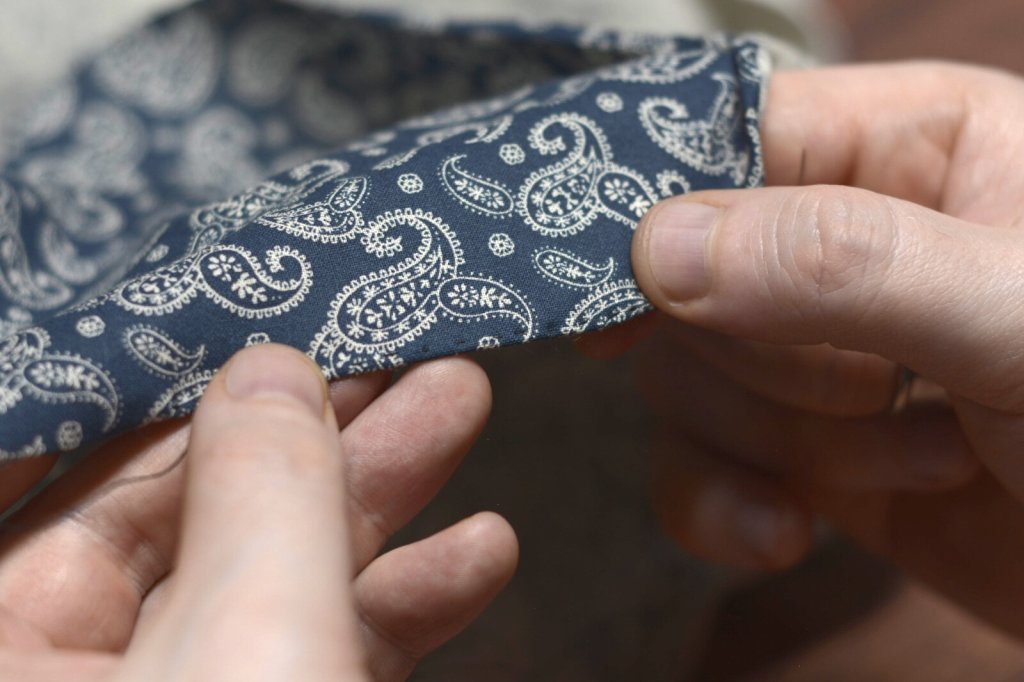
Turn back the raw edge to the wrong side 1/8" along the entire hem, pressing with your fingernails as you go.
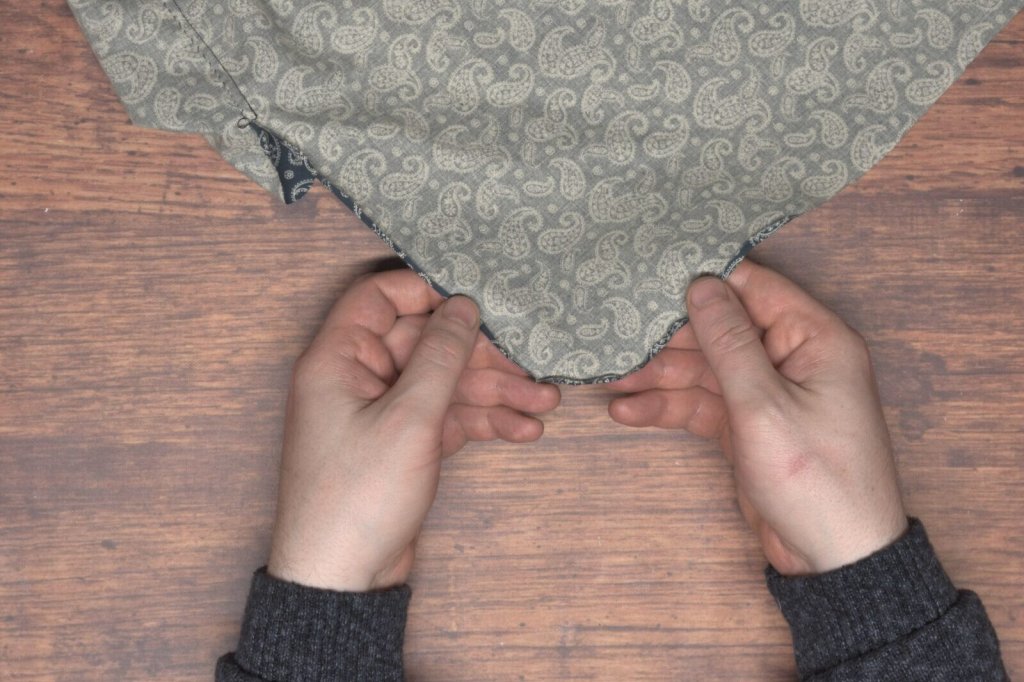
The curved areas can be a little troublesome, just keep working at it, keeping the fold as narrow as possible.
Fold the hem around the curved areas.
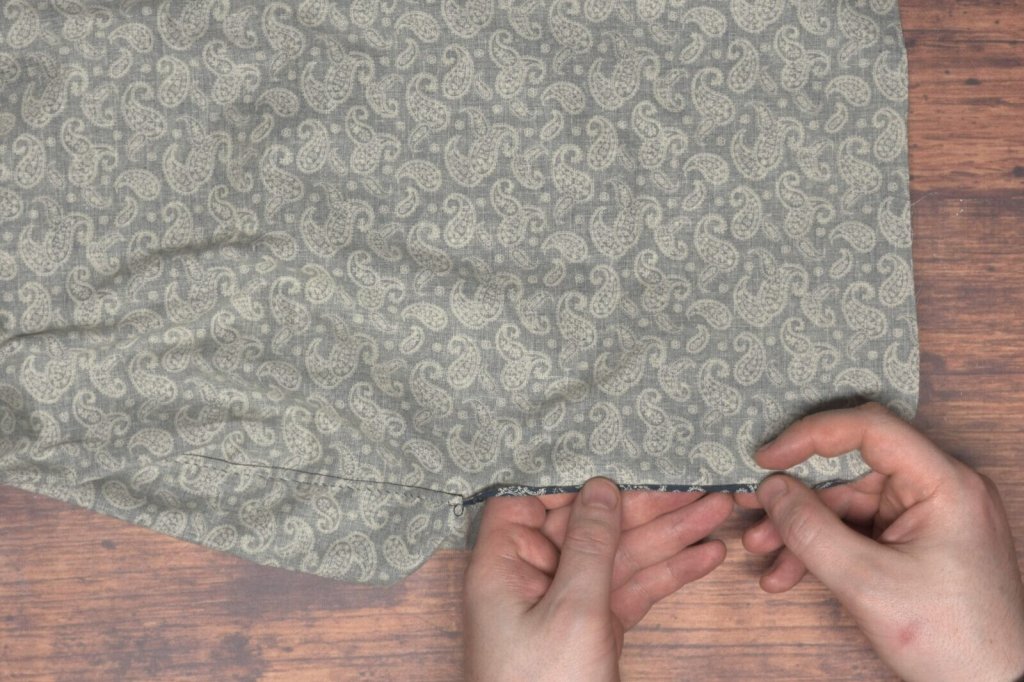
You can press the fold with the iron afterwards to keep everything more firmly in position.
Press the folded hem as necessary.
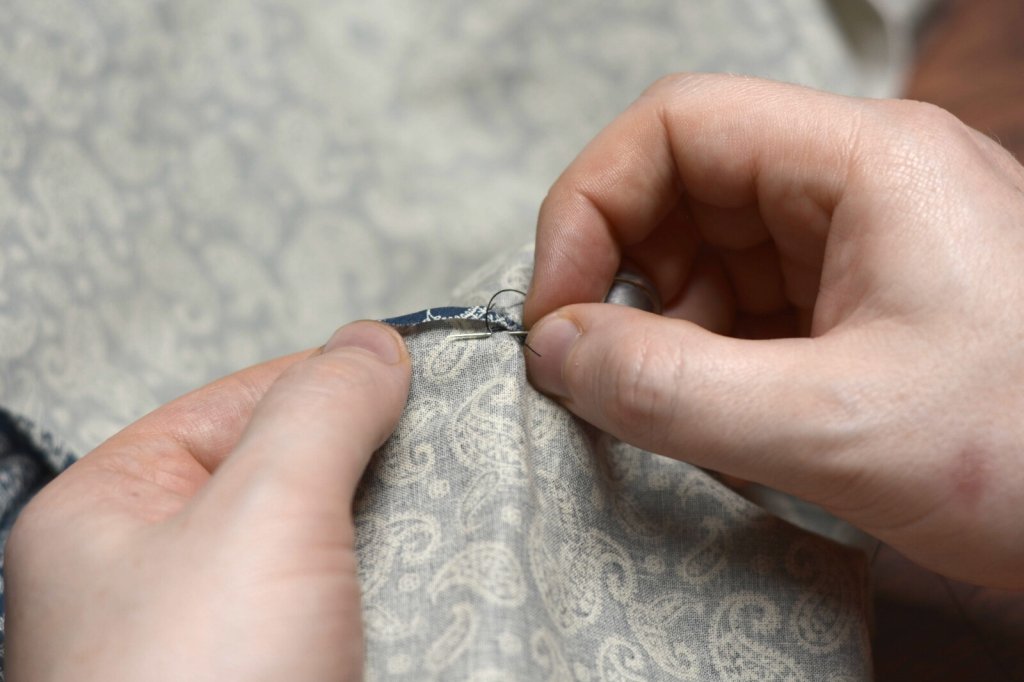
Start the hem stitch about 1/4" below the bottom of the side seam, allowing us to taper the seam after and keep everything flat. Begin with three stitches in place on the fabric, just past the raw edge of the fold.
Make a few stitches in place.
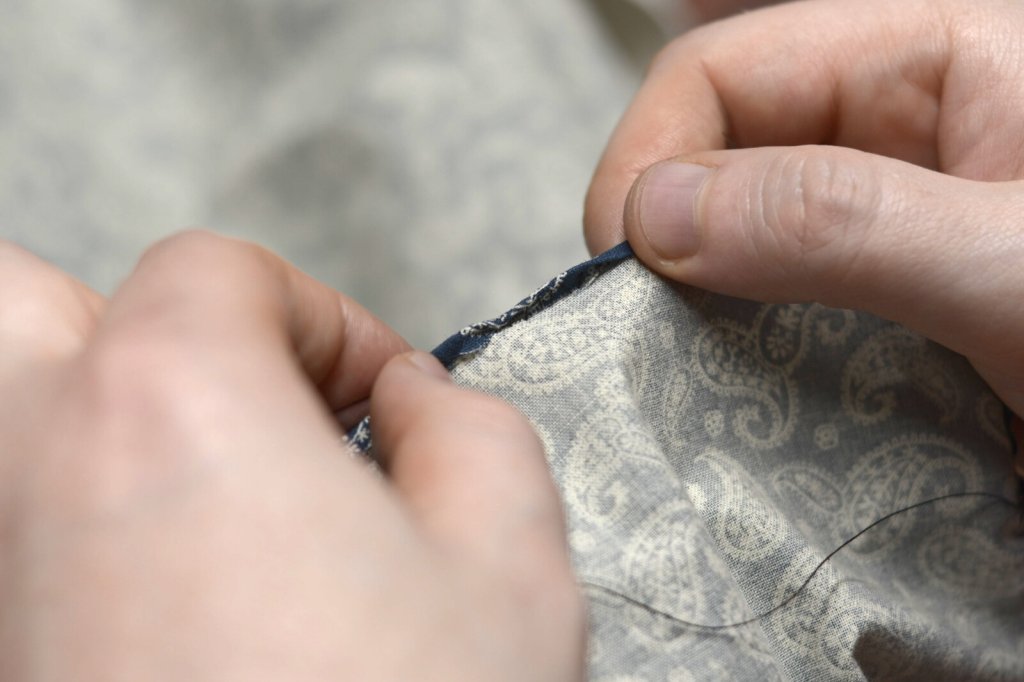
Take a small running stitch directly across from the end of the previous stitch, catching only the fold.
Make a stitch in the folded fabric.
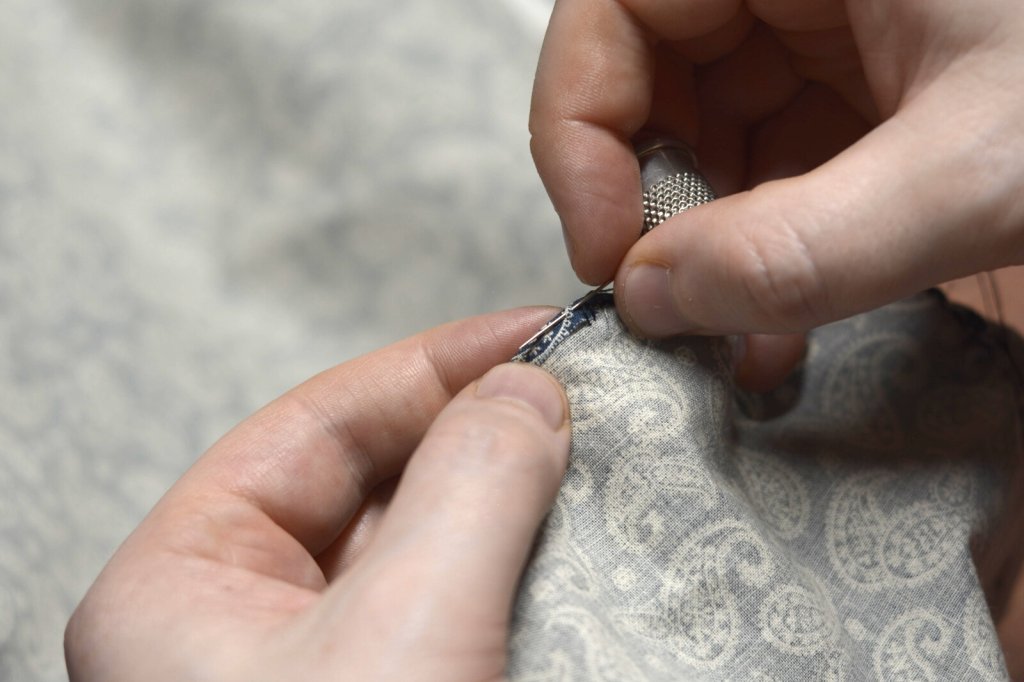
Then take another small running stitch just below the raw edge, directly under the end of the previous stitch. Don't pull the stitches taught yet.
Take another stitch just below the folded hem.
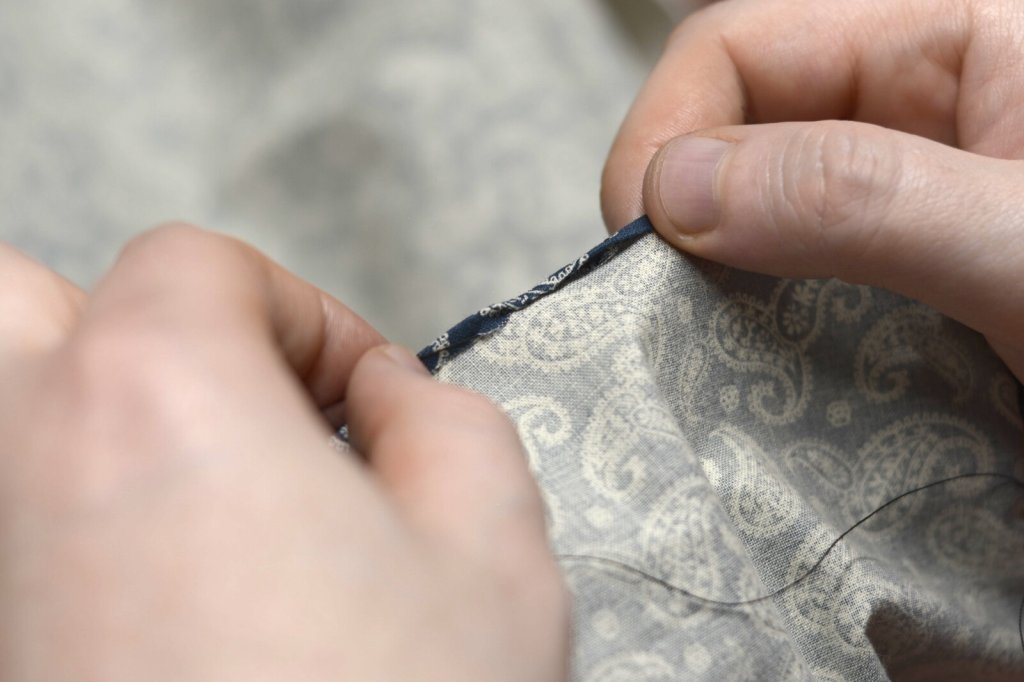
Continue working stitches until you have an inch or so of progress.
Work about an inch of stitching.
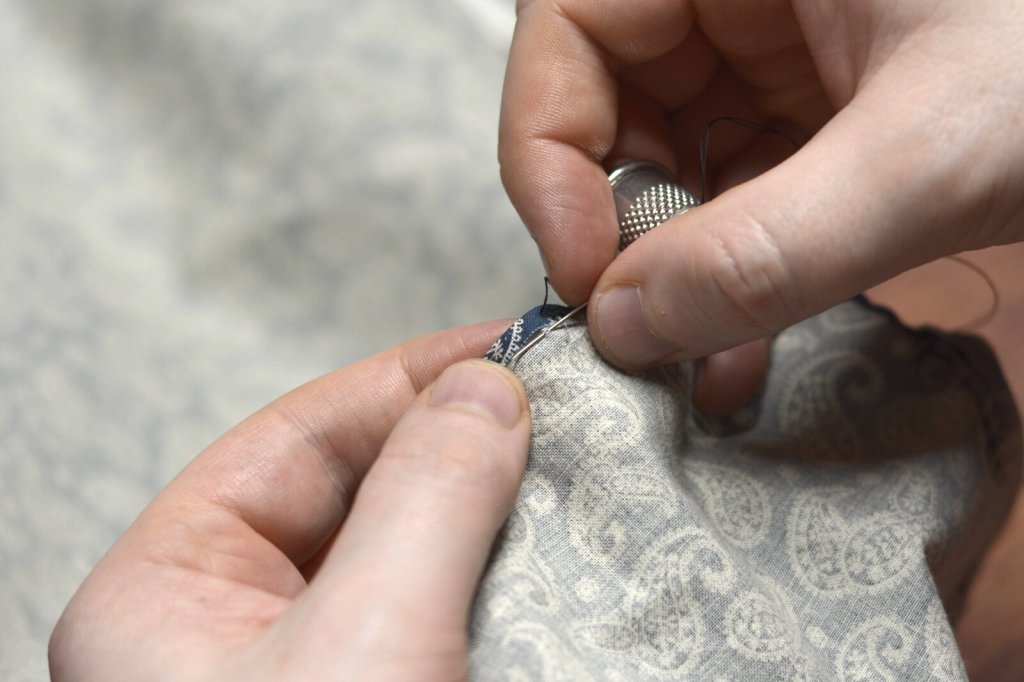
After sewing about an inch, gently pull on your thread, tightening up the stitches you just made. The folded edge should begin to roll over itself, forming the rolled seam. Don't pull too tight, or you'll begin to pucker the fabric. You can make up to about 2" worth of stitches before pulling, though the tension on the thread does get a little higher and you risk breaking the thread.
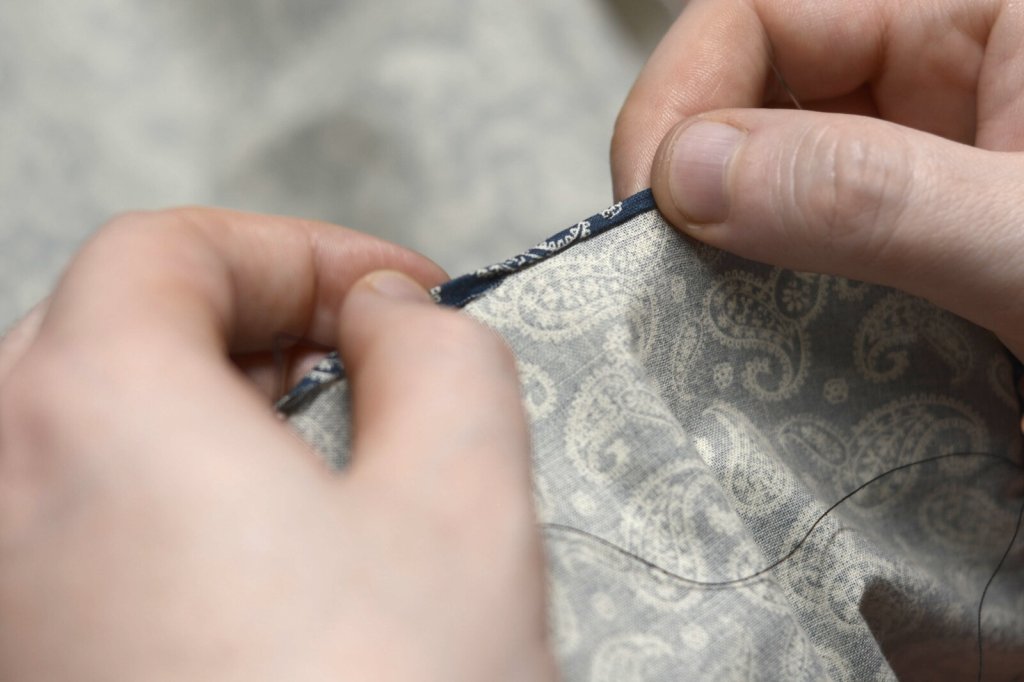
Here are the results so far. Continue stitching across the entirety of the hem to within 1/4" from the bottom of the other side seam.
The rolled hem after pulling taut.
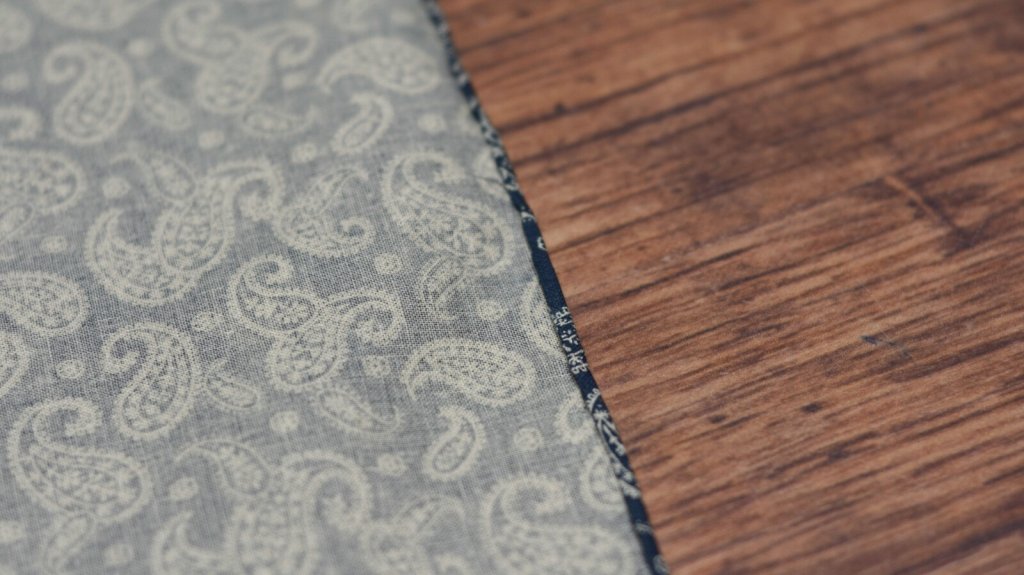
On the right side, you should have a crisp edge, and a row of small running stitches showing about 1/16" from the edge.
The rolled hem from the right side.
Here's the completed hem.
The completed hem.
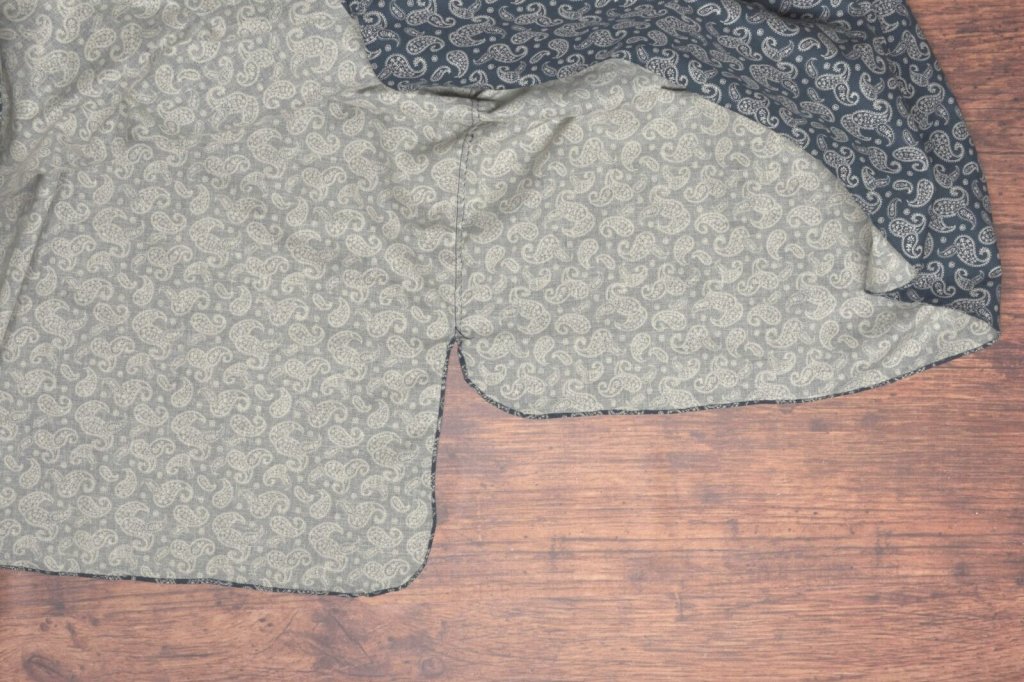
At the bottom of the side seam, I kept the stitching about 1/4" from the bottom, to allow the hems to taper gently out of the roll, giving a flatter edge. This also avoids having to deal with 1/16" or 1/32" seam allowances trying to get everything lined up perfectly with the rolled edge.
The hem tapers near the side seam.
Everything should be as flat as possible near the bottom of the side seams, no puckering or anything.