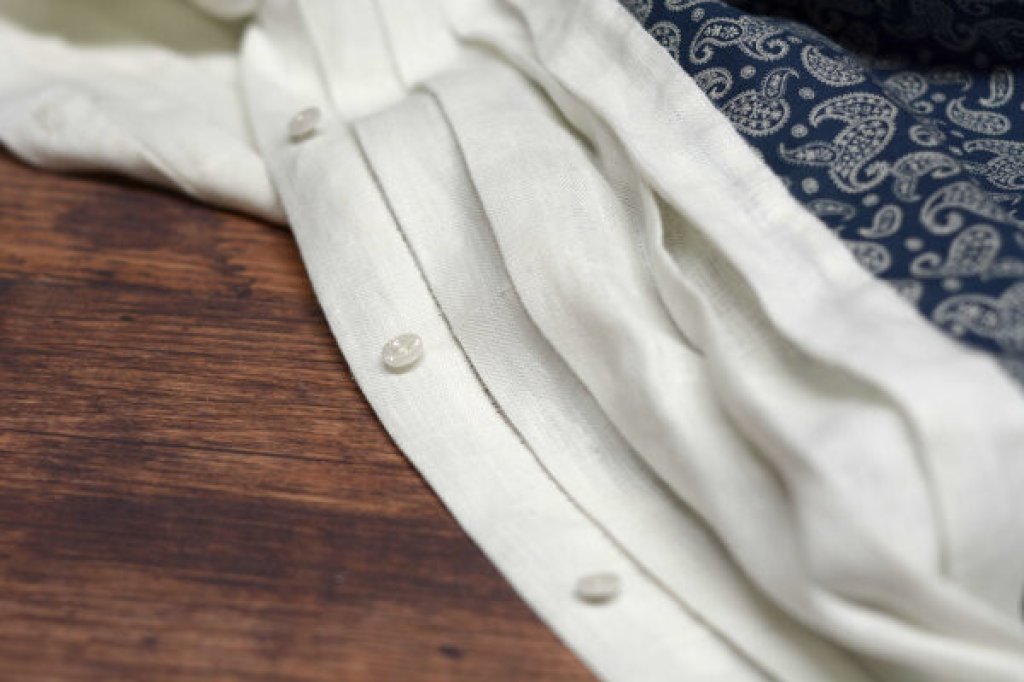
1860s Pleated-Front Shirt Online Class
Register today to learn how to sew your own 1860s civilian style shirt.
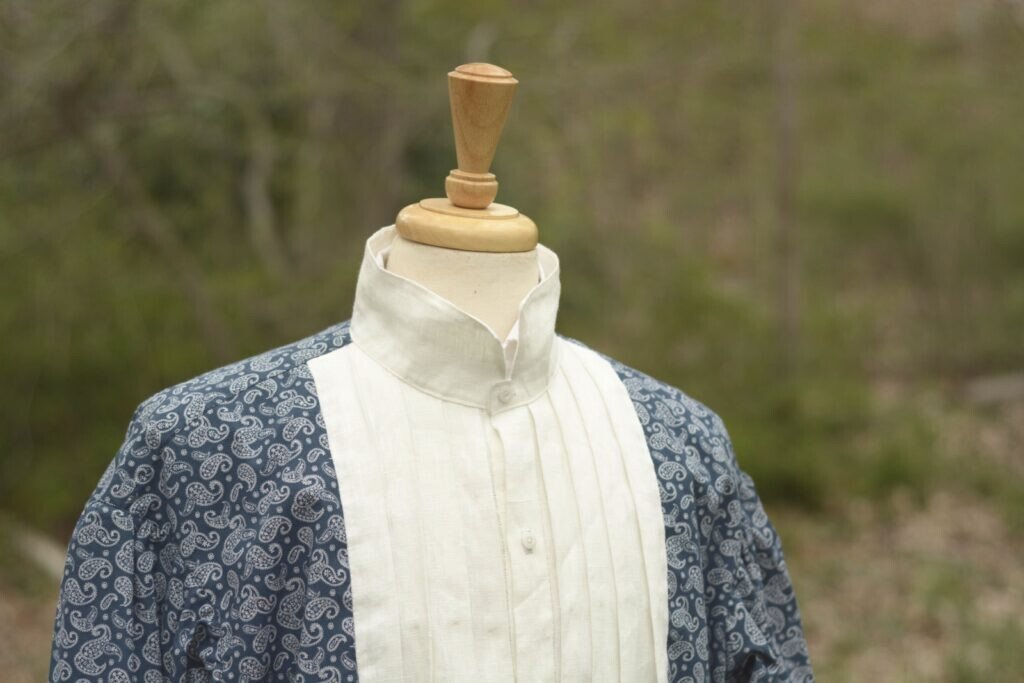
Register today to learn how to sew your own 1860s civilian style shirt.
Registration is open for my online shirt making course! This course covers all aspects of sewing an 1860s civilian style shirt with a pleated front, from drafting and fitting, to constructing the various parts of the shirt (with some customization possible such as pleat width and collar and cuff styles). When you sign up you’ll get access to the entire course immediately so that you can work at your own pace.
Each section contains detailed step-by-step instructions, clear photographs, and accompanying HD video for those who prefer to learn that way. You’ll also have access to my support community where I’ll personally answer any questions you may have and be able to help with your fitting. It depends on your skill level of course, but I’m estimating each section will take from two to five hours to complete, for a total of about 10 – 25 hours of work. You should have some basic sewing experience, but in general the course is accessible to most levels of sewing ability.
I get a lot of questions from people wondering about how long they have to finish the project, but never fear! The class is entirely self-paced and you can work as slowly or as quickly as you like, and you have lifetime access to everything.

The shirt can be constructed in a couple of different ways. 1) 100% linen which is very cool but slightly more expensive. Also more uncomfortable while the shirt is breaking in. 2) 100% cotton. Prints in small repeating patterns are best. Most affordable and comfortable, good for lower class impressions. 3) A mix of both cotton print and linen for the cuffs, collar, and pleated front, which is what I’ll be doing. Best of both worlds in that it is affordable, comfortable and slightly more formal than the cotton variation.
In this first module, learn how to take the measurements for your shirt. It’s very easy as the shirt itself is not very fitted, at least around the body. Then take those measurements and apply them as you draft a pattern for the shirt front, back, yoke, sleeves, cuffs, and collar.
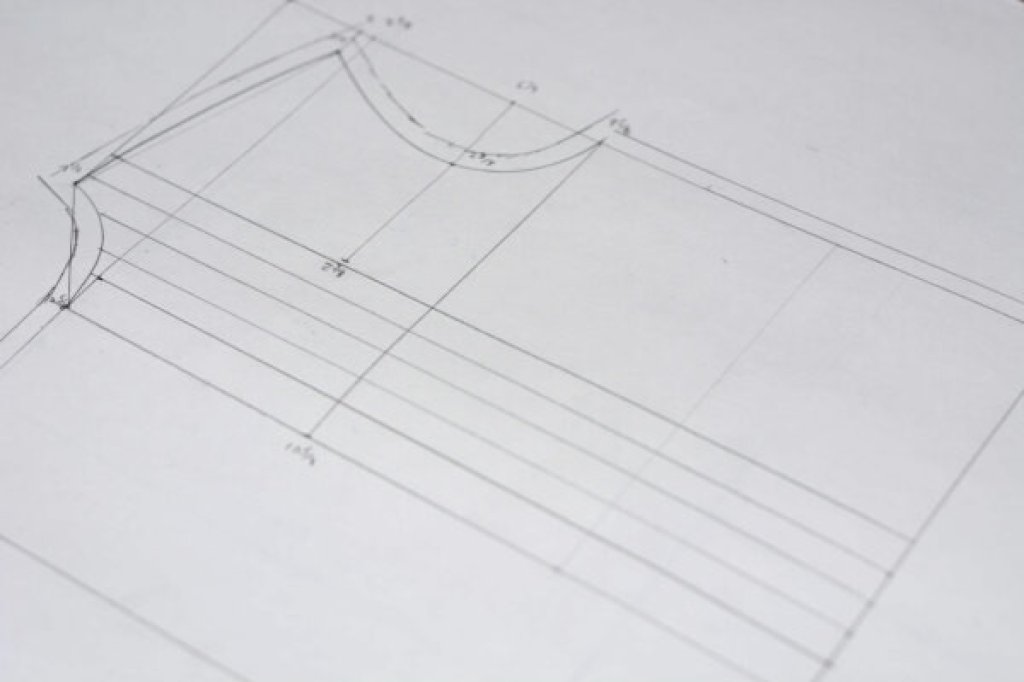
Construct a toile out of muslin fabric for fitting purposes. This has two objectives: first, it allows you to make sure your shirt will fit properly and see where you need to make alterations to the matter. Second, it gives you practice in constructing the shirt so that you can work out any problems now rather than in the final shirt with your nice fabric.

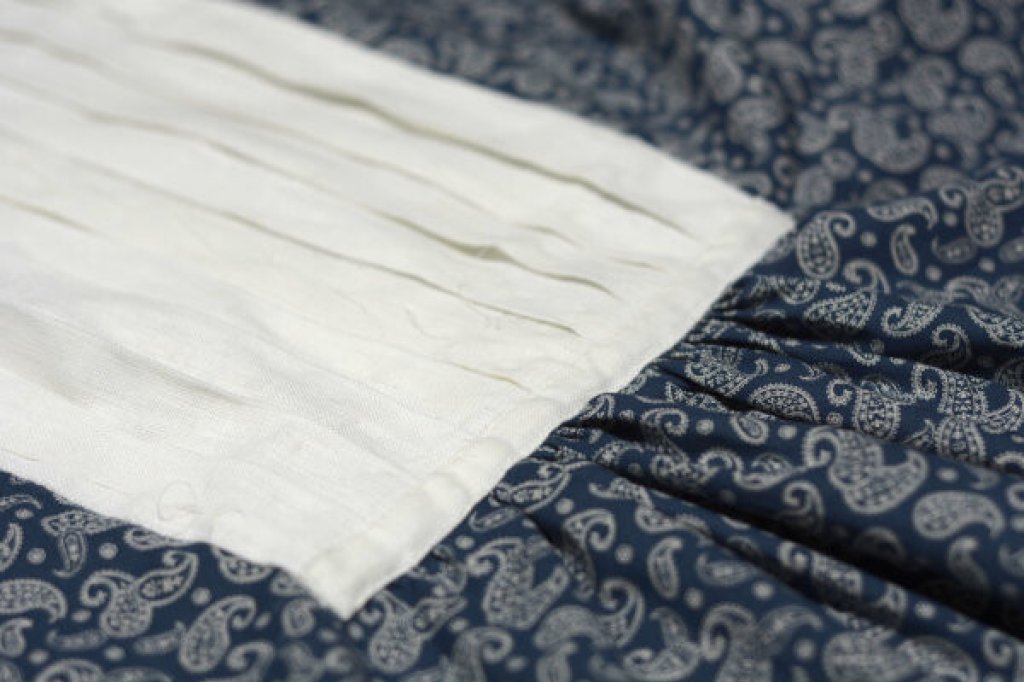
In this module, construct the front of the shirt. This includes some special period techniques to ensure that the pleated section is cut and folded accurately on the grain of the linen fabric. The pleated front is then attached to the front of the shirt and then the seam allowances are finished.
The shirt really starts to come together in this section, where you’ll learn how to construct the back and yoke sections, add a lining to your shirt, construct and attach the collar, and finish the raw edges of the various seams. Finally, the bottom of the shirt finished with a rolled hem.
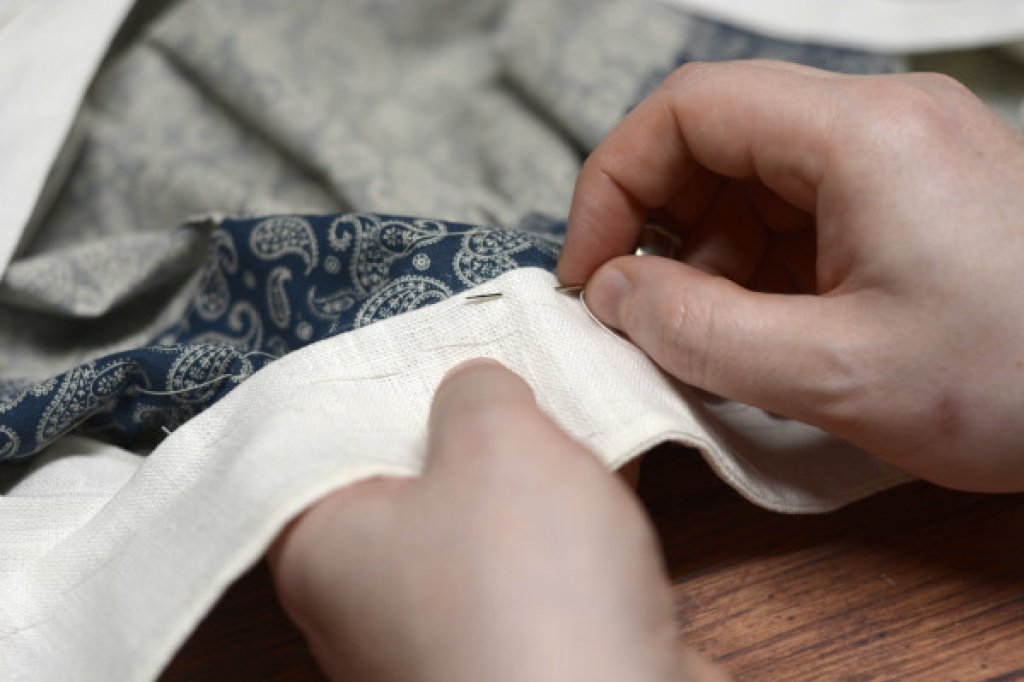
Finally, the shirt is completed with the construction and setting of the sleeves, buttonholes, and attaching the buttons.
