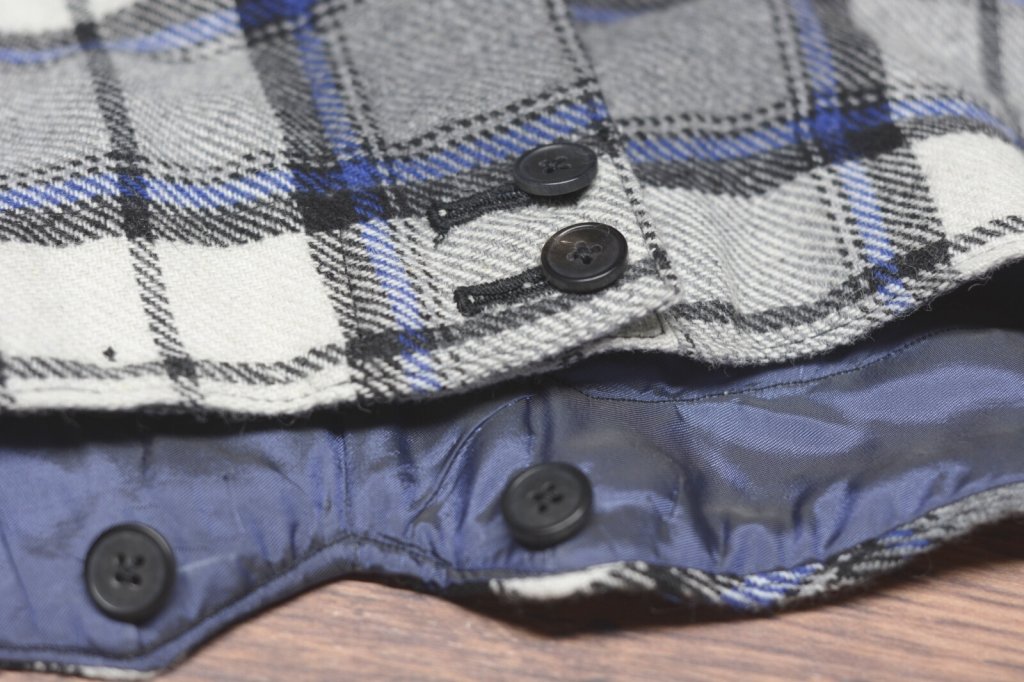
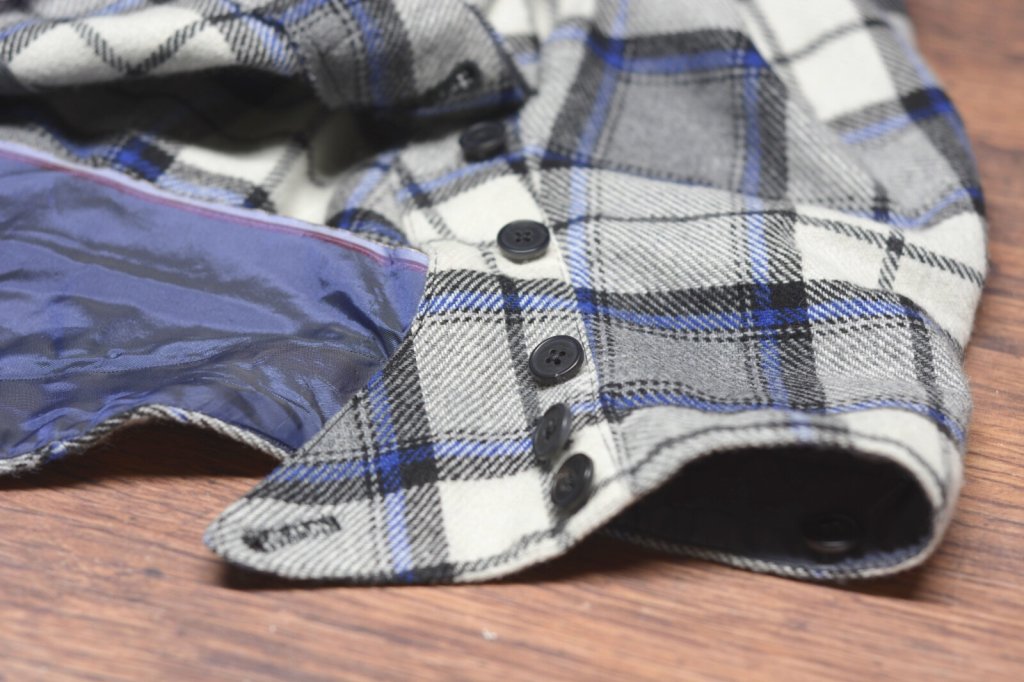
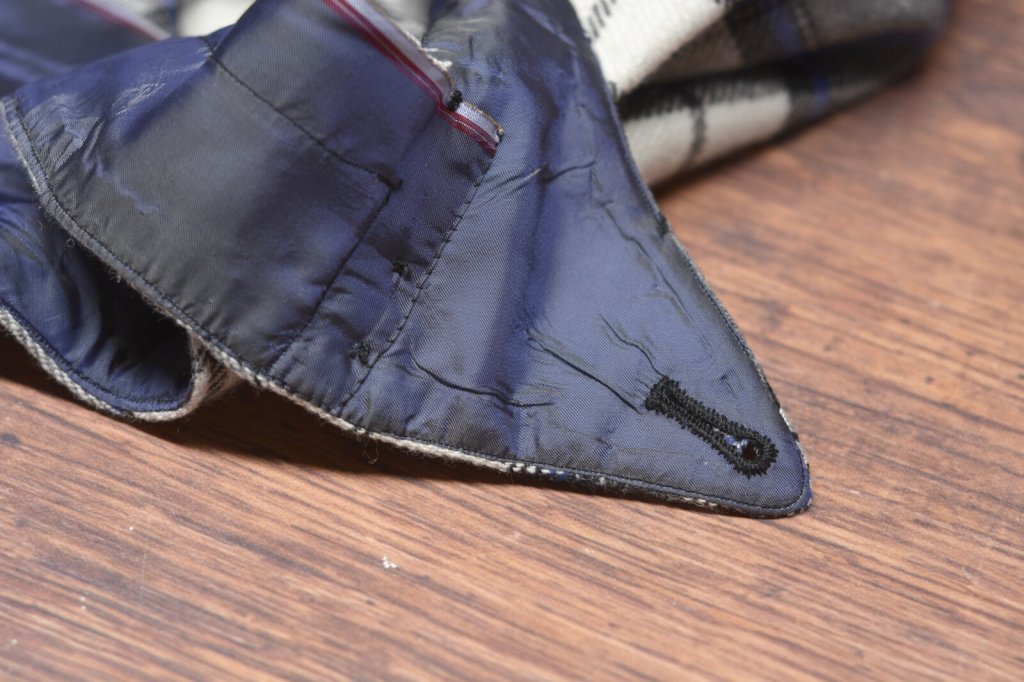
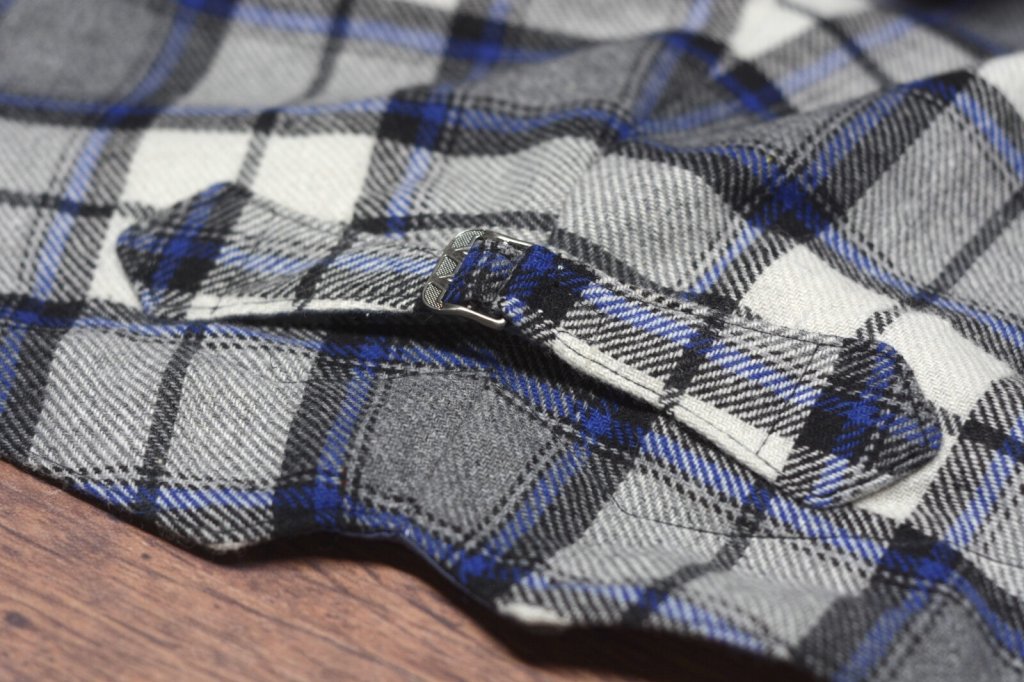
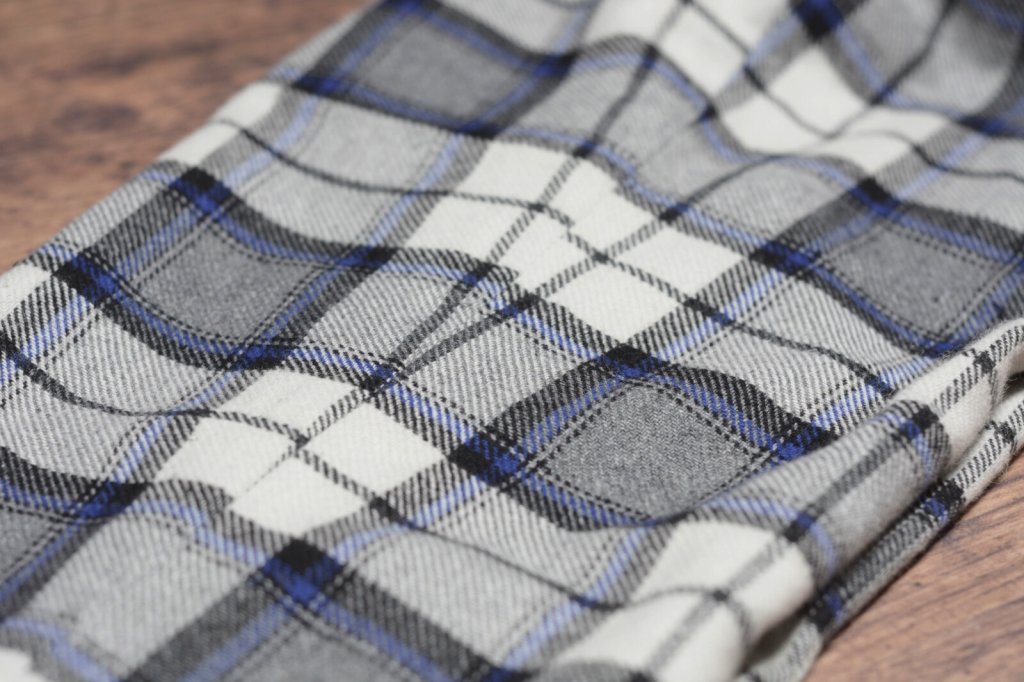
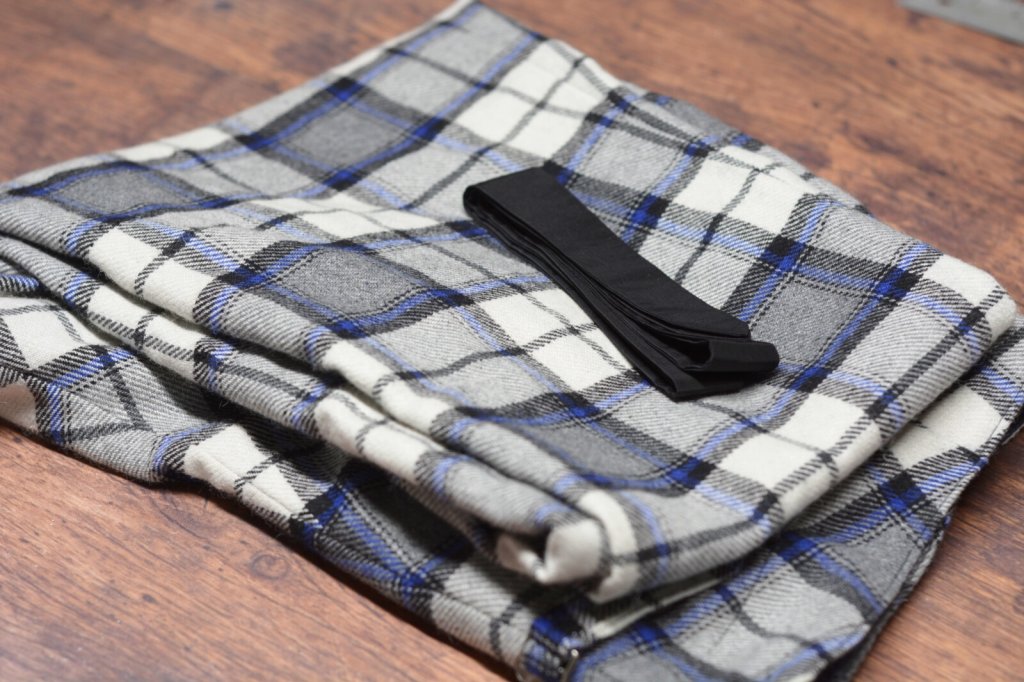
I was commissioned to make a pair of wool plaid trousers for a wedding based on a couple of original photographs from the late 19th century that the client provided. This was a rushed job, having to have them ready in a couple of weeks and sent off to Australia - and in the meantime I had just come down with “The Plague”!
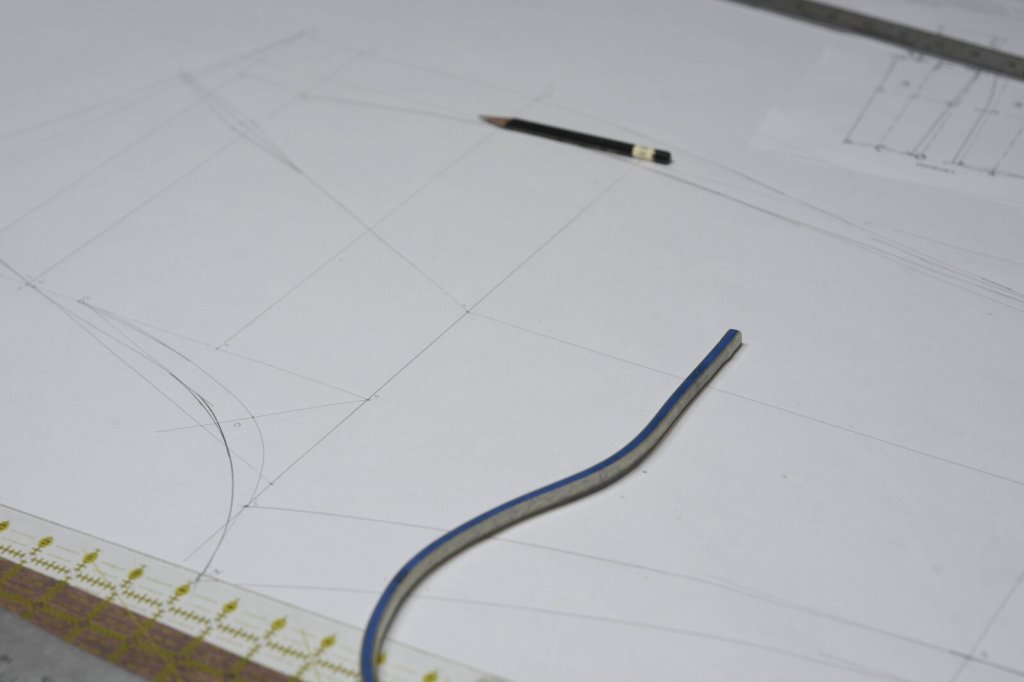
To start off with, after having received the measurements from the client, I proceeded to draft a pattern using a trouser draft from the period. These were to have a cut-on waistband, that is no separate waistband, also sometimes known now as a “Hollywood waist”.
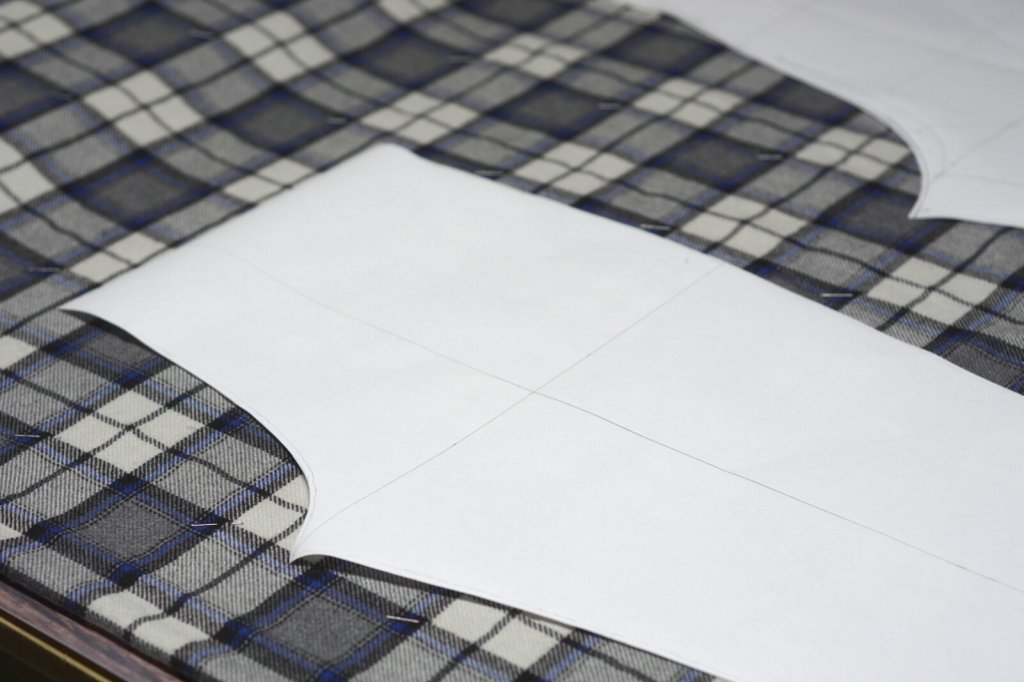
Next, I carefully aligned the plaid wool fabric using pins at the major intersections. There are other ways to do this but it’s the way that works best for me at the moment.
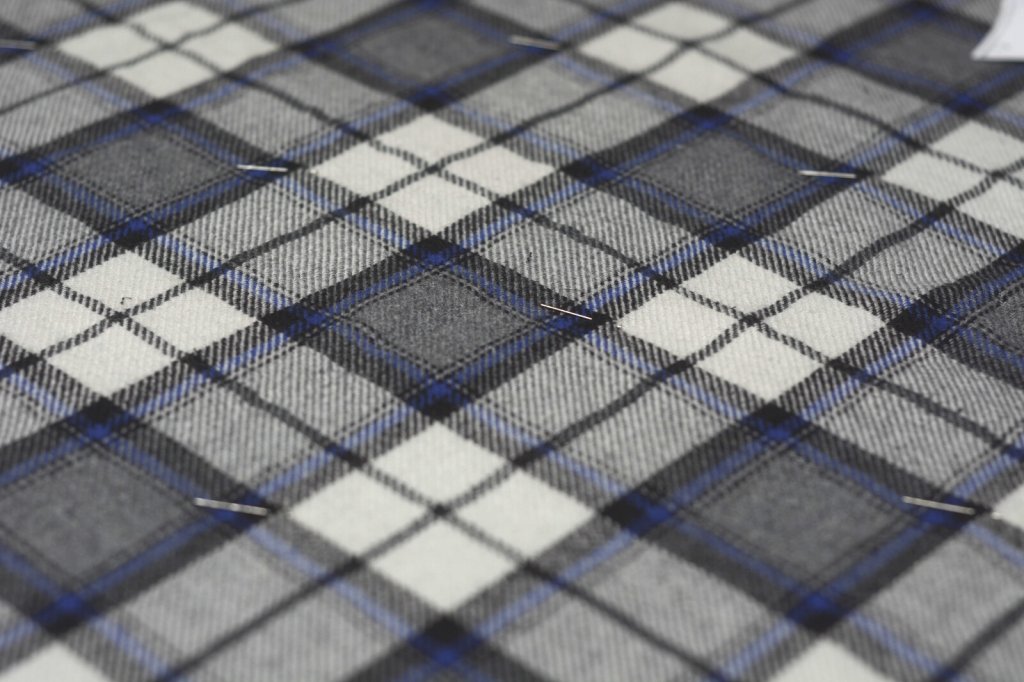
Then the pattern was placed on the fabric before cutting, making sure the plaids laid on the pattern in the most pleasing manner.
One of the first steps in construction is adding a linen stay to the fork area. The linen is stretched in a certain manner that the grain of the linen coincides with the bias of the crotch, helping to prevent stretching there and prolonging the life of the trousers.
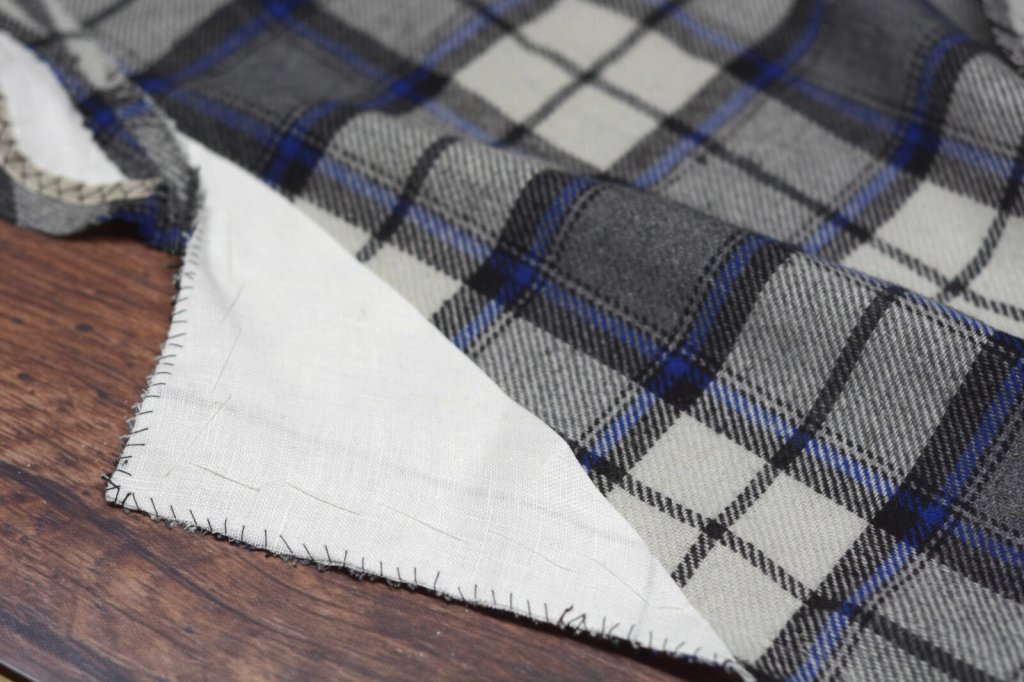
Here’s part of the fly area using what’s known as a French fly with a little extension that helps to prevent wear on the trousers. The area is first lined in linen and the edges stay taped to add durability and give a little body to the edges.
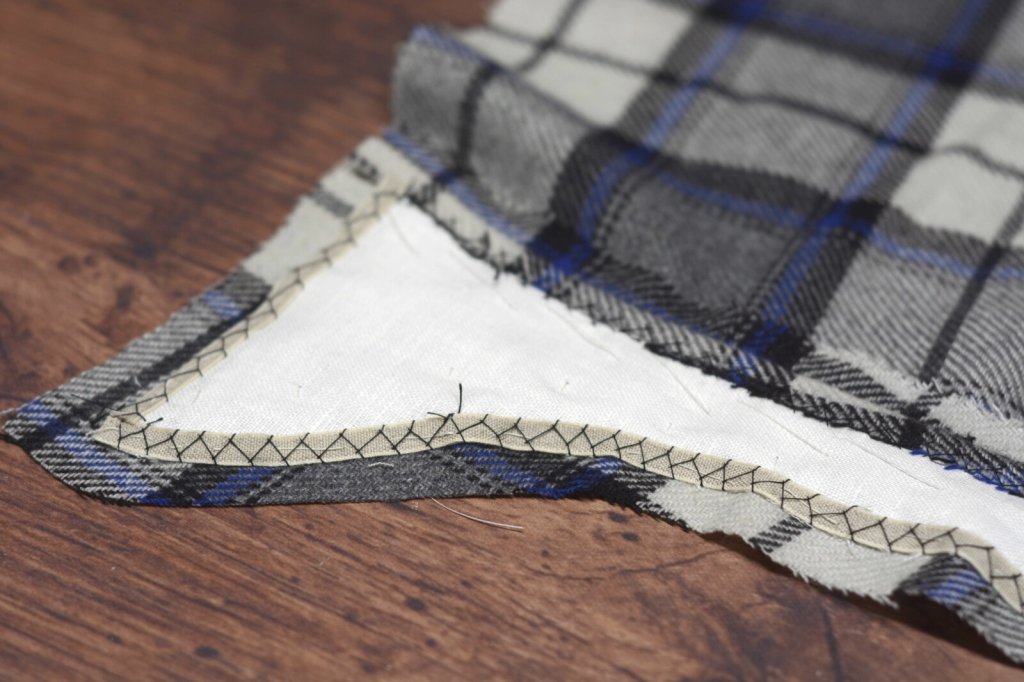
Here’s the French fly from the right side, showing the matching plaids and the topstitching.
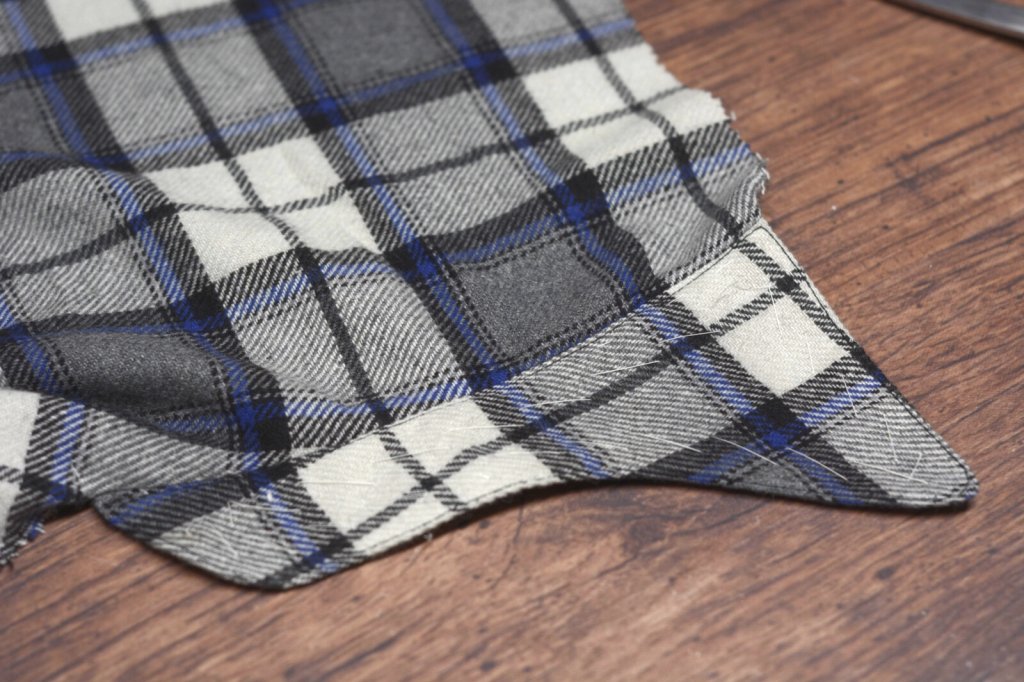
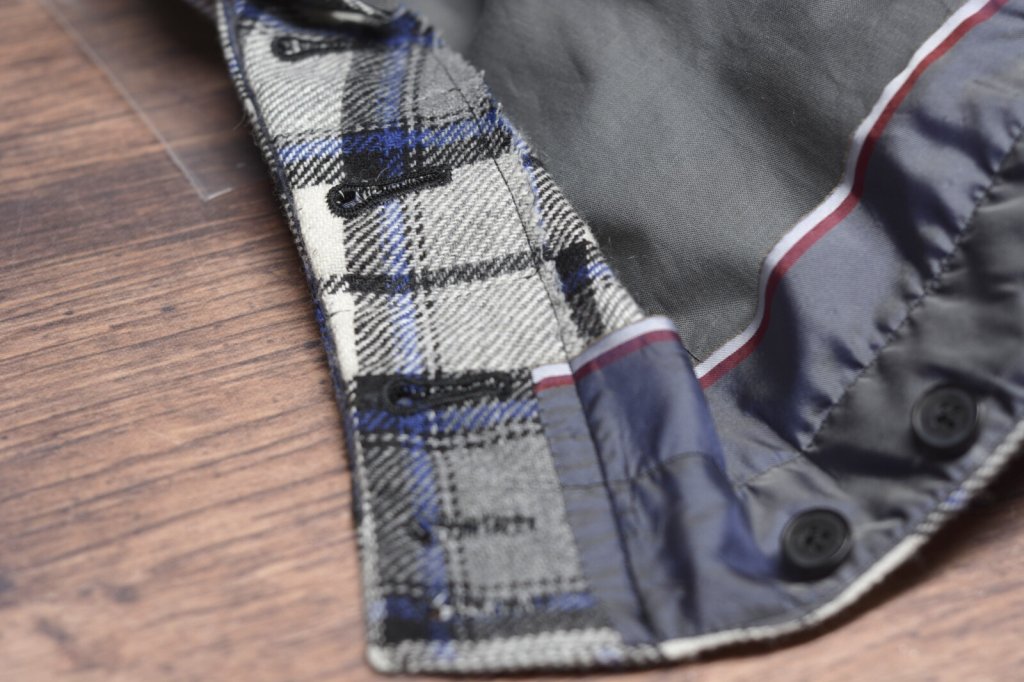
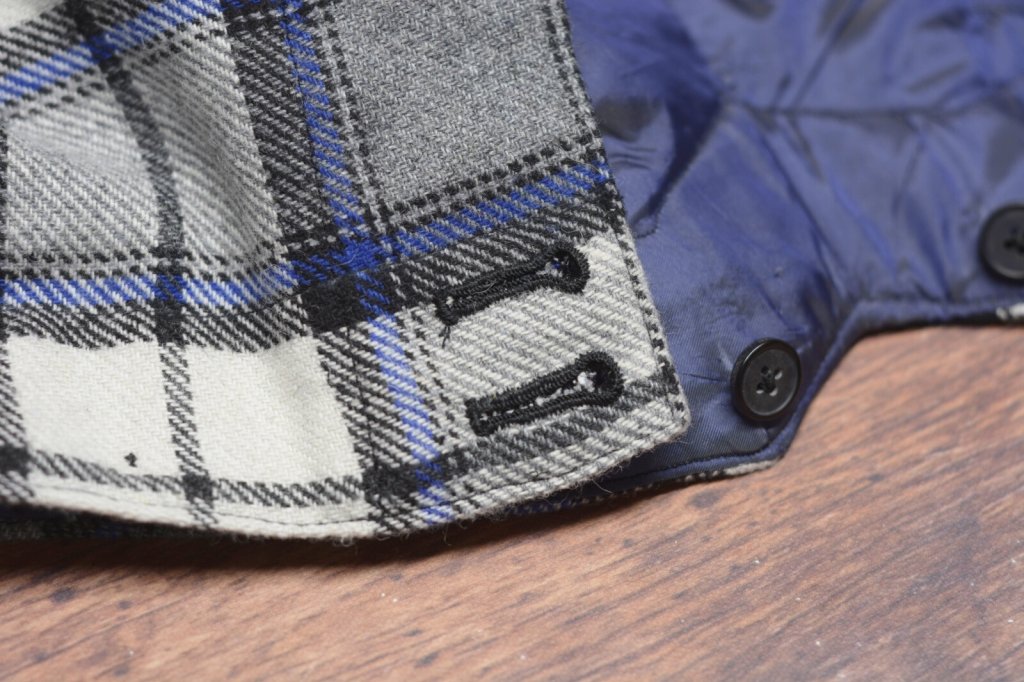
On the other half of the fly I put I worked the buttonholes by hand and stitched everything in place. The edges are pinked here to cut down on bulk.
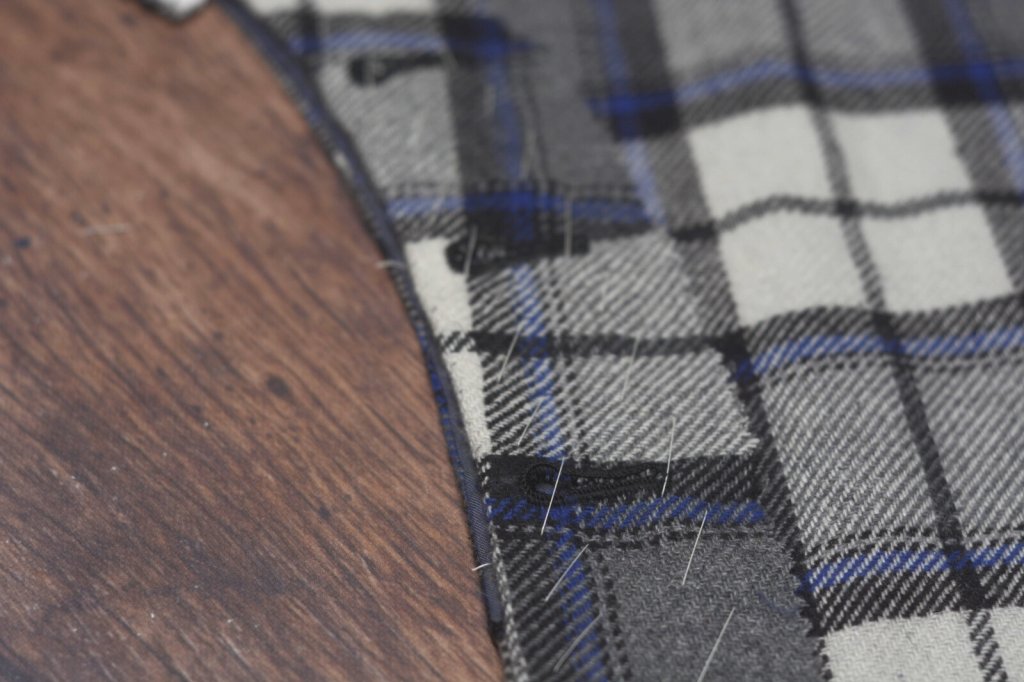
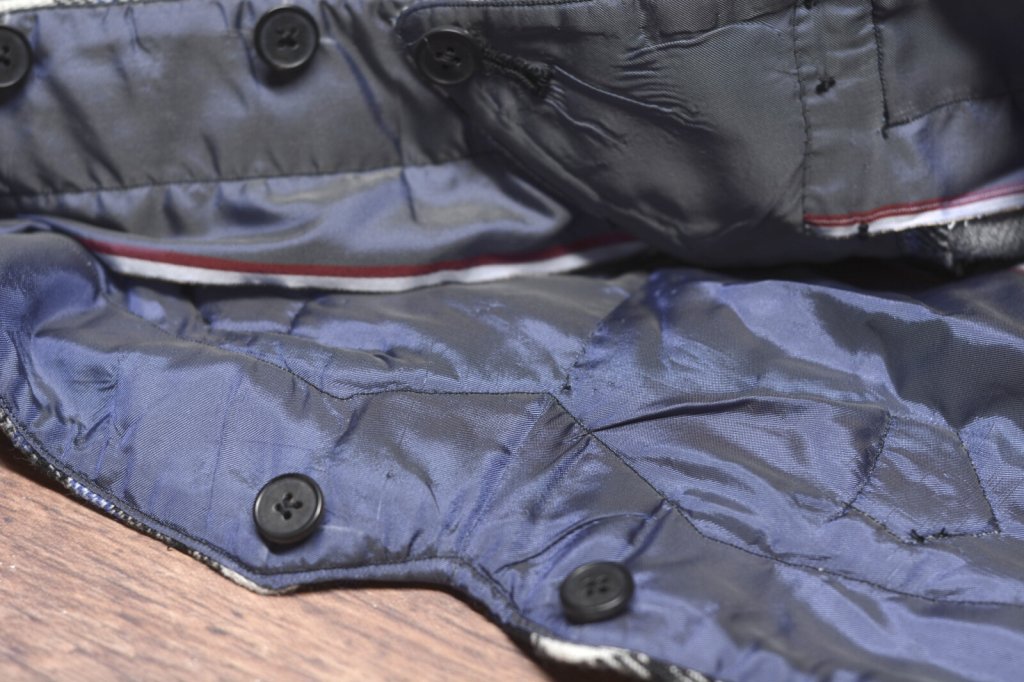
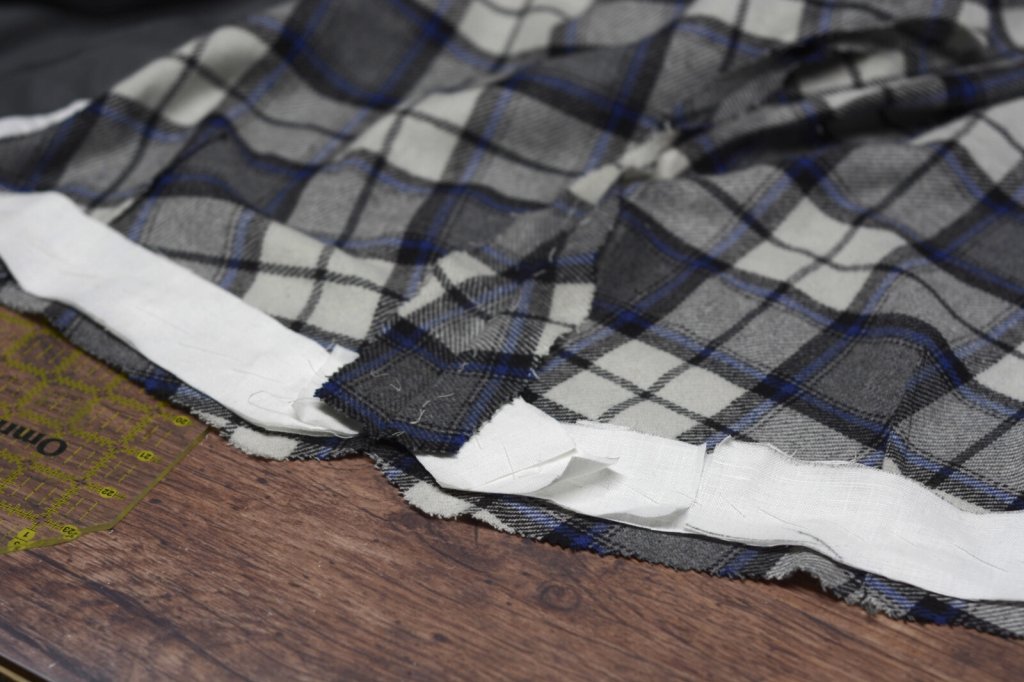
The construction gets a little confusing in regards to the pockets and waistbands, as you kind of have to work on both at the same time with all the different overlaps and steps involved. Here the pocket openings themselves are formed, and I laid on some strips of linen to the waistband area to provide some firmness and strength. The linen is trimmed back from the seam allowance and I add an extra layer where the suspender buttons will go.
Next, the pocket bags can be installed, which I did entirely by hand. I used a cotton pocketing for this step.
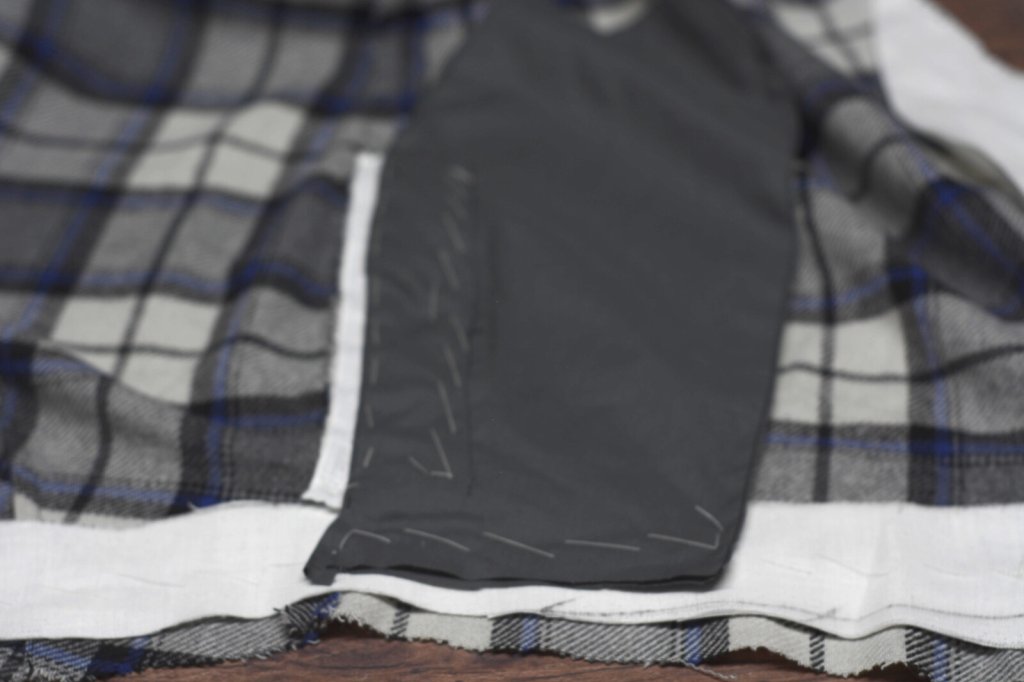
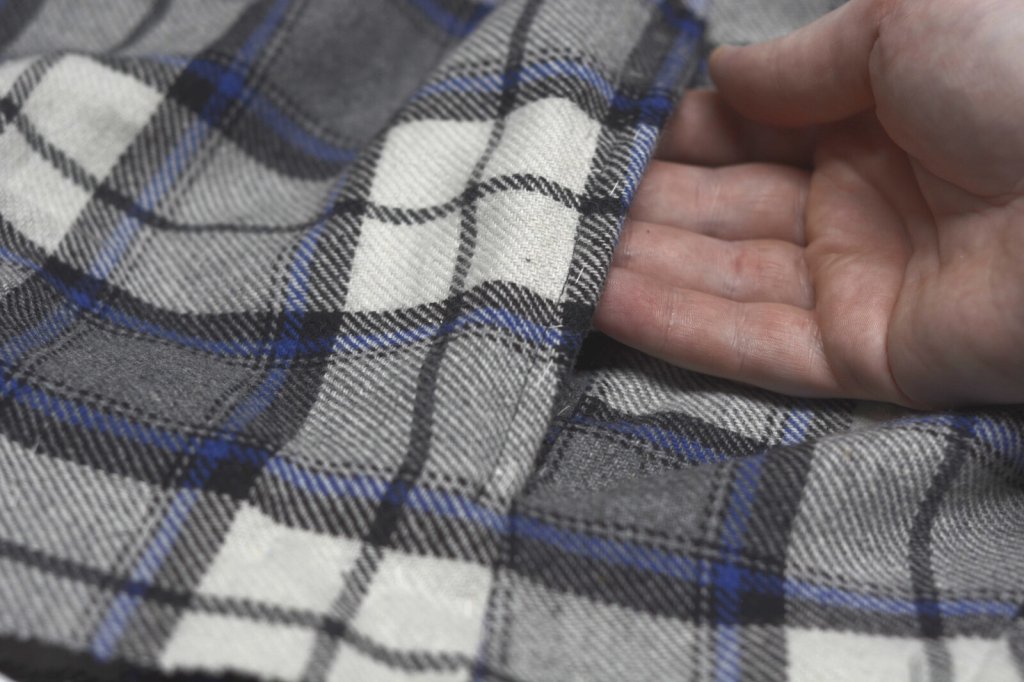
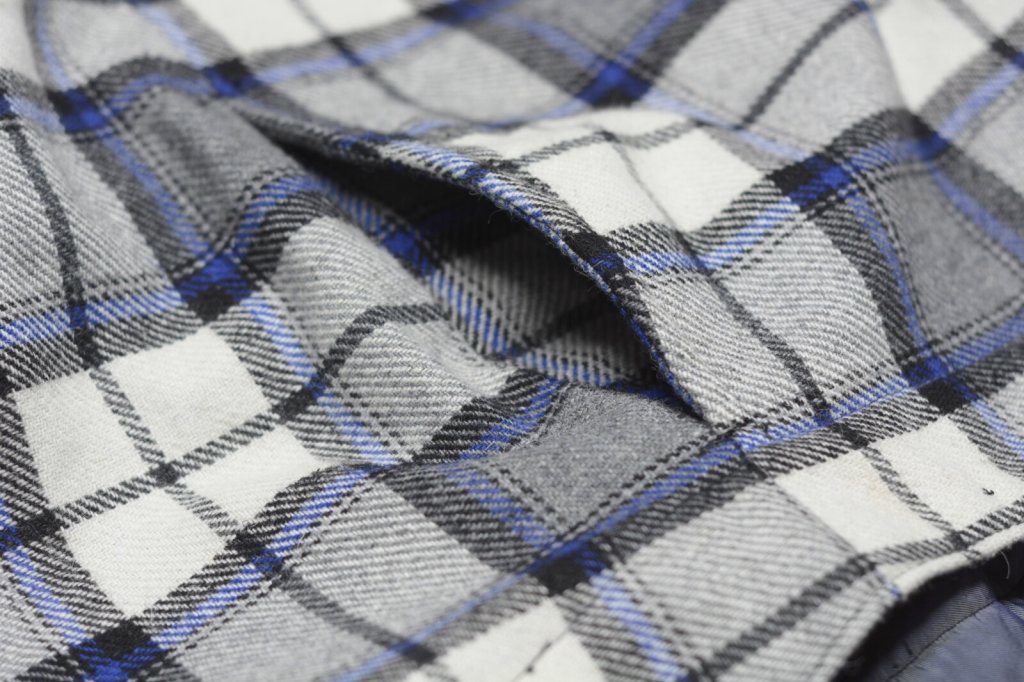
Here’s the completed pocket from the right side.
