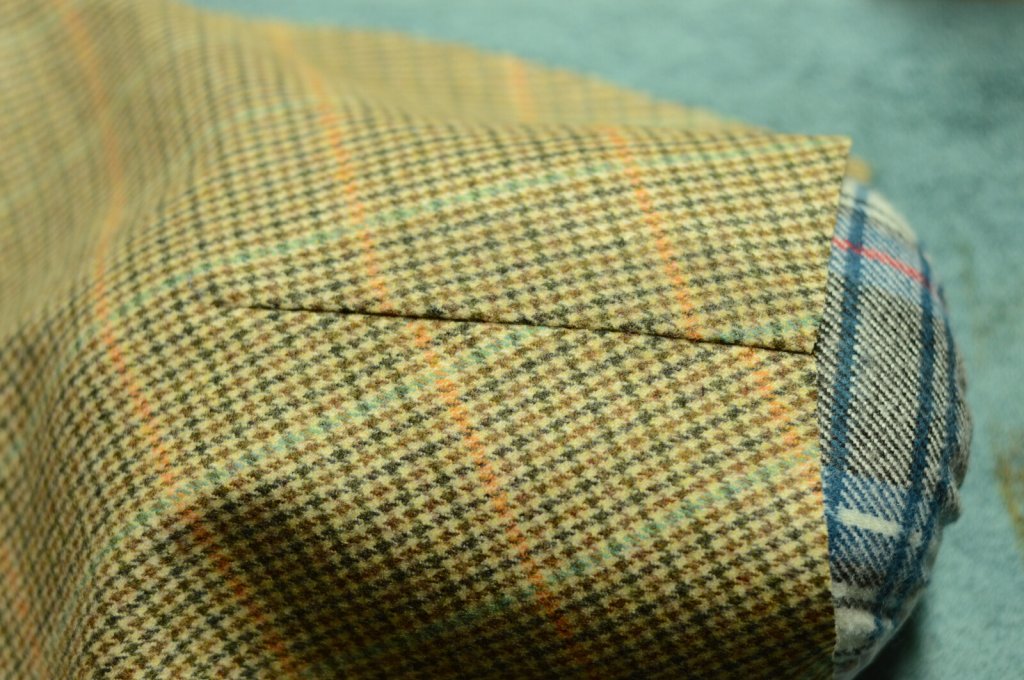
Darts, or fishes as they were sometimes referred to, are quite common in men’s clothing of the 19th century, helping to better fit the clothing to the body and give some shape to what would otherwise be a flat-looking garment. Most of these darts are created with the same general method I use here, though of course different tailors would have their own preferred methods.
Begin by transferring the dart lines to the wrong side of each trouser piece.
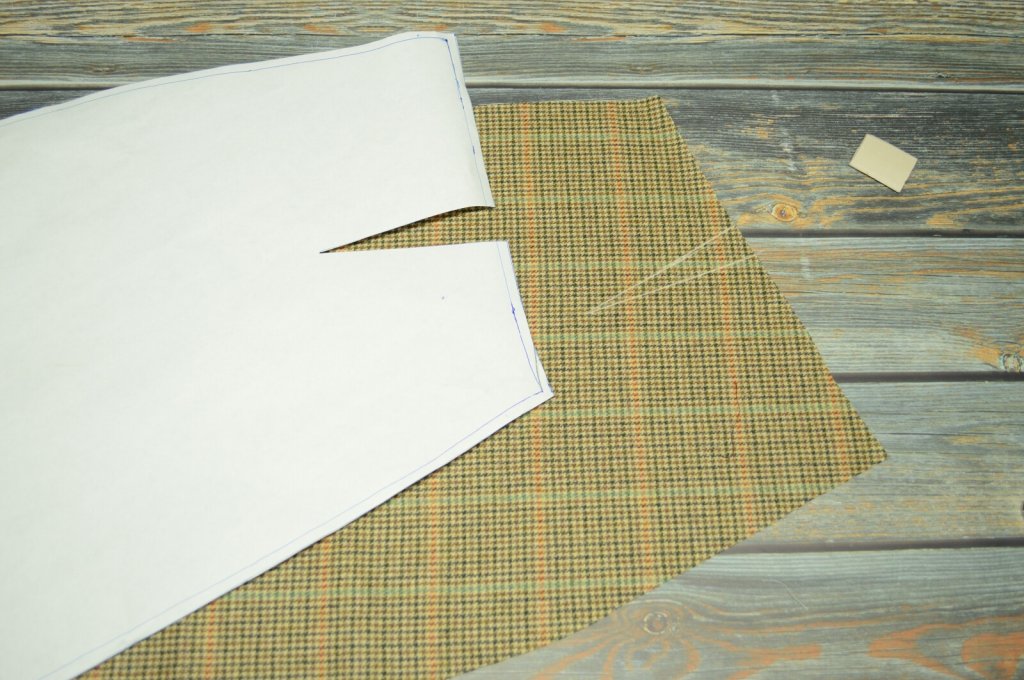
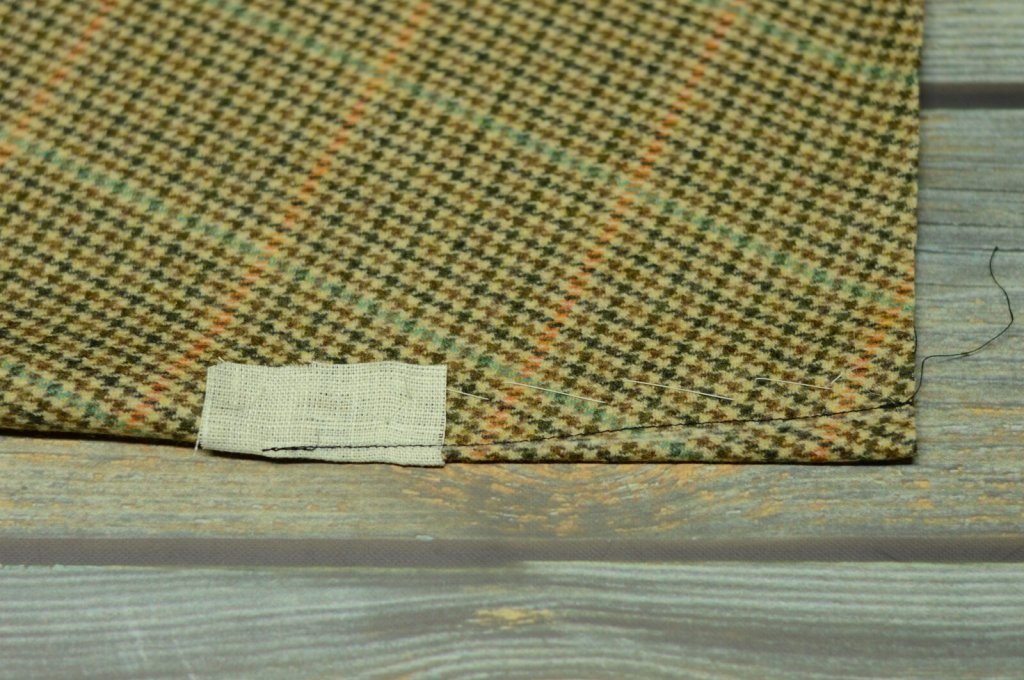
Next, fold the dart in half lengthwise so that both sides are equal in width and the seam lines are aligned with each other. You can poke a pin through the layers to make sure they’re accurately aligned if you wish, but after a while you’ll get a feel for it and can do this by rock of eye. Baste along the length of the dart, about a quarter inch from the seam line.
Also cut out a 1″ to 1 1/2″ square of linen if you are using thinner wools or less durable fabrics for your trousers, to reinforce the tip of the dart.
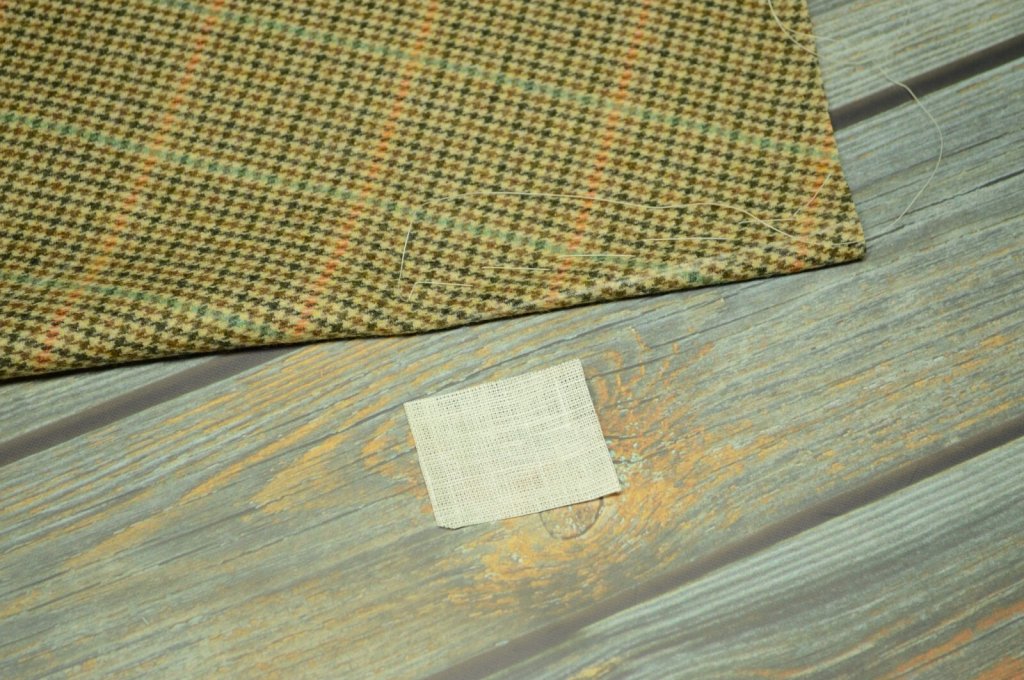
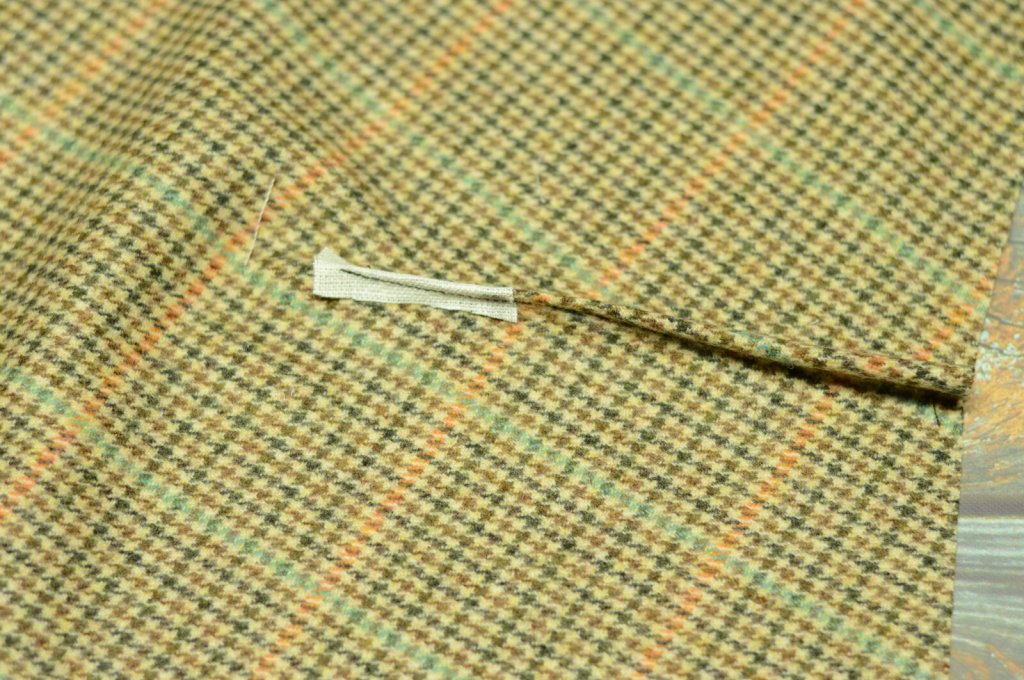
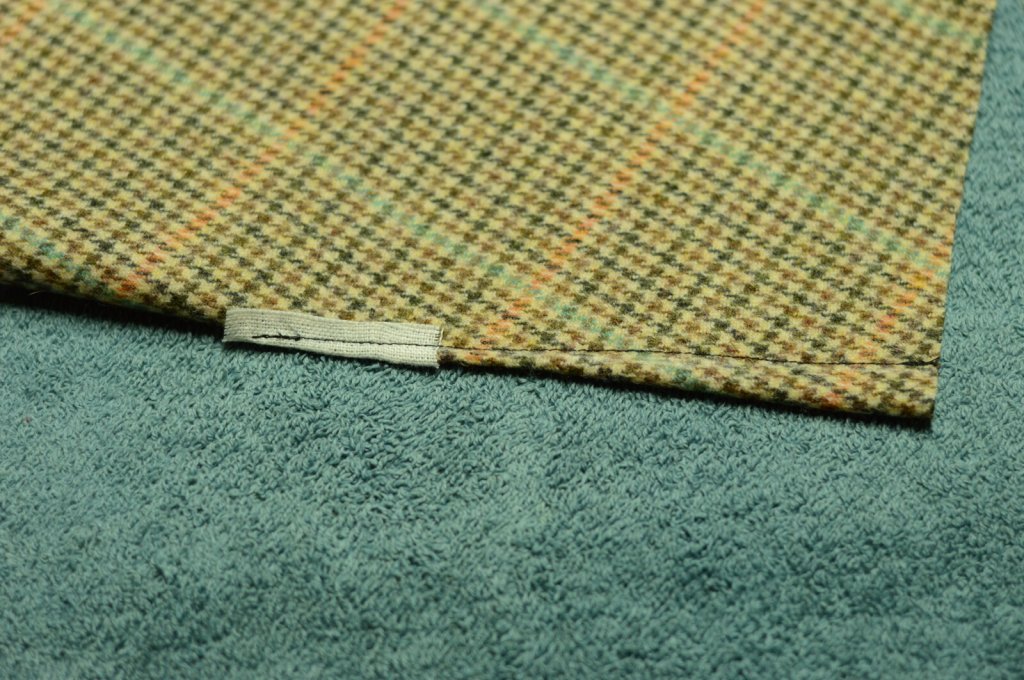
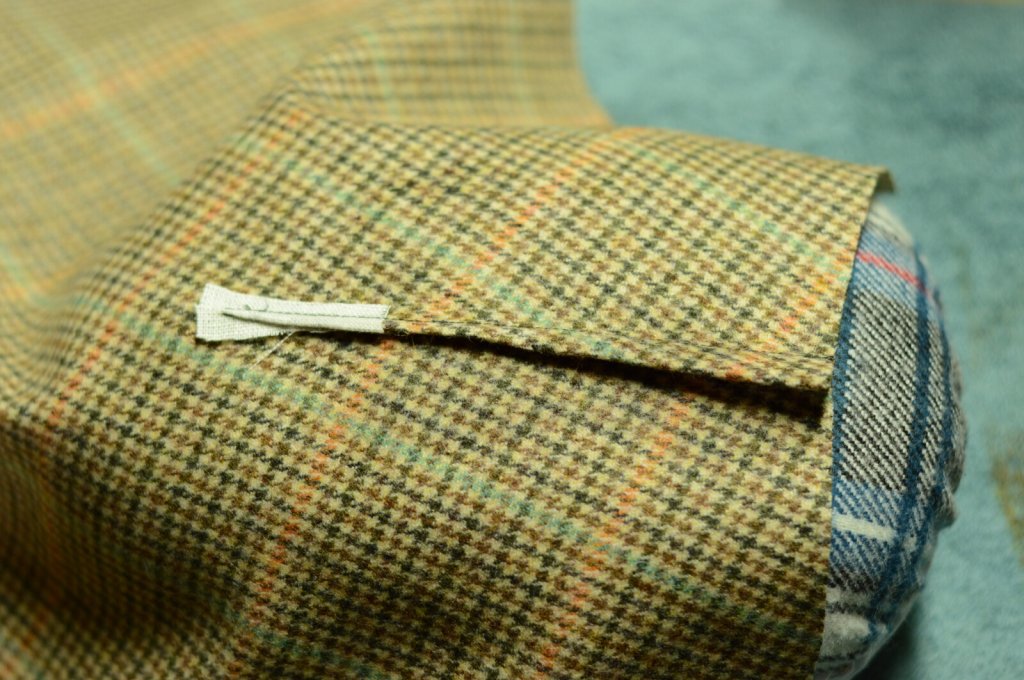
Fold the linen in half and place it firmly against the folded edge of the dart, with the tip of the dart being near the middle of the linen. Baste the linen, and then redraw the seam line on top of the linen piece if you need to.
Note how the tip of the dart is located more towards the bottom edge of the linen, so that we don’t waste any of the linen and get more strength.
