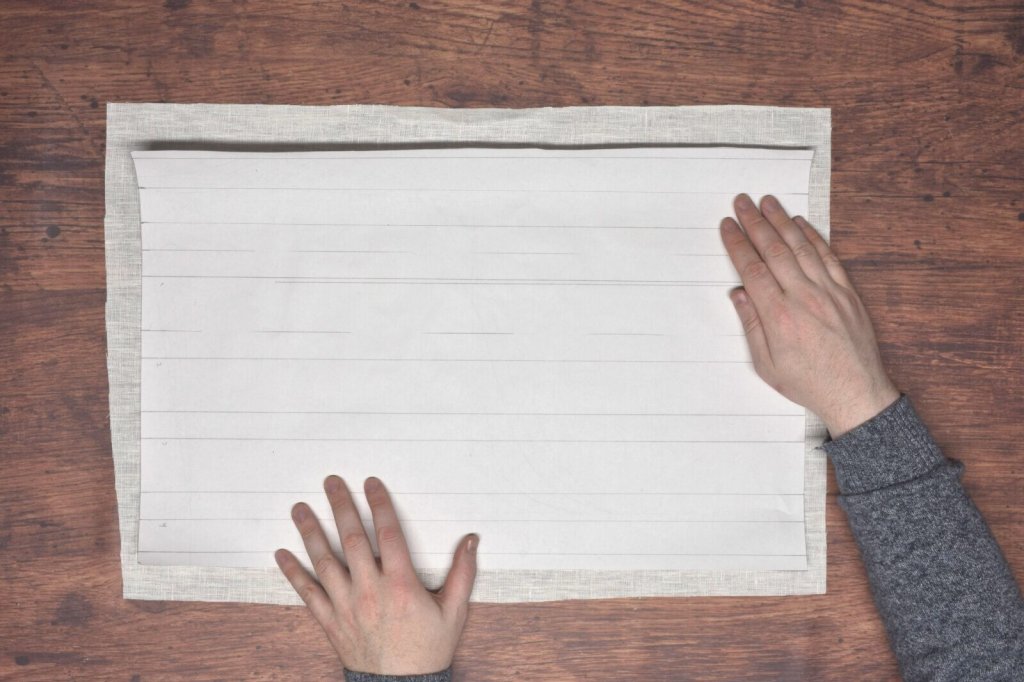
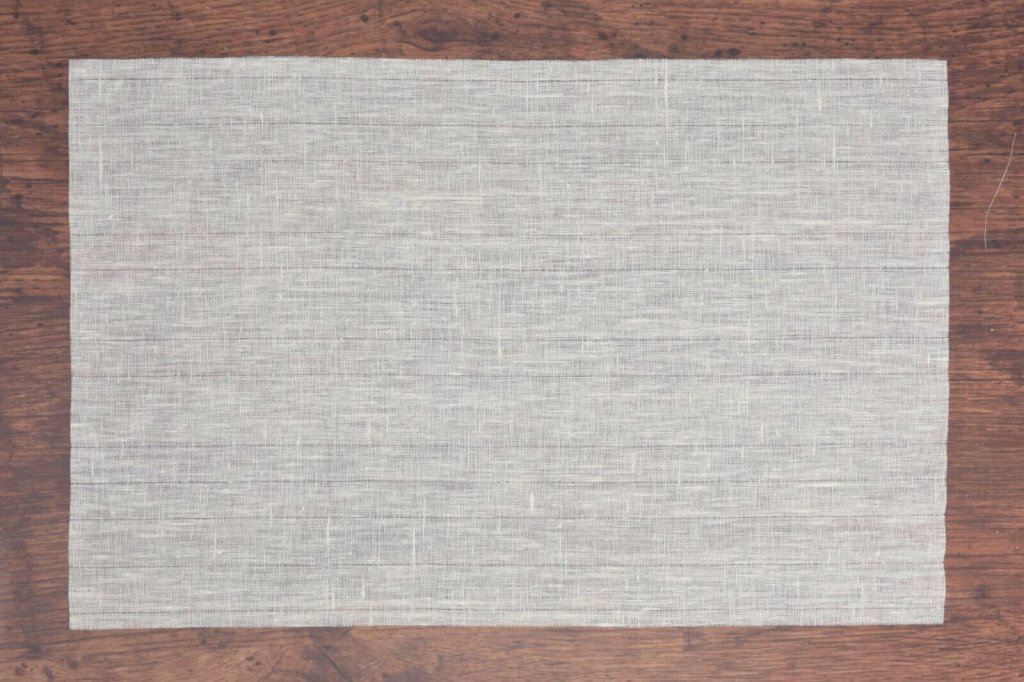
With the shirt drafted and fitted, I began work on the pleated front section. Linen has a tendency to skew out of square due to the nature of the material, and so careful layout is needed. I first laid out the pattern for the pleated front, marking each of the fold lines in pencil for accuracy.
Layout the pattern on a square of linen.
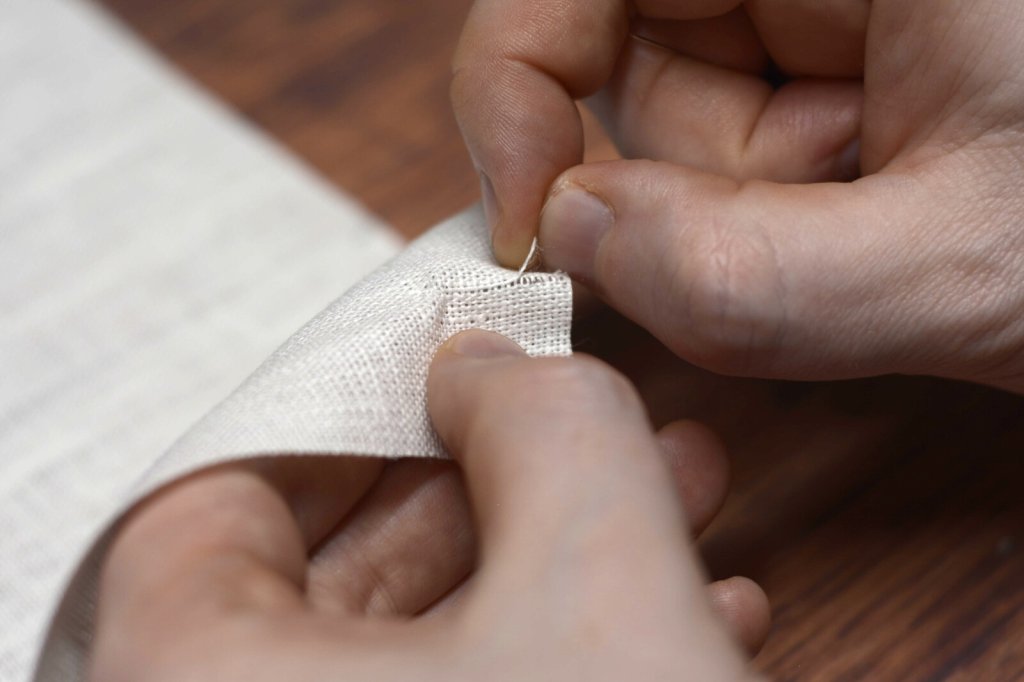
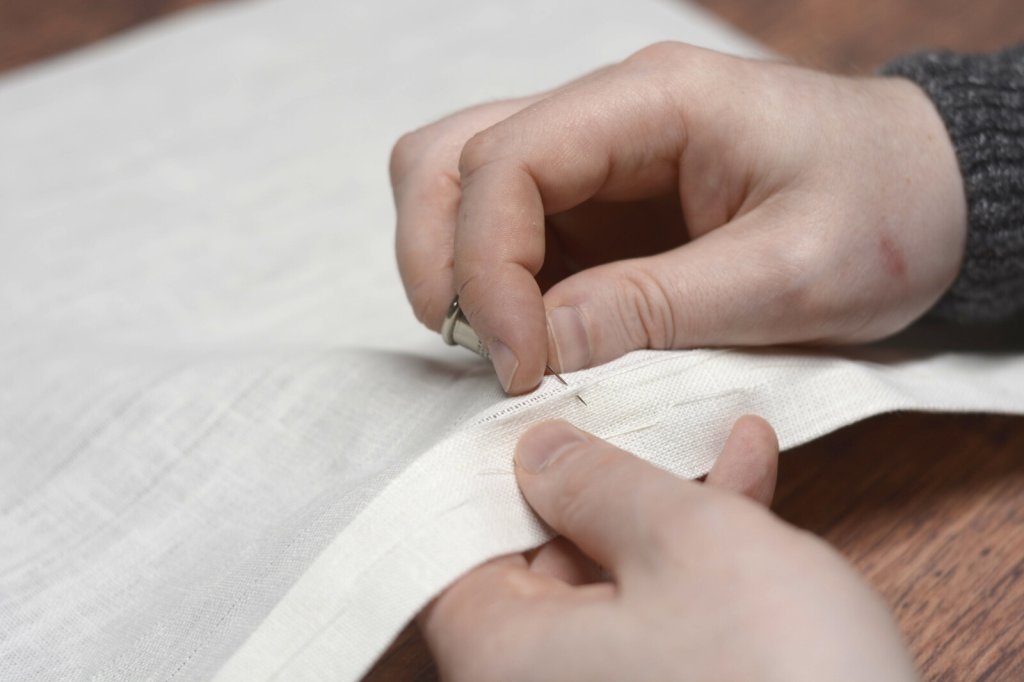
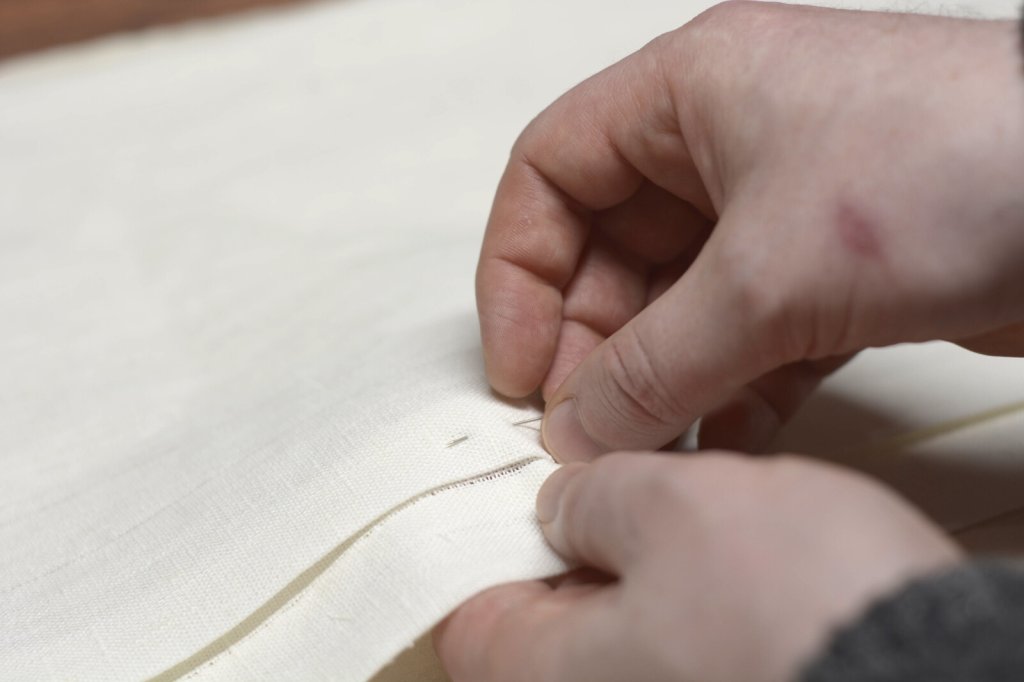
At each of the points, I then picked out the thread carefully using a pin - just the first 1/4" or so.
Pick out a thread using a pin.
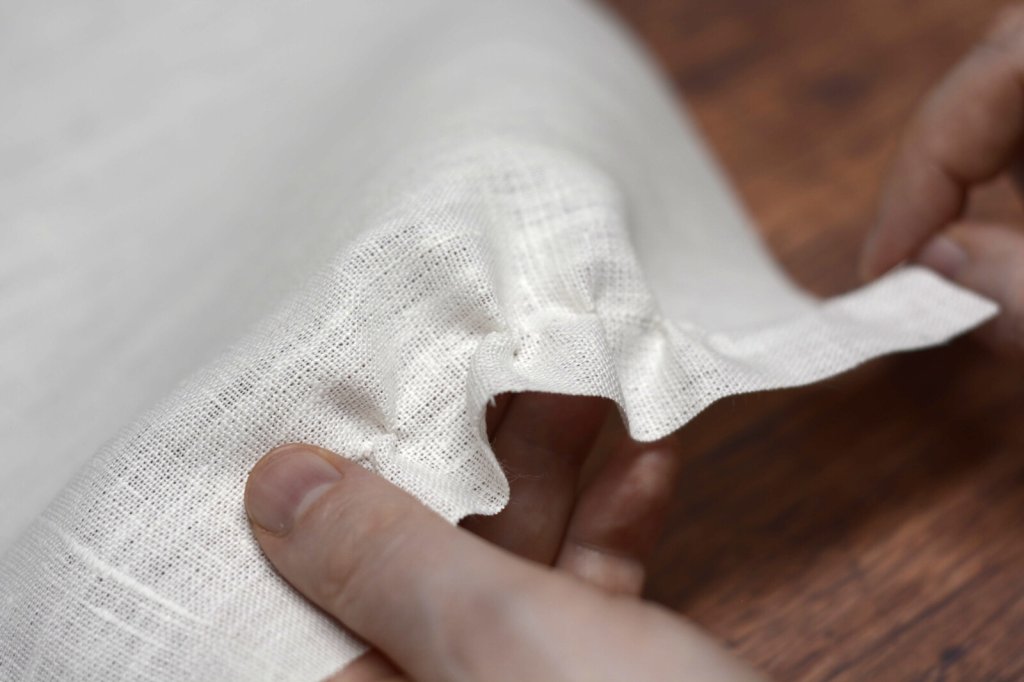
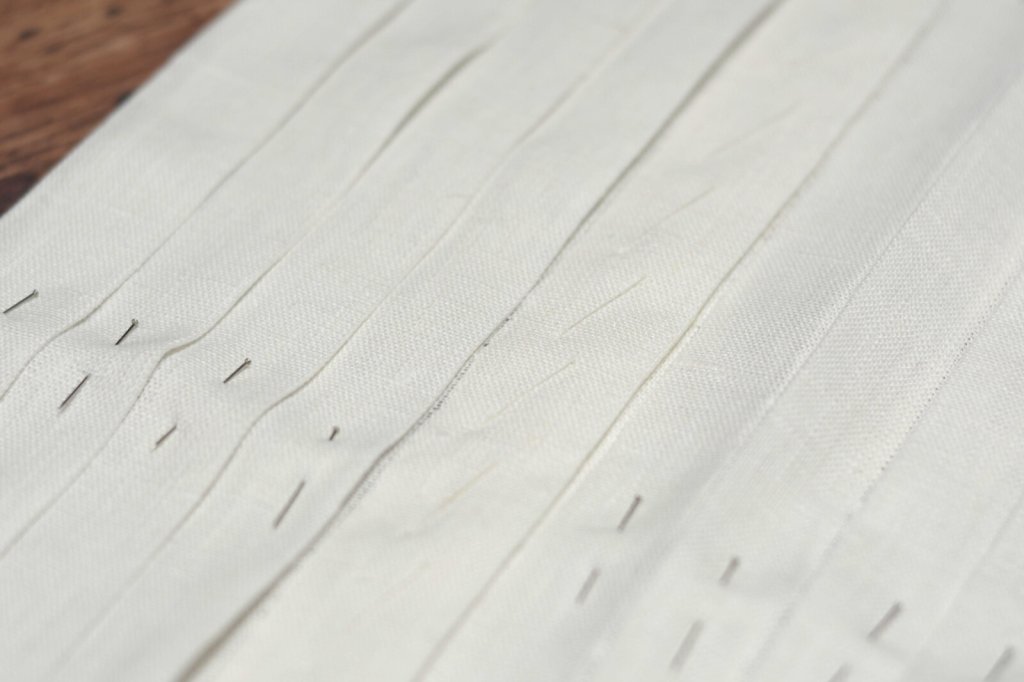
Gently pulling, the thread is gradually removed from the linen.
Gently pull the thread out of the linen fabric.
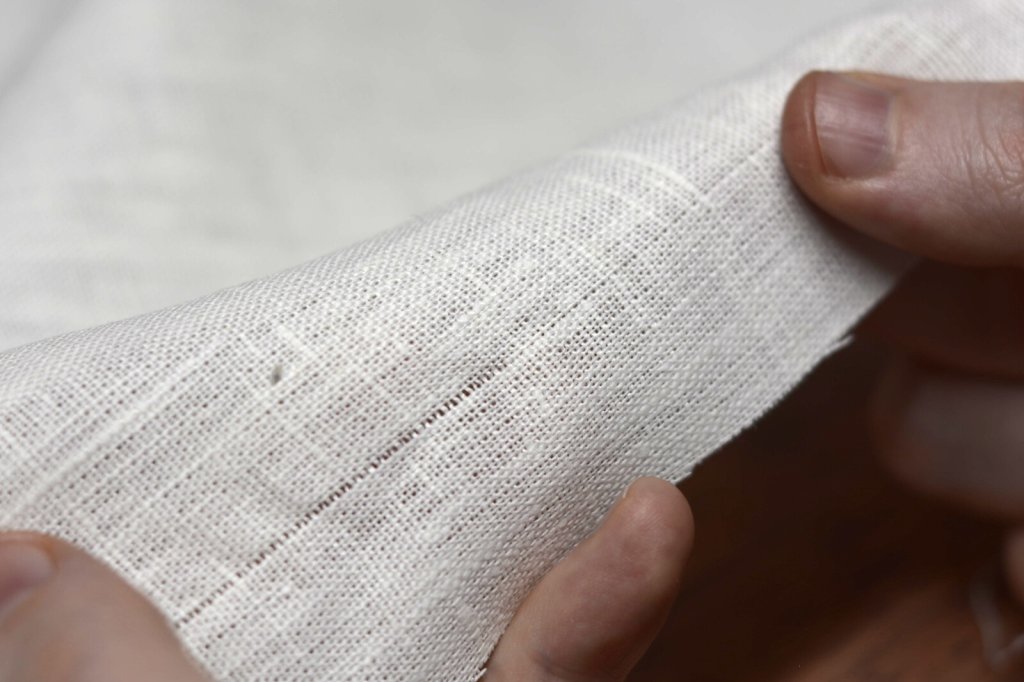
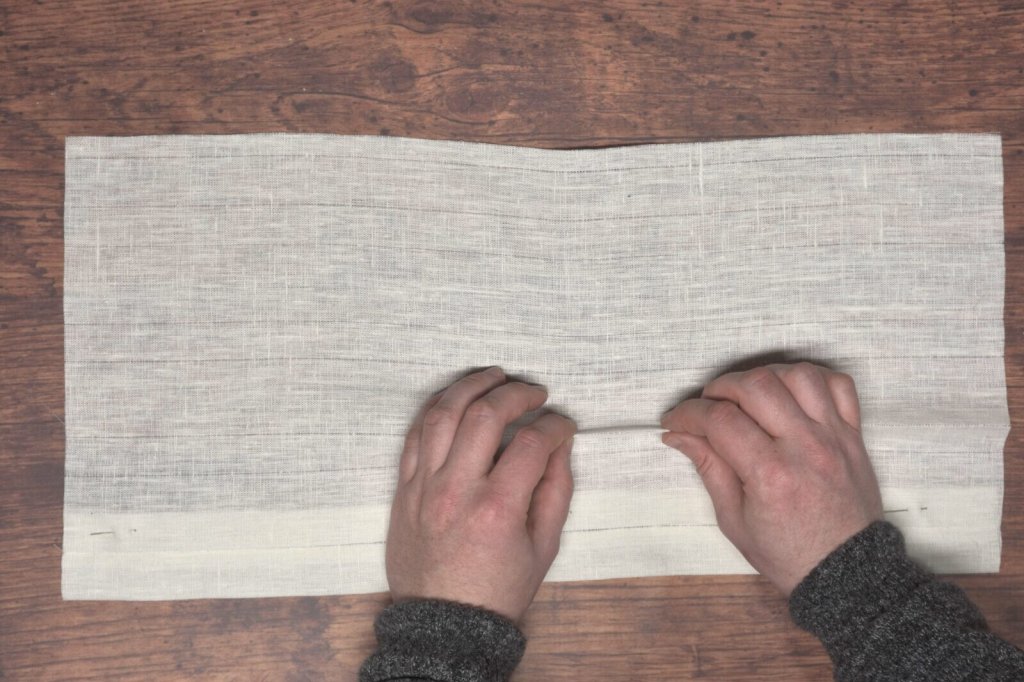
This leaves a defined line that is perfectly straight and parallel to the grain of the cloth, making the folding of the pleats much easier.
Drawing a thread out of the linen leaves a perfectly straight line.
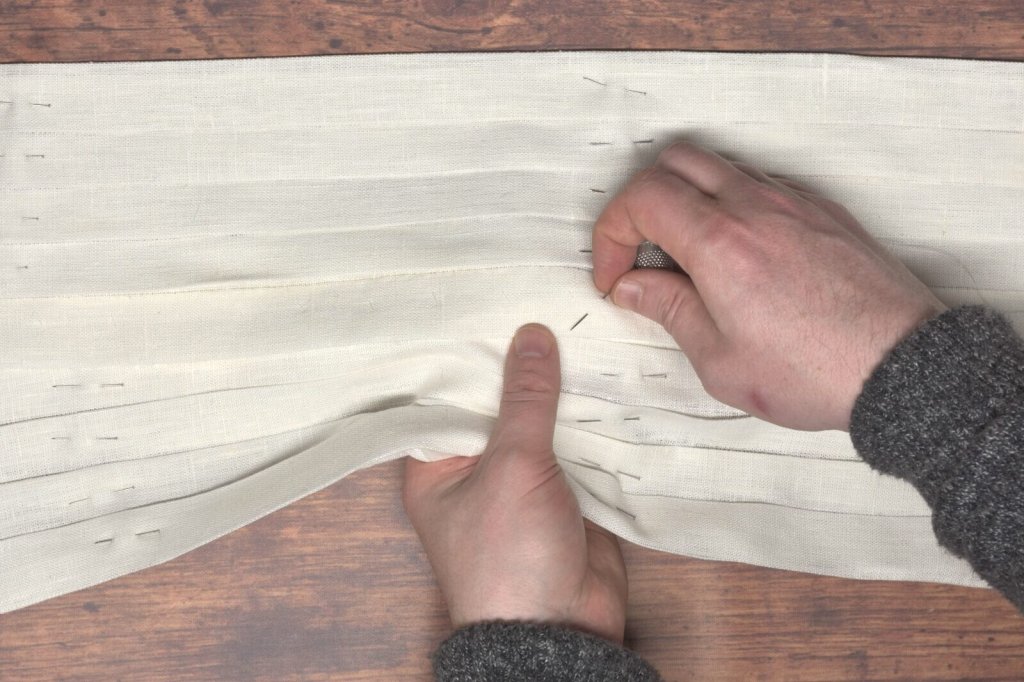
Here's the linen with all of the pleat lines pulled and marked. It took me about 45 minutes per side.
The front with all of the threads pulled out.
The first couple of folds form the placket at the center front, where the buttons and buttonholes will be placed. This is felled with a small stitch.
Fell the edge of the linen placket.
The pleats are then carefully folded into position, using the lines to accurately form each pleat.
Begin folding the shirt pleats into position.
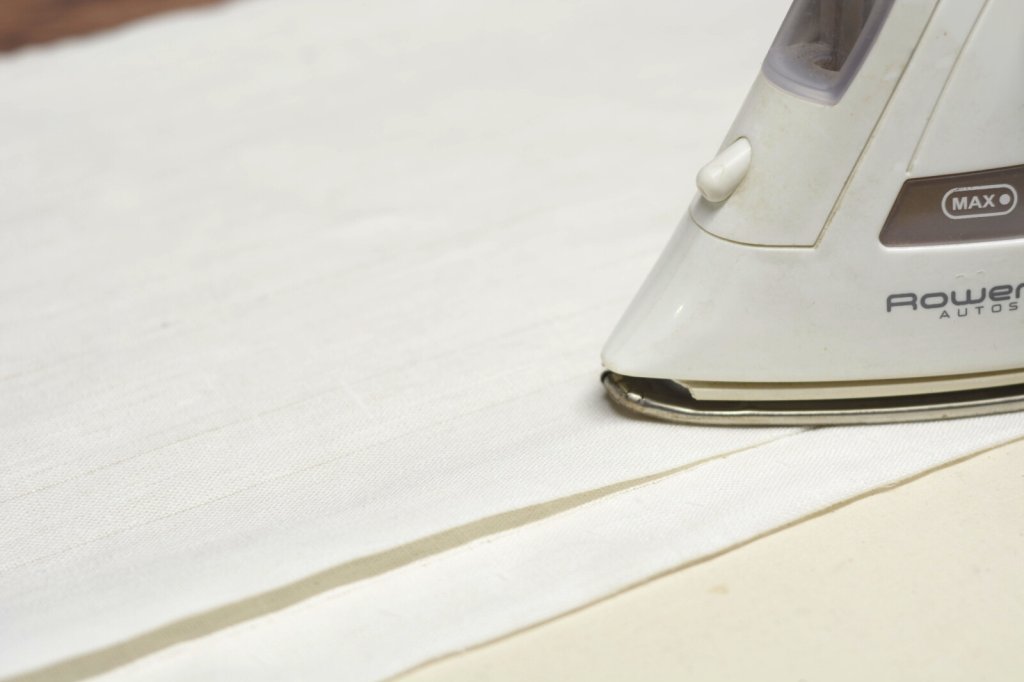
Each pleat is pressed, forming crisp edges.
Press the linen pleats carefully.
The pleats are pinned in place as I work to keep them from moving around as I continue working.
Pin the pleats in position.
After the pleats are all formed, it's a good idea to compare it to your pattern to ensure that everything fits properly. In the past, not having done the pulling threads method for layout, I've been wildly off, but I was quite pleased with how these turned out. They lined up almost perfectly.
One half of the pleated shirt front is complete.
The pleated halves are then joined together at the center placket, forming the completed front of the shirt.