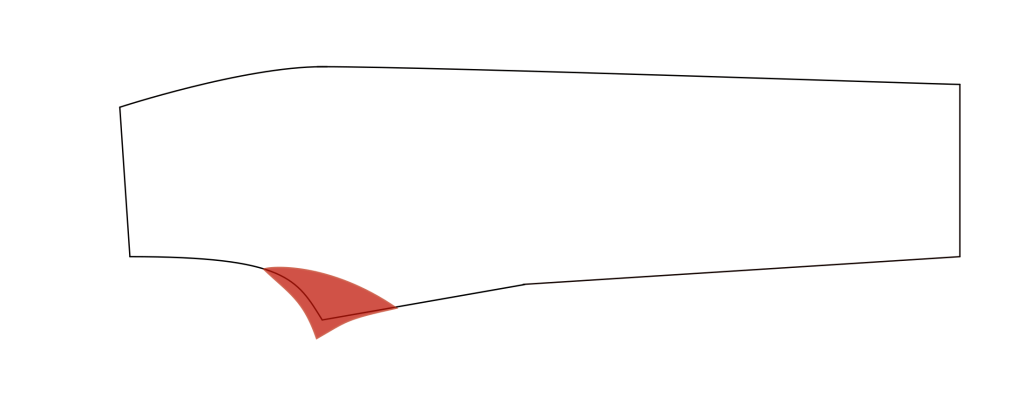
Most of you have experienced a pair of trousers developing holes and tears in the crotch, probably at the least convenient time. Tailors have developed a way to help prevent these issues, called staying the fork. Since this area of the trousers takes the most stress, it’s important to reinforce it. The stay also prevents the bias from stretching in this area, and offers a little more protection from moisture.
This technique of staying the fork is more appropriate for later period trousers, say mid-1870s and later. I choose to do so on all of my trousers unless asked not to by a client, as the added durability and strength to the fork area are worth the compromise to me. I’d like my trousers to last for years rather than wearing out in the next season! So again you’ll have to decide for yourself.
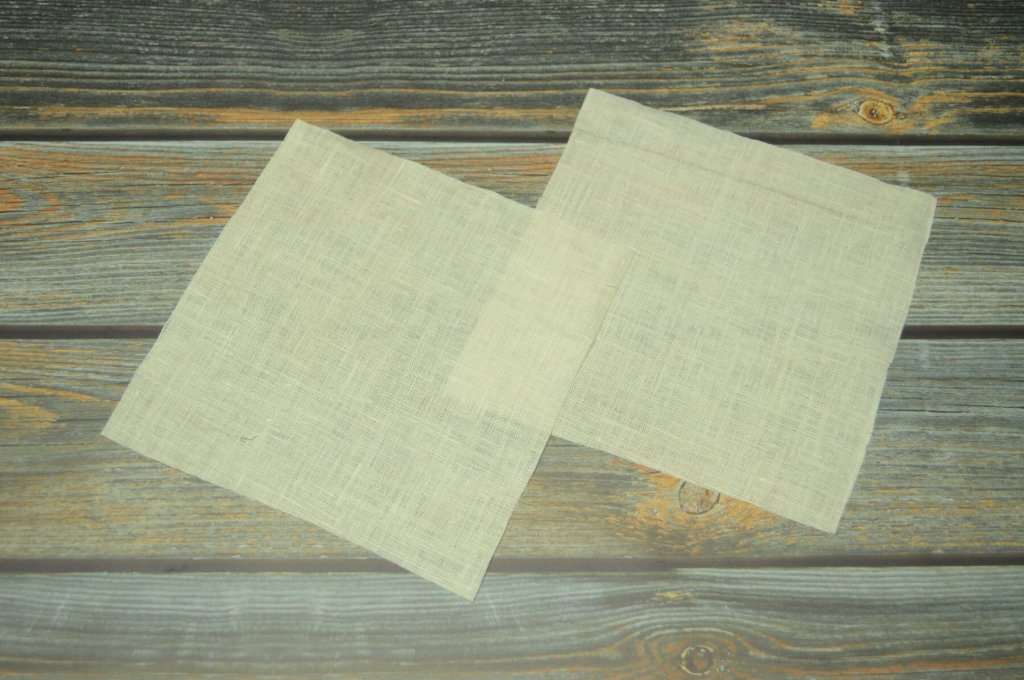
To begin, cut two 7 by 7 inch squares of either linen or cotton. Linen is recommended in the Tailor’s Guide, The Making and Repairing of Trousers, Vests, and Coats, from 1901.
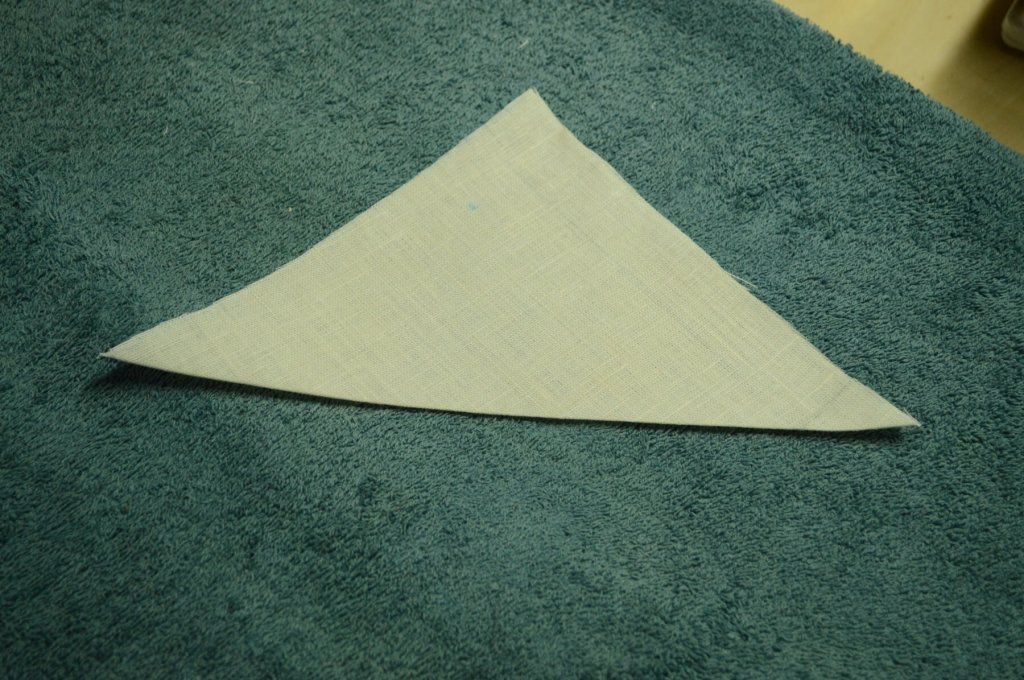
Press each piece in half diagonally across the bias.
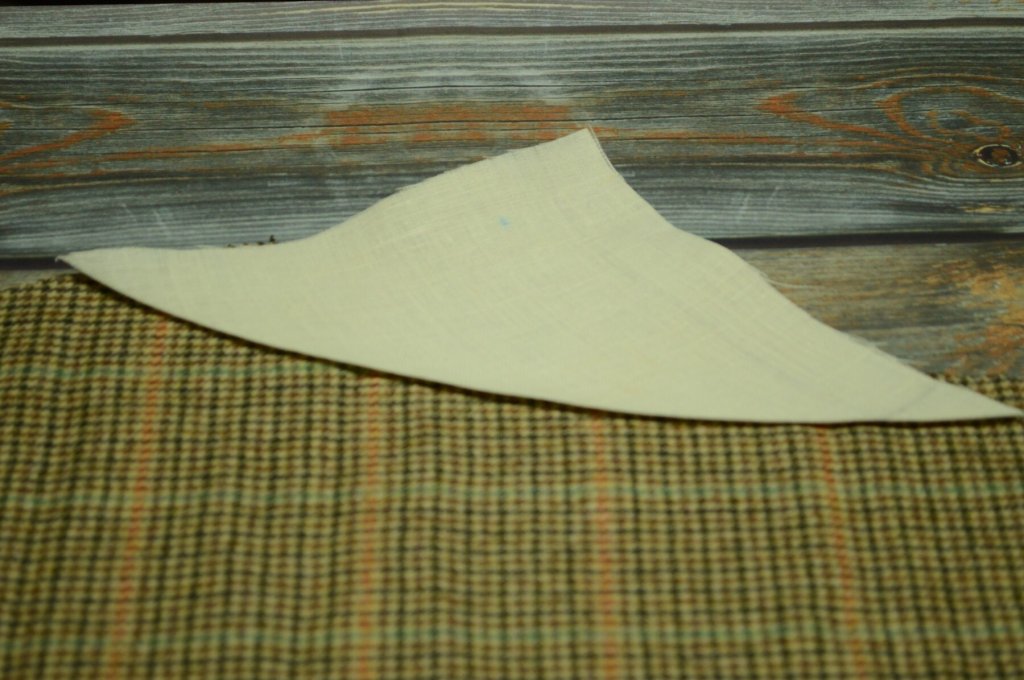
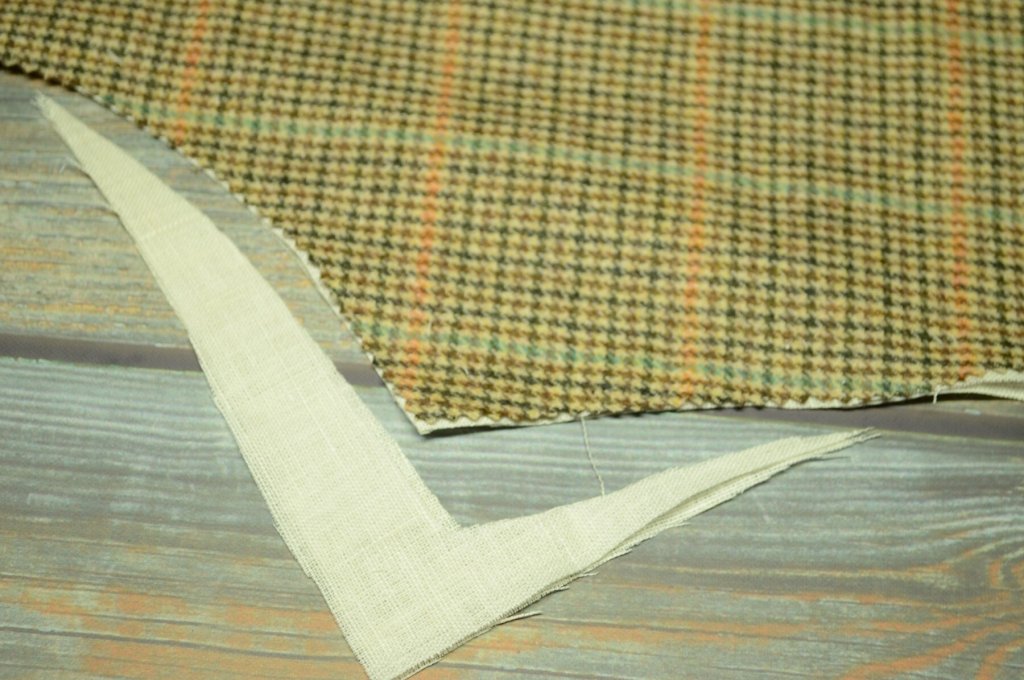
Now, holding one corner of the folded edge, use your iron to stretch the fold by pressing firmly and pulling with your hand at the same time. It’s best to stretch a little bit at a time over many passes, than to try to stretch the entire seam at once.
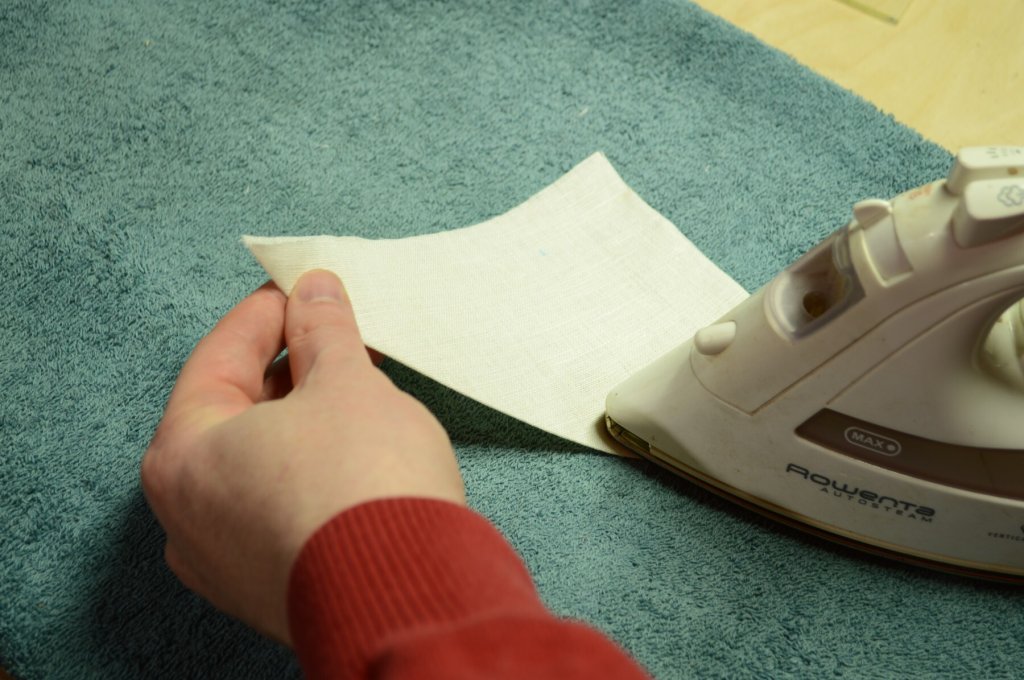
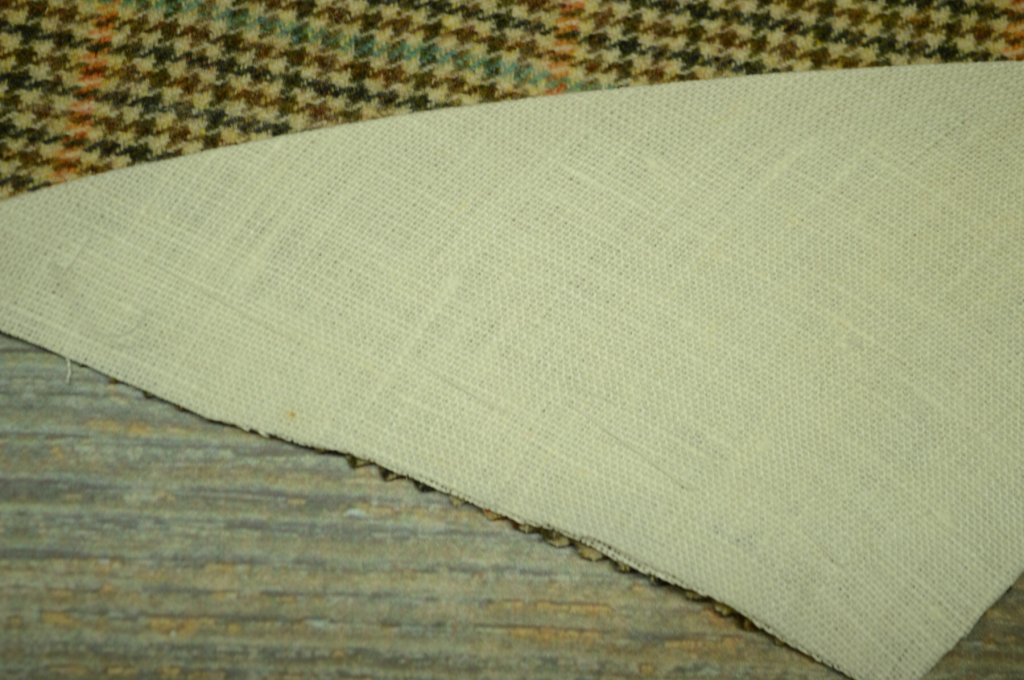
You’ll notice the folded edge starts to take on a bit of a curve. Press everything flat after you’re done stretching.
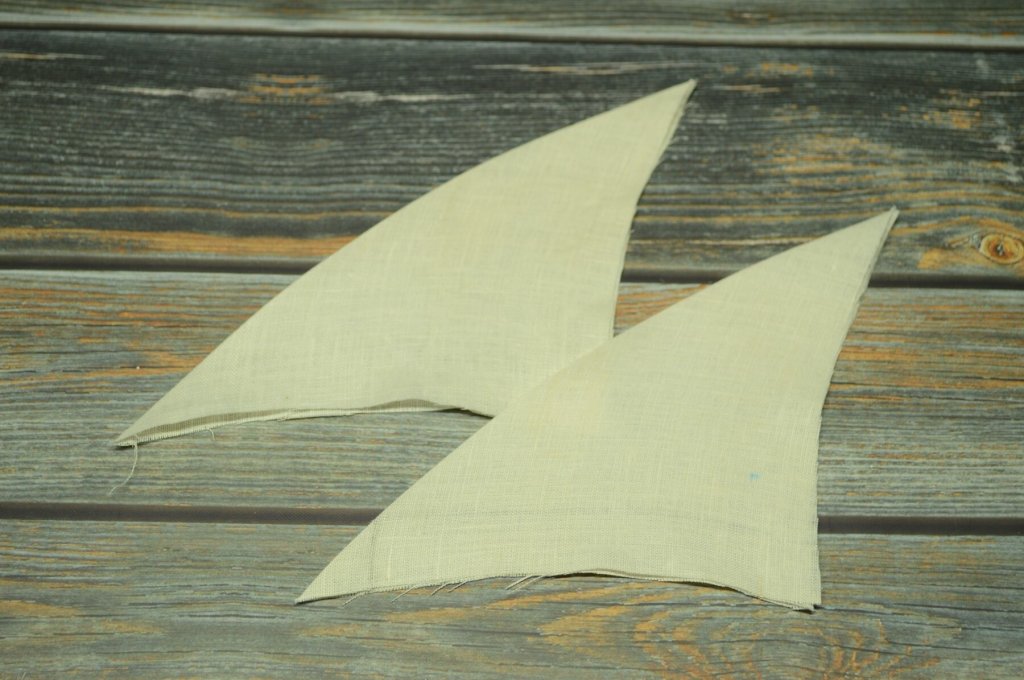
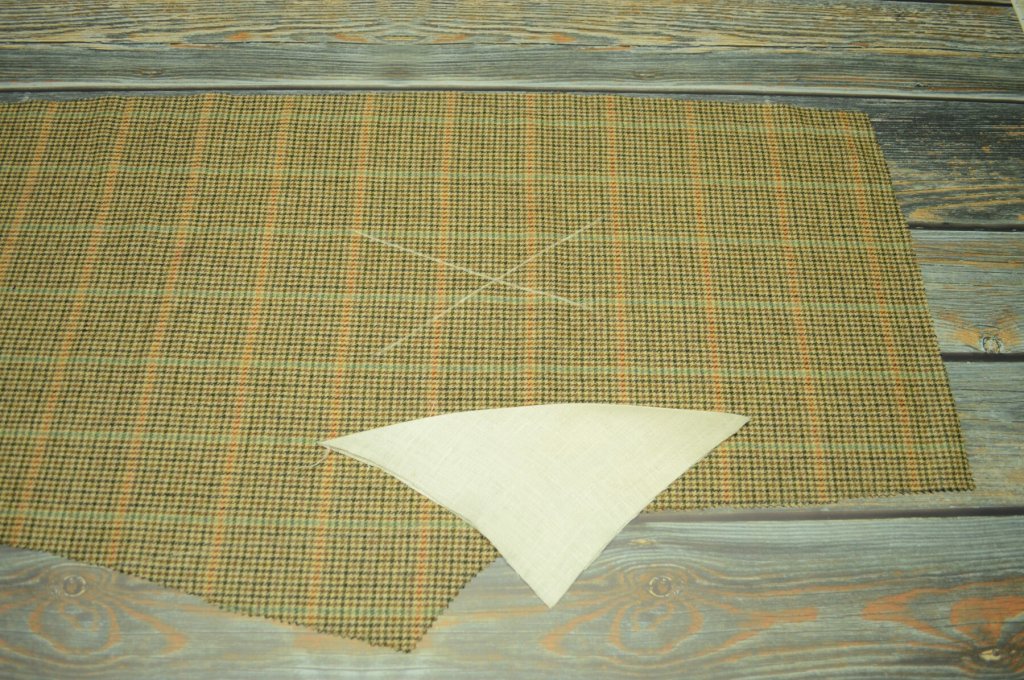
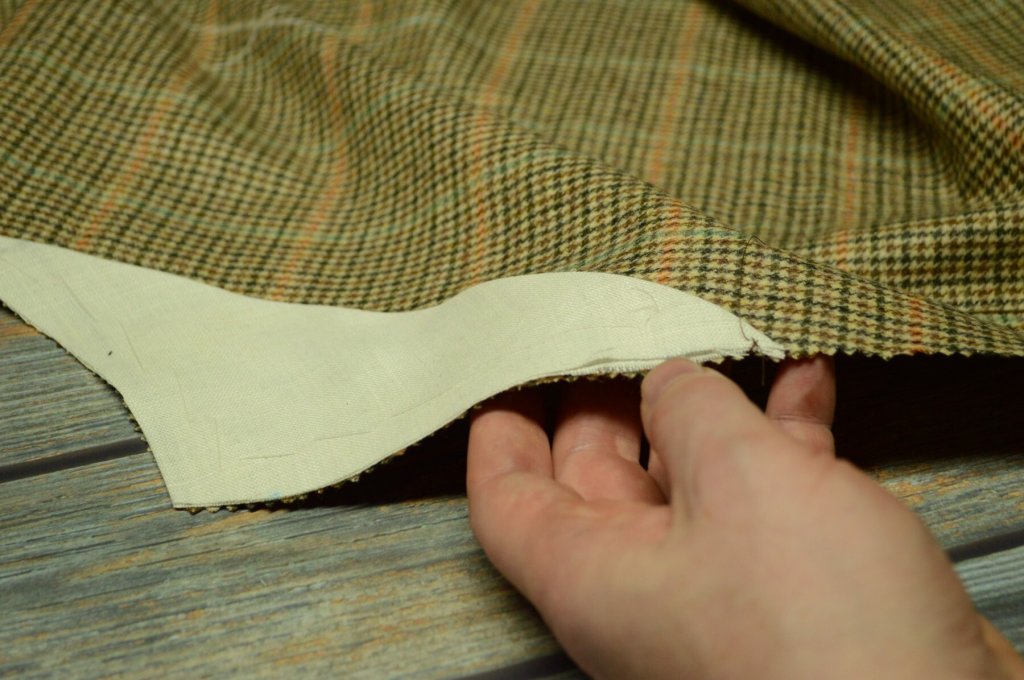
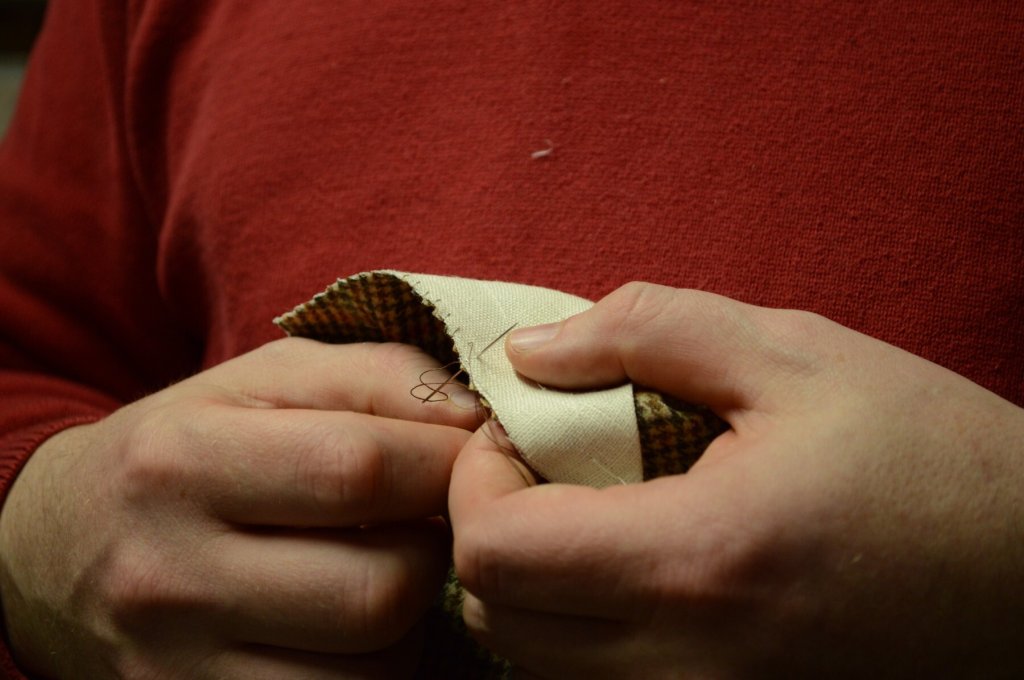
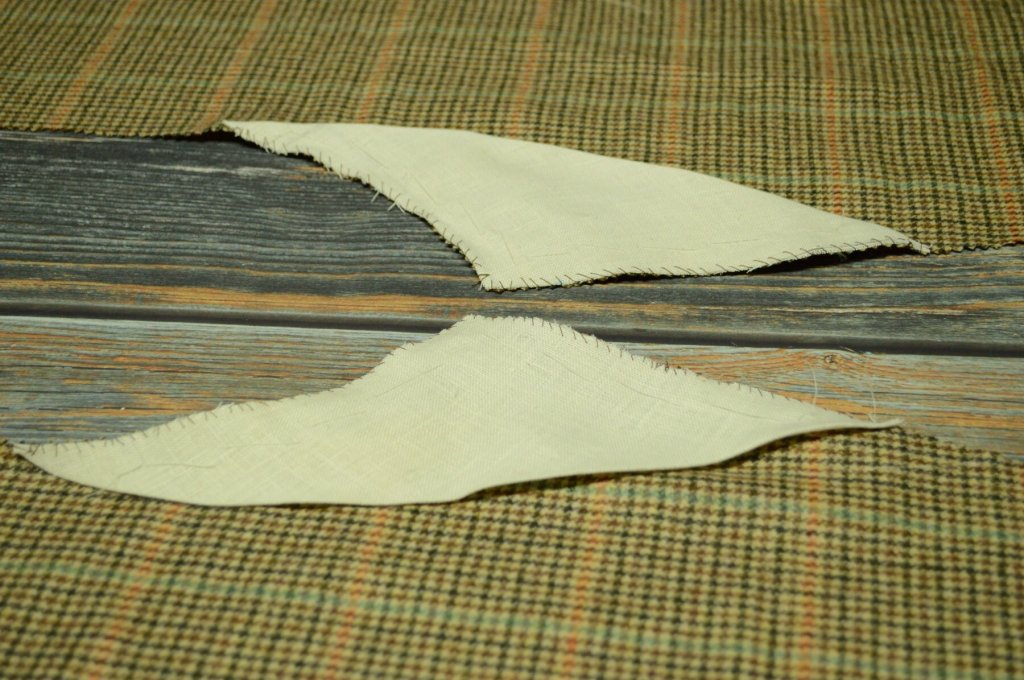
Lay your front trouser piece on the workbench, wrong side up, and place the linen stay in the fork area.
