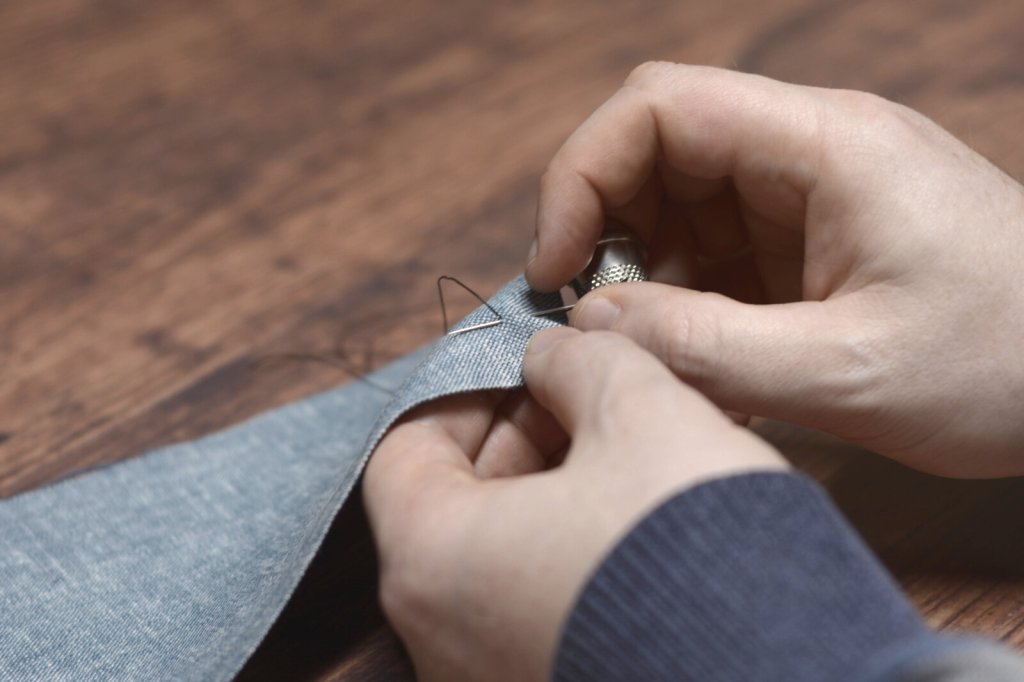
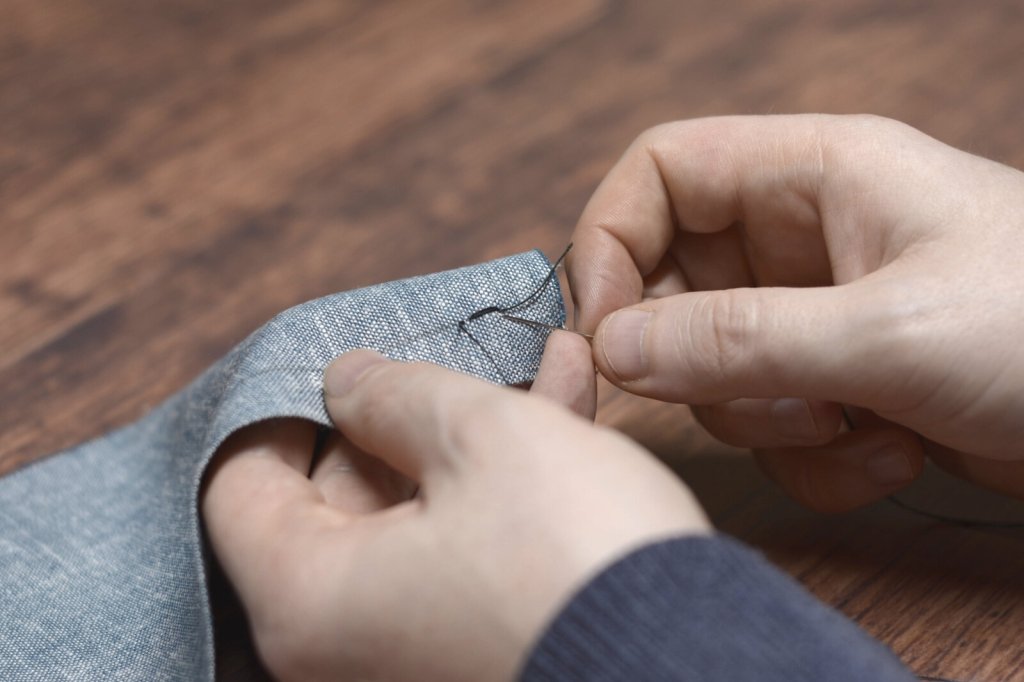
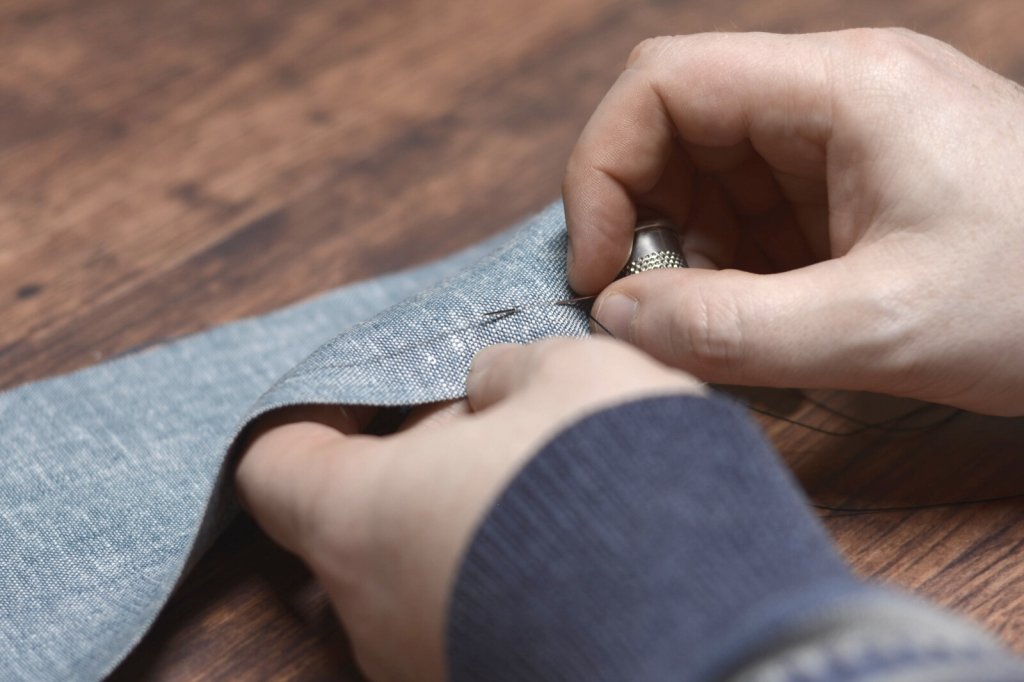
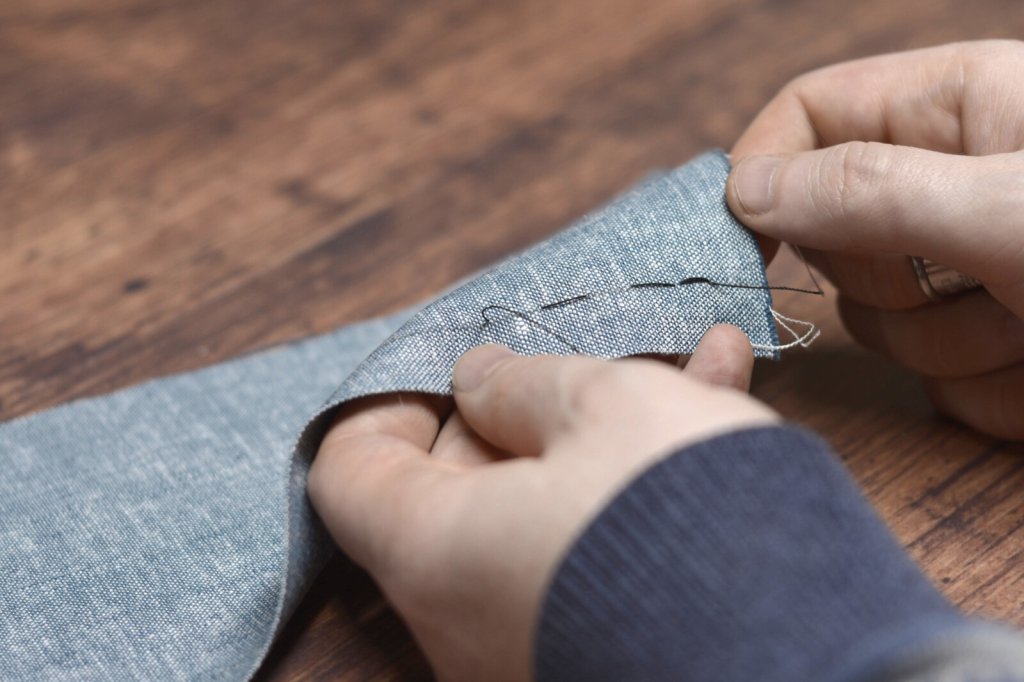
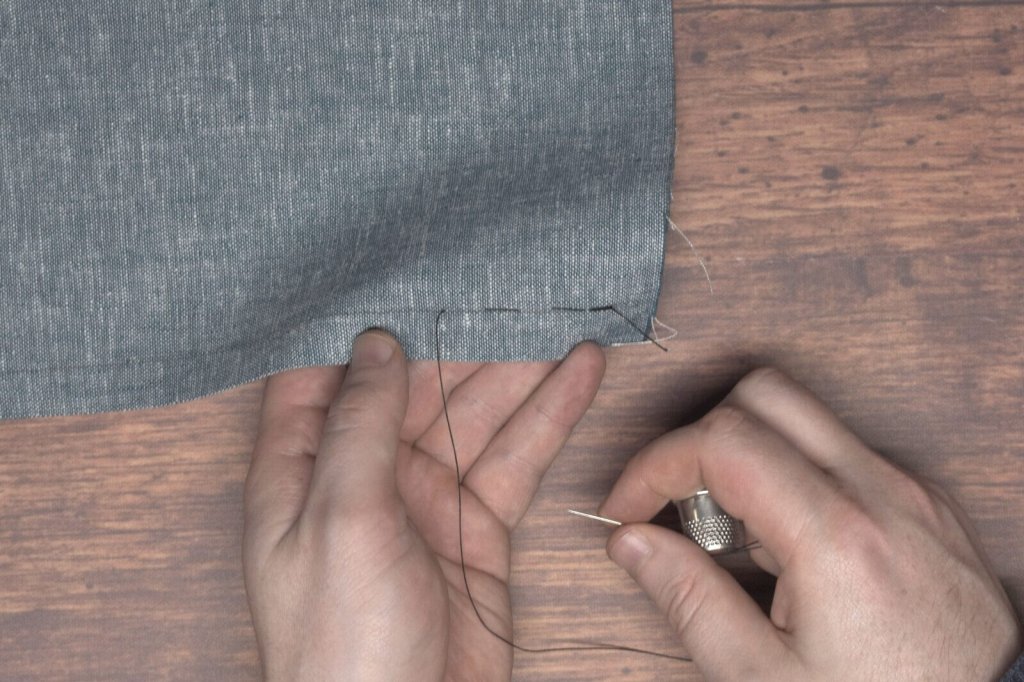
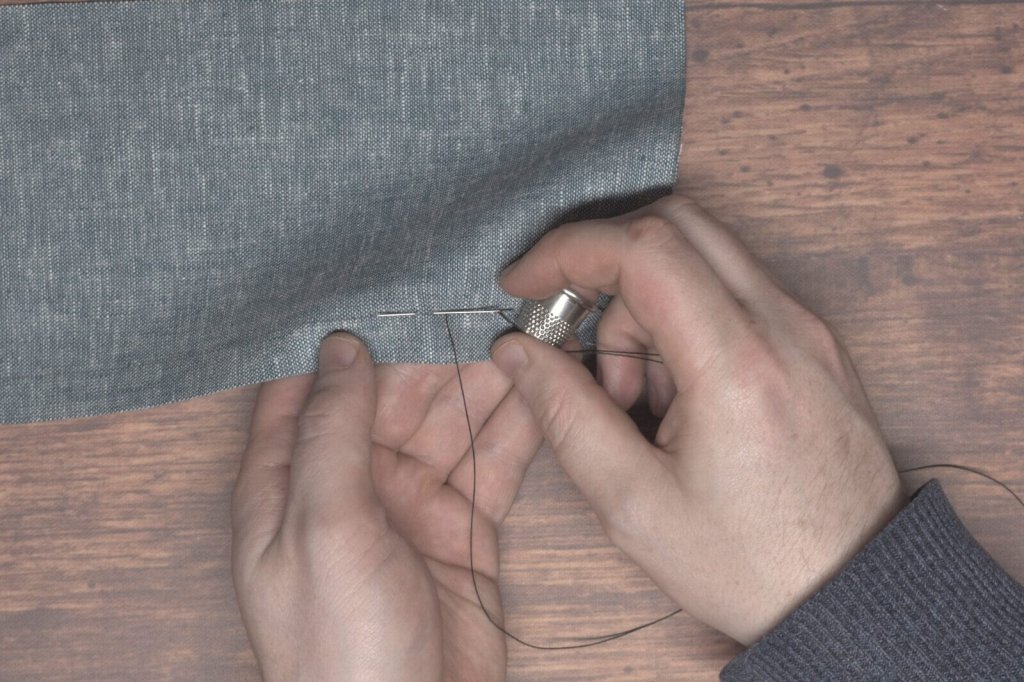
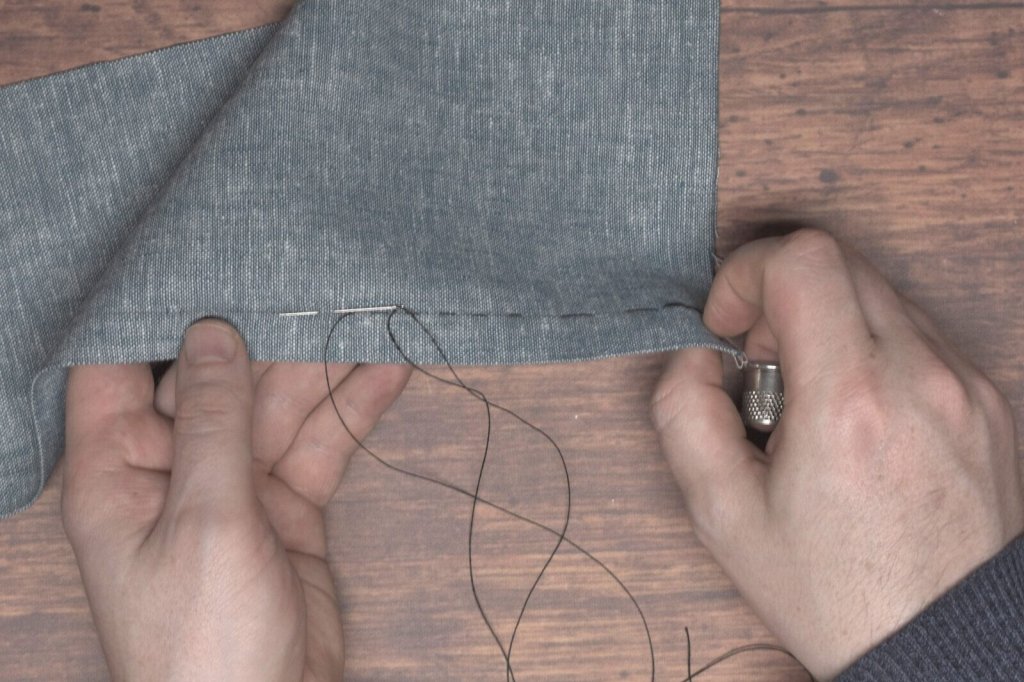
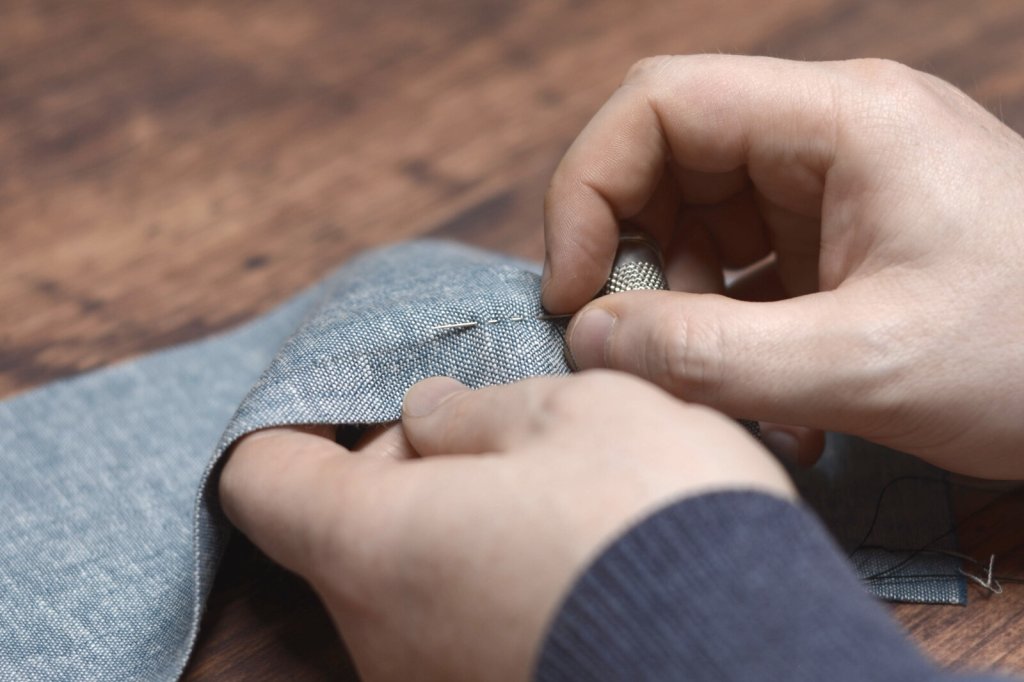
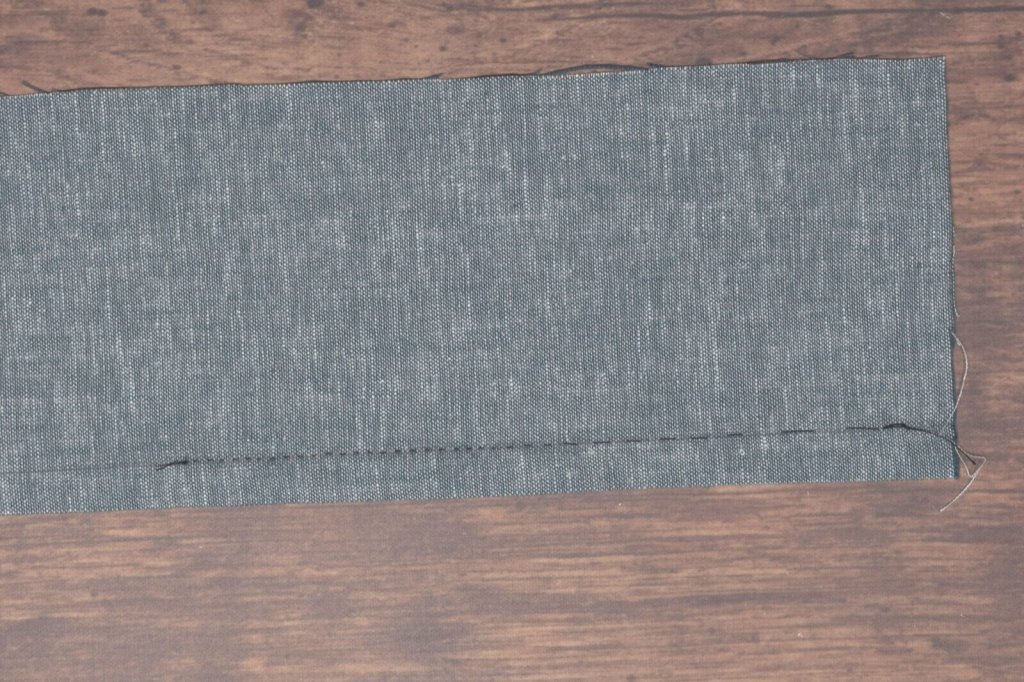
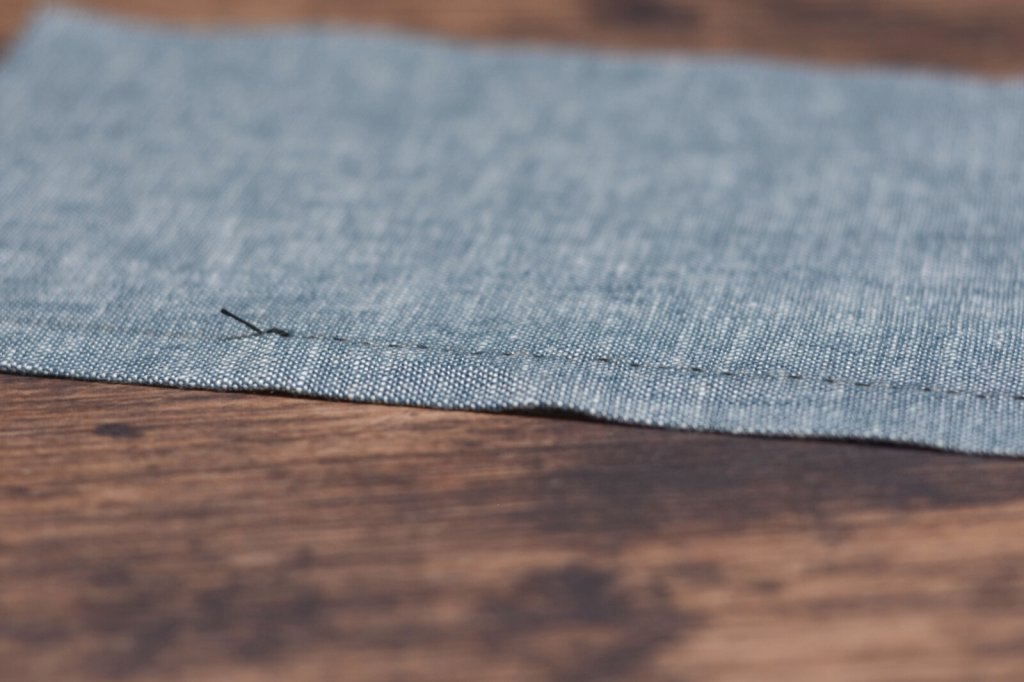
The running stitch is the most basic of stitches and forms the basis for a number of other stitches. Surprisingly, it’s not actually used all that much in tailoring, as it is a very weak stitch that will easily break under a little tension. The main uses within the tailoring world are for basting (covered later on), as well as in decorative top stitching.
Nevertheless, it’s an important stitch to master so that one may progress to the other stitches. When you’re starting, the most important thing is to keep an even and straight stitch, with the length being whatever you’re most comfortable with. The smaller stitches will come with time and practice.
Since we’re on the subject of stitch length, it’s easy to become a ‘stitch counter’ and try to replicate the exact number of stitches per inch used on an original garment, for example. However, we don’t have access to the same fabrics as they did, and I prefer to differ the length according to what the fabric I’m actually using can handle. So for this linen blend I’m using for these demonstrations, I can get quite a small stitch thanks to the thinness of the layers. If I’m sewing through layers of thick wool broadcloth, the stitches will a bit bigger and may take some effort to get through all the layers. Experience will help you make these decisions almost second nature, especially if you can practice diligently and with different fabrics.
I suggest marking out your seam lines in chalk or pencil at first to aid you in accuracy. In the example I’ve just marked out the one seam line but you should mark multiple seams across the fabric for extra practice, as shown previously.
